March 31, 2025 – Monday
I noticed Prim seemed to be in early labor around noon so I kept an eye on her to watch her progress. Some pushing by 1pm but no water sac. I did a quick examination and felt the sac. Prim is more nervous about being touched while in labor so I had to halter and tie her.
After a while I decided to give her space and watch her from the kitchen window, hoping that would help her labor progress, but it didn’t. She didn’t want to go back into the barn so I lured all the mamas in with some grain.
Once haltered again I examined her again and felt a little tail. Dave held her still(ish) for me while I found the back feet and repositioned the legs so I could pull the lamb out back feet first. After pulling the ewe lamb with my lamb puller, I checked for another. I felt a head so I let Prim rest and clean the 1st lamb for a few minutes.
The 2nd lamb emerged head first, but I was able to get 1 front leg repositioned easily to help pull it out. The lamb was limp when I got her out but began to breathe and move once I pulled the sac from her face.
The 1st ewe lamb weighed 8.65lbs and the second ewe lamb weighed 7.85lbs.
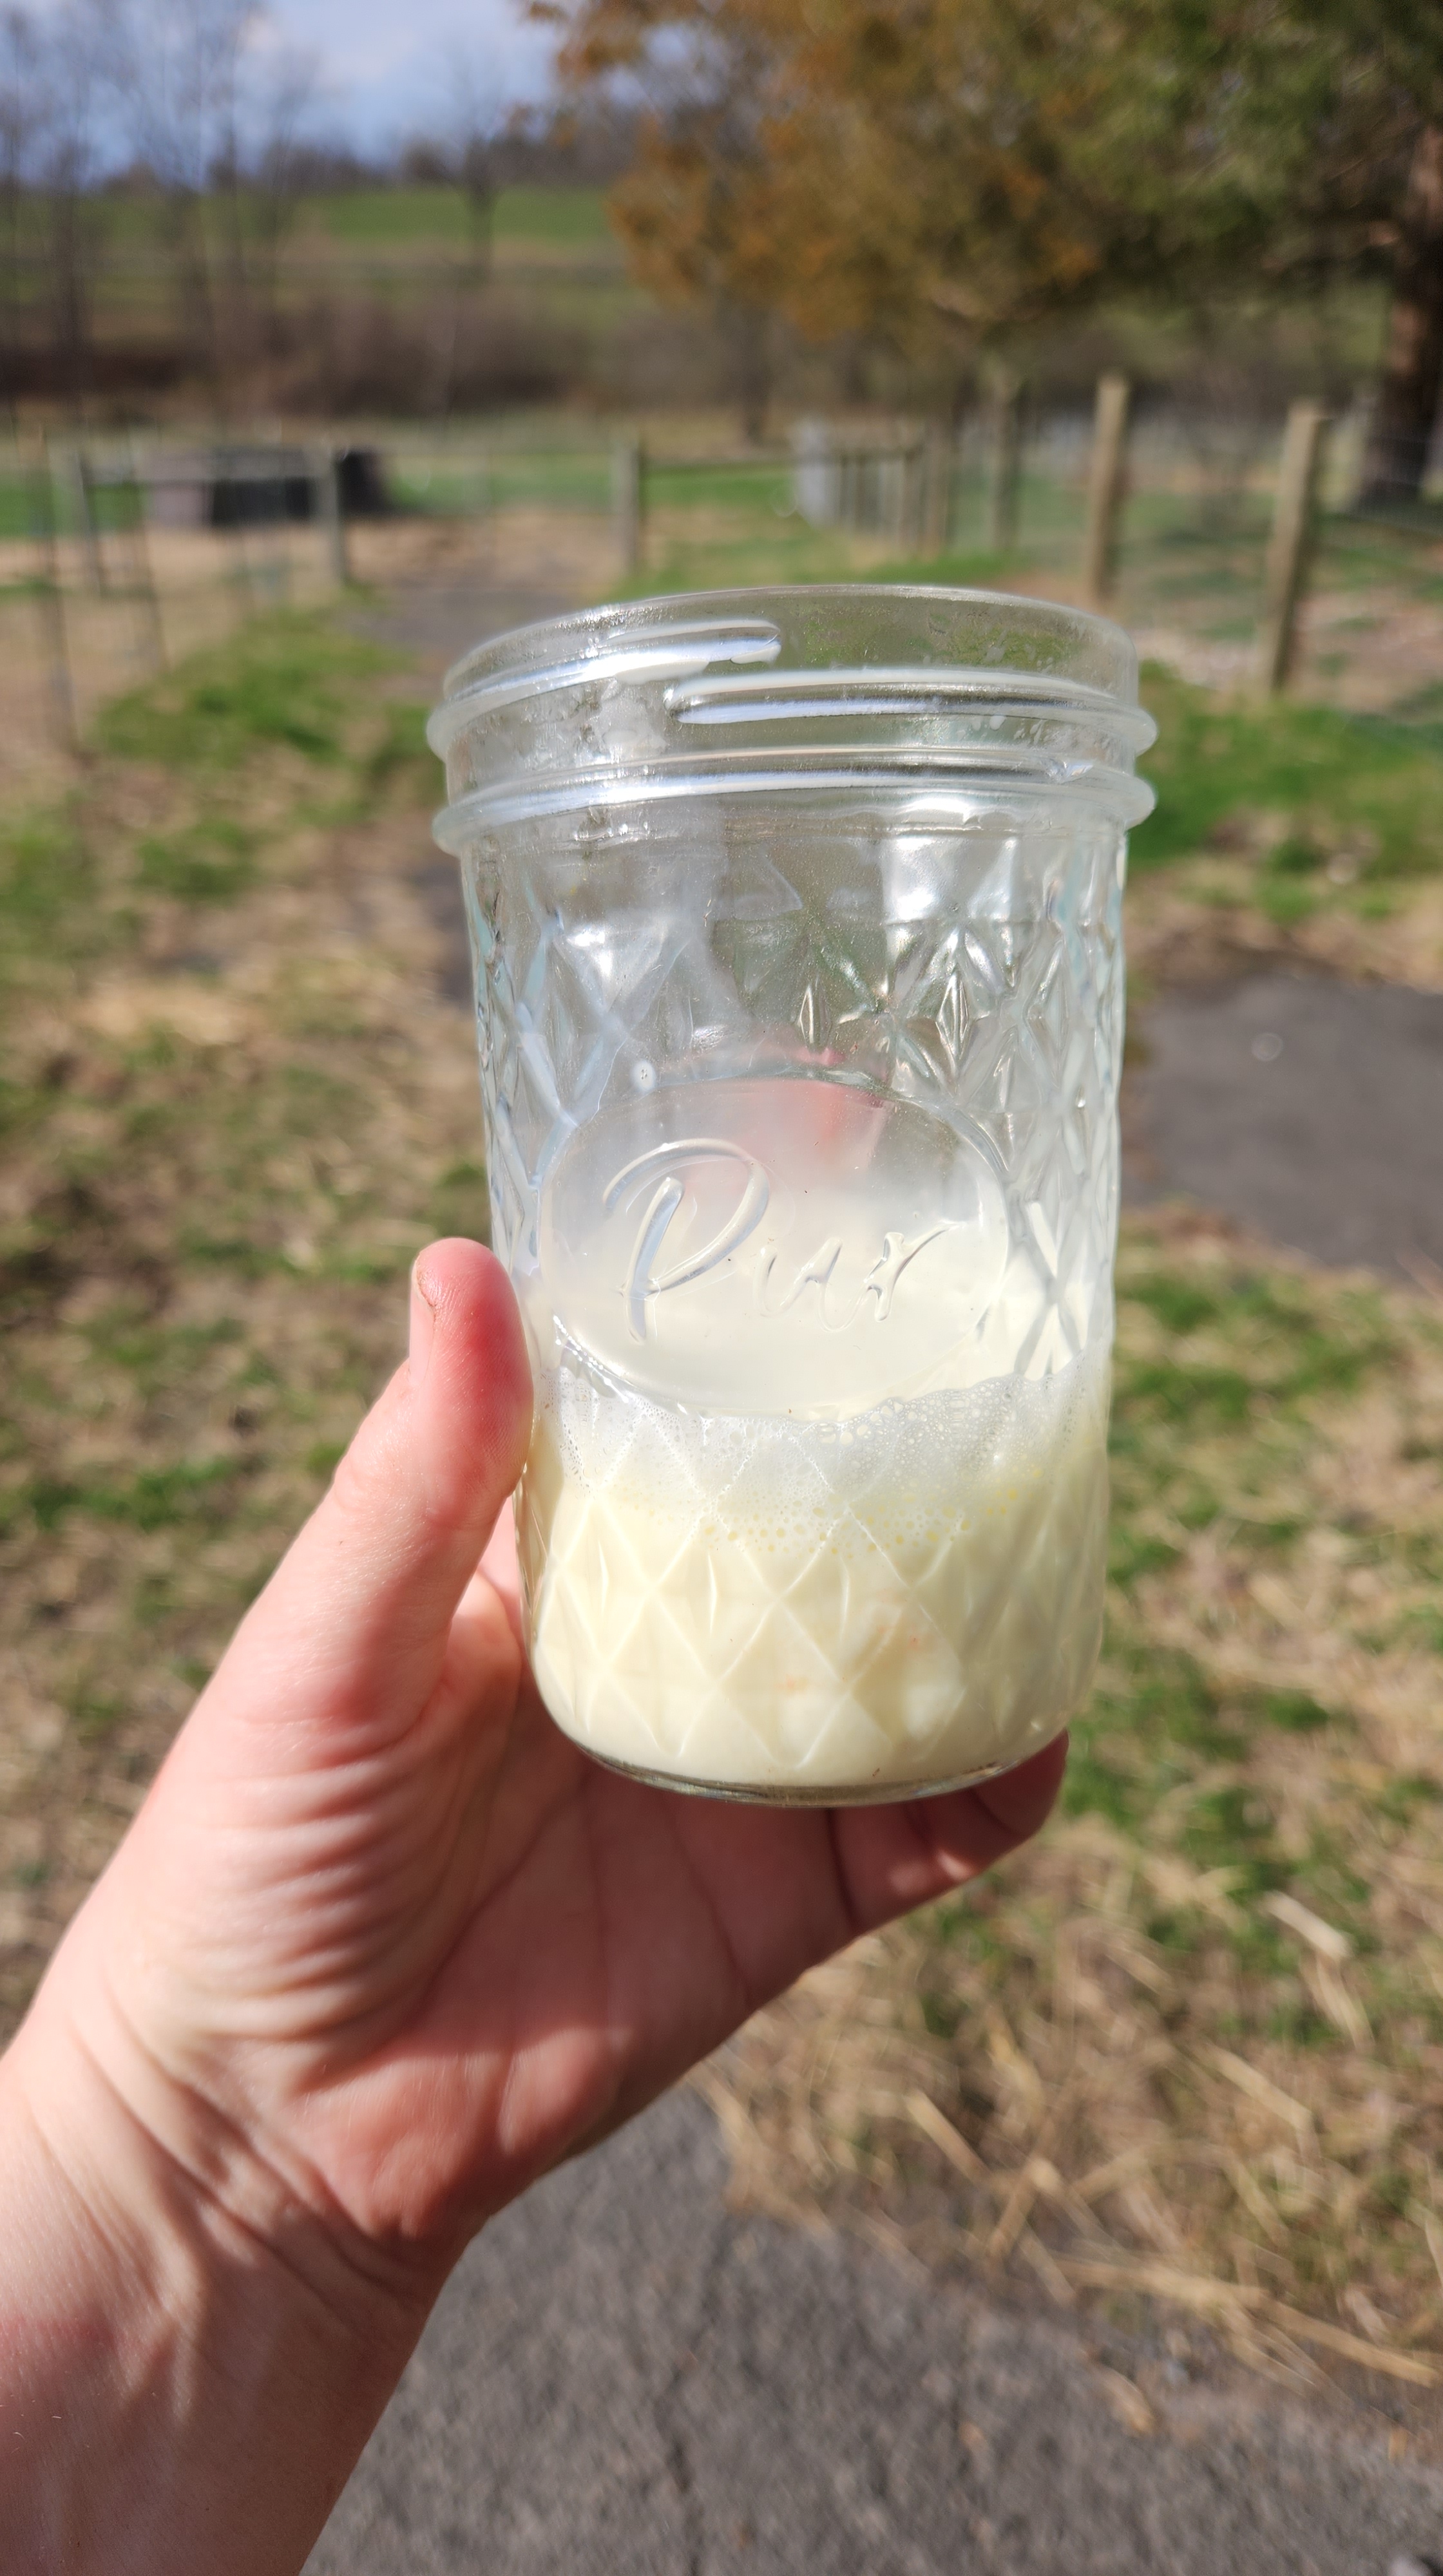
Once both lambs nursed, I milked out some colostrum to freeze for any future emergencies.
April 5, 2025 – Saturday
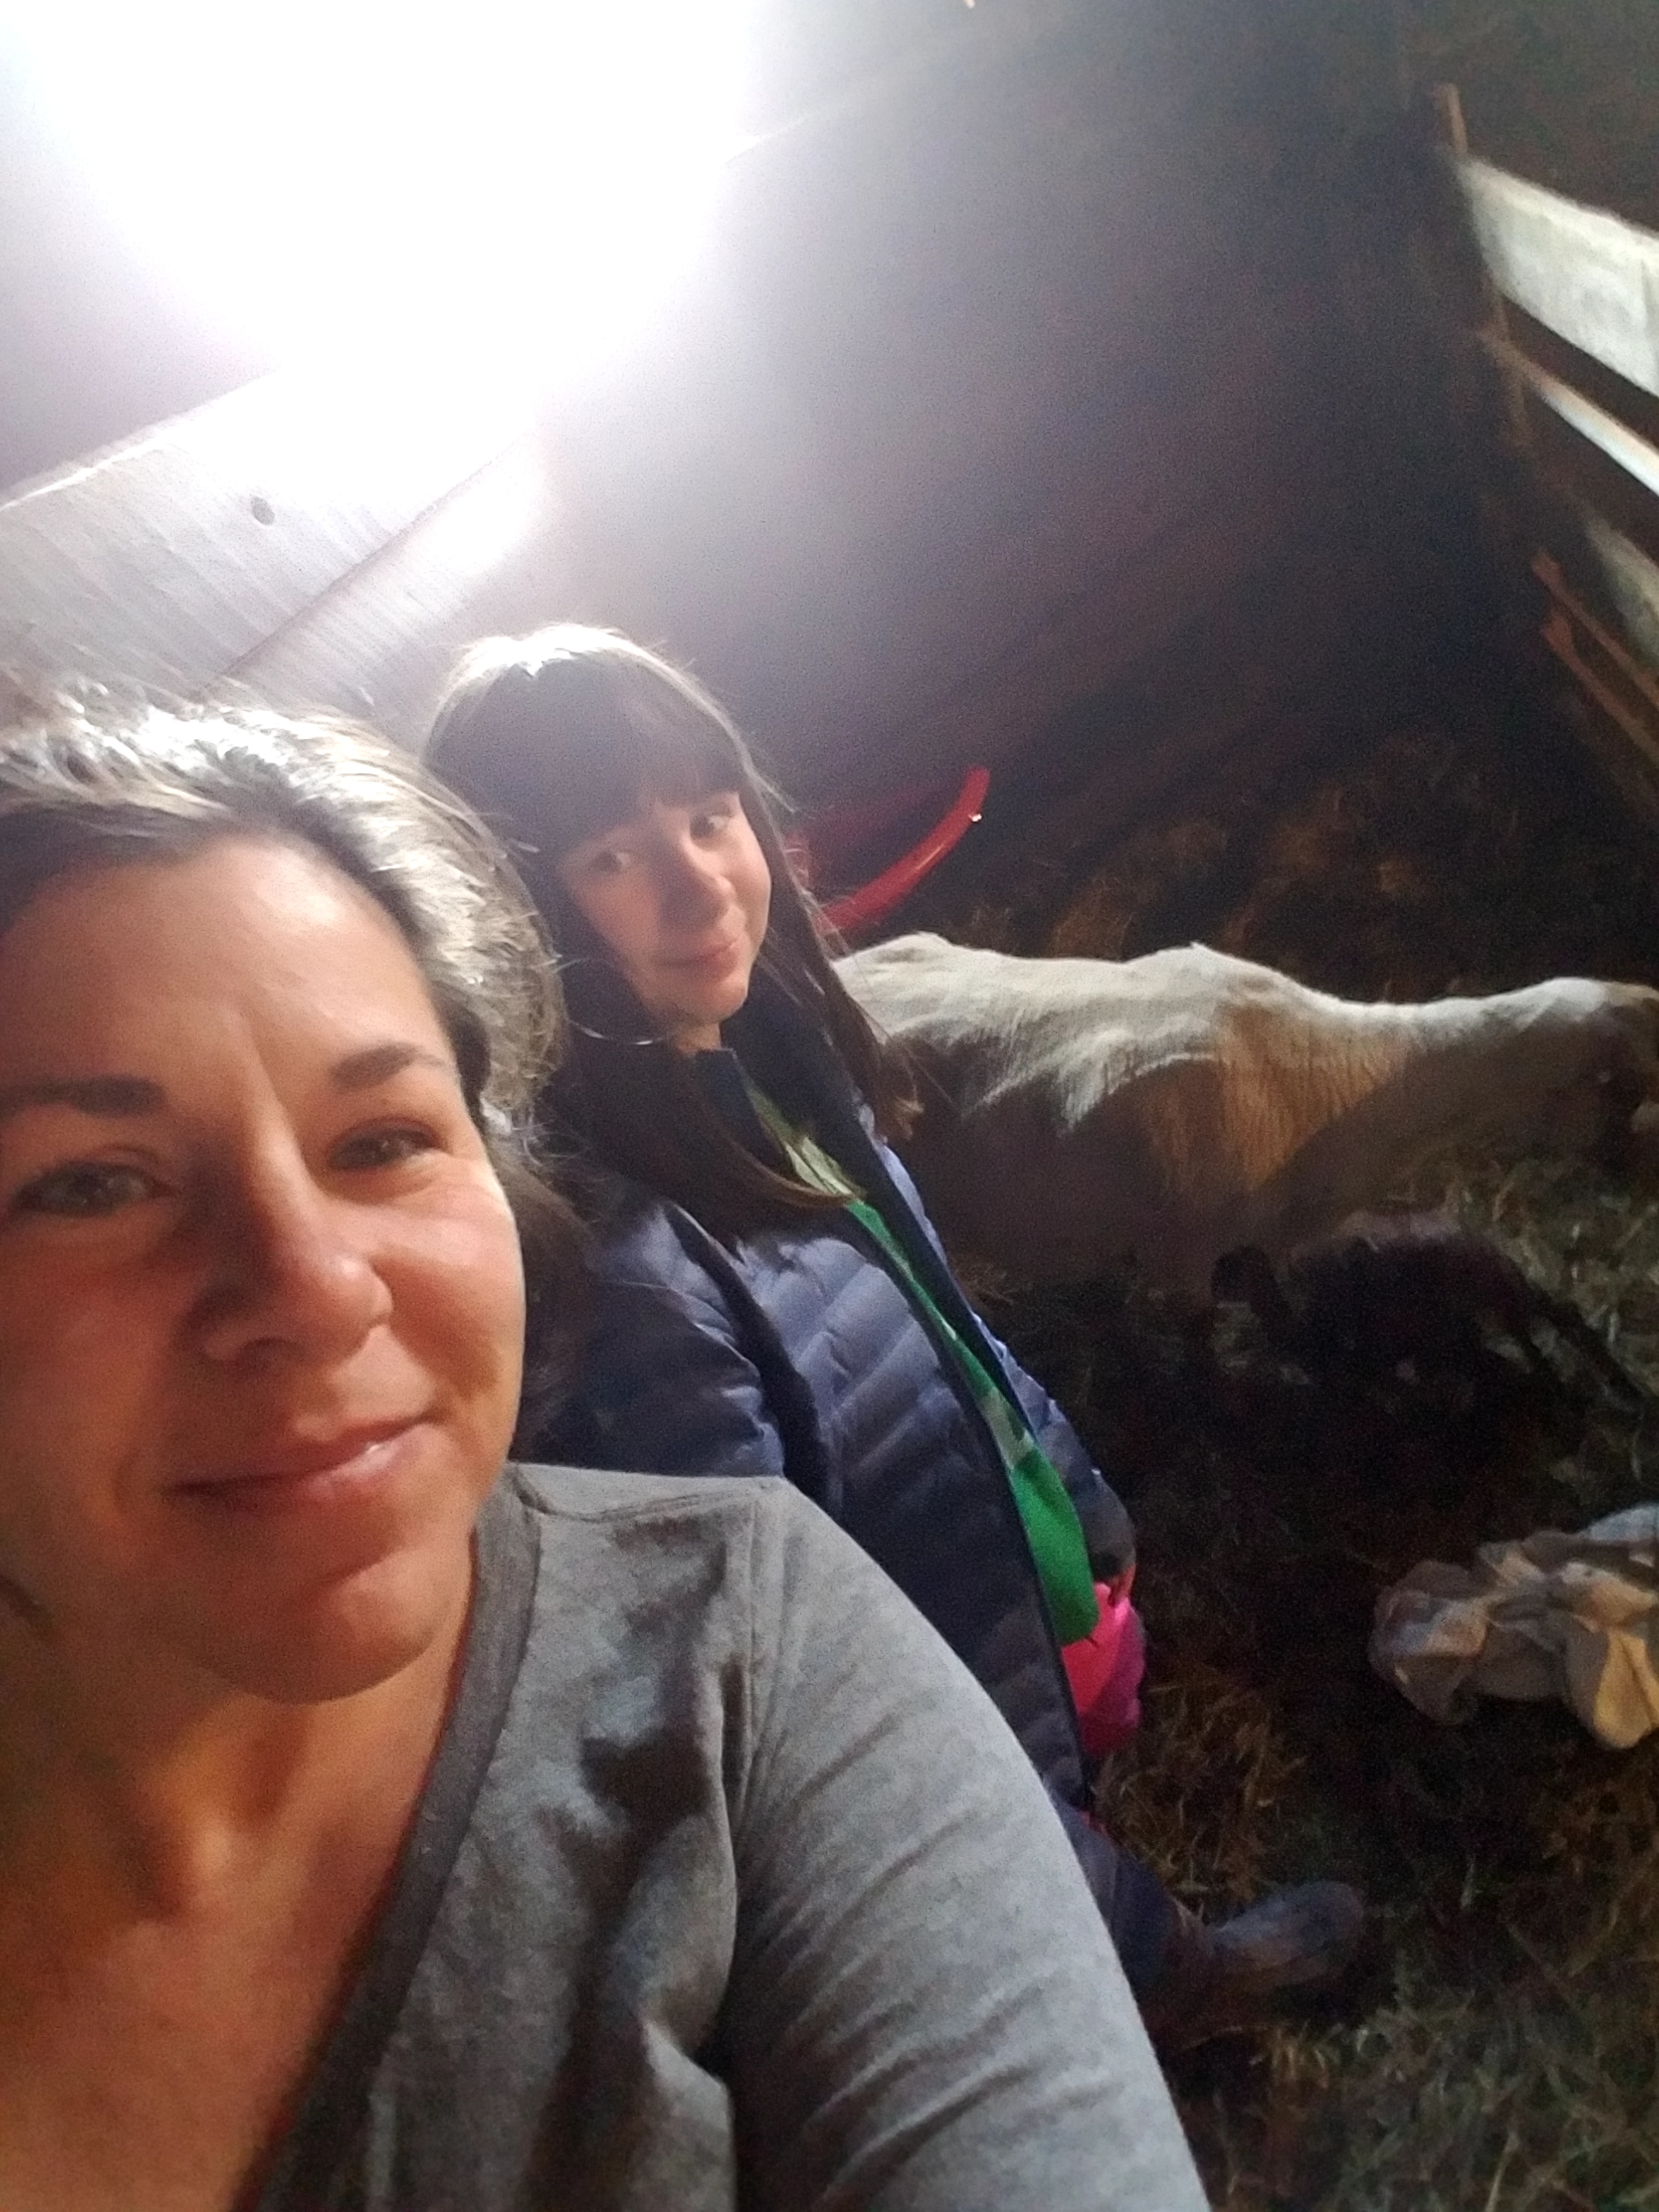
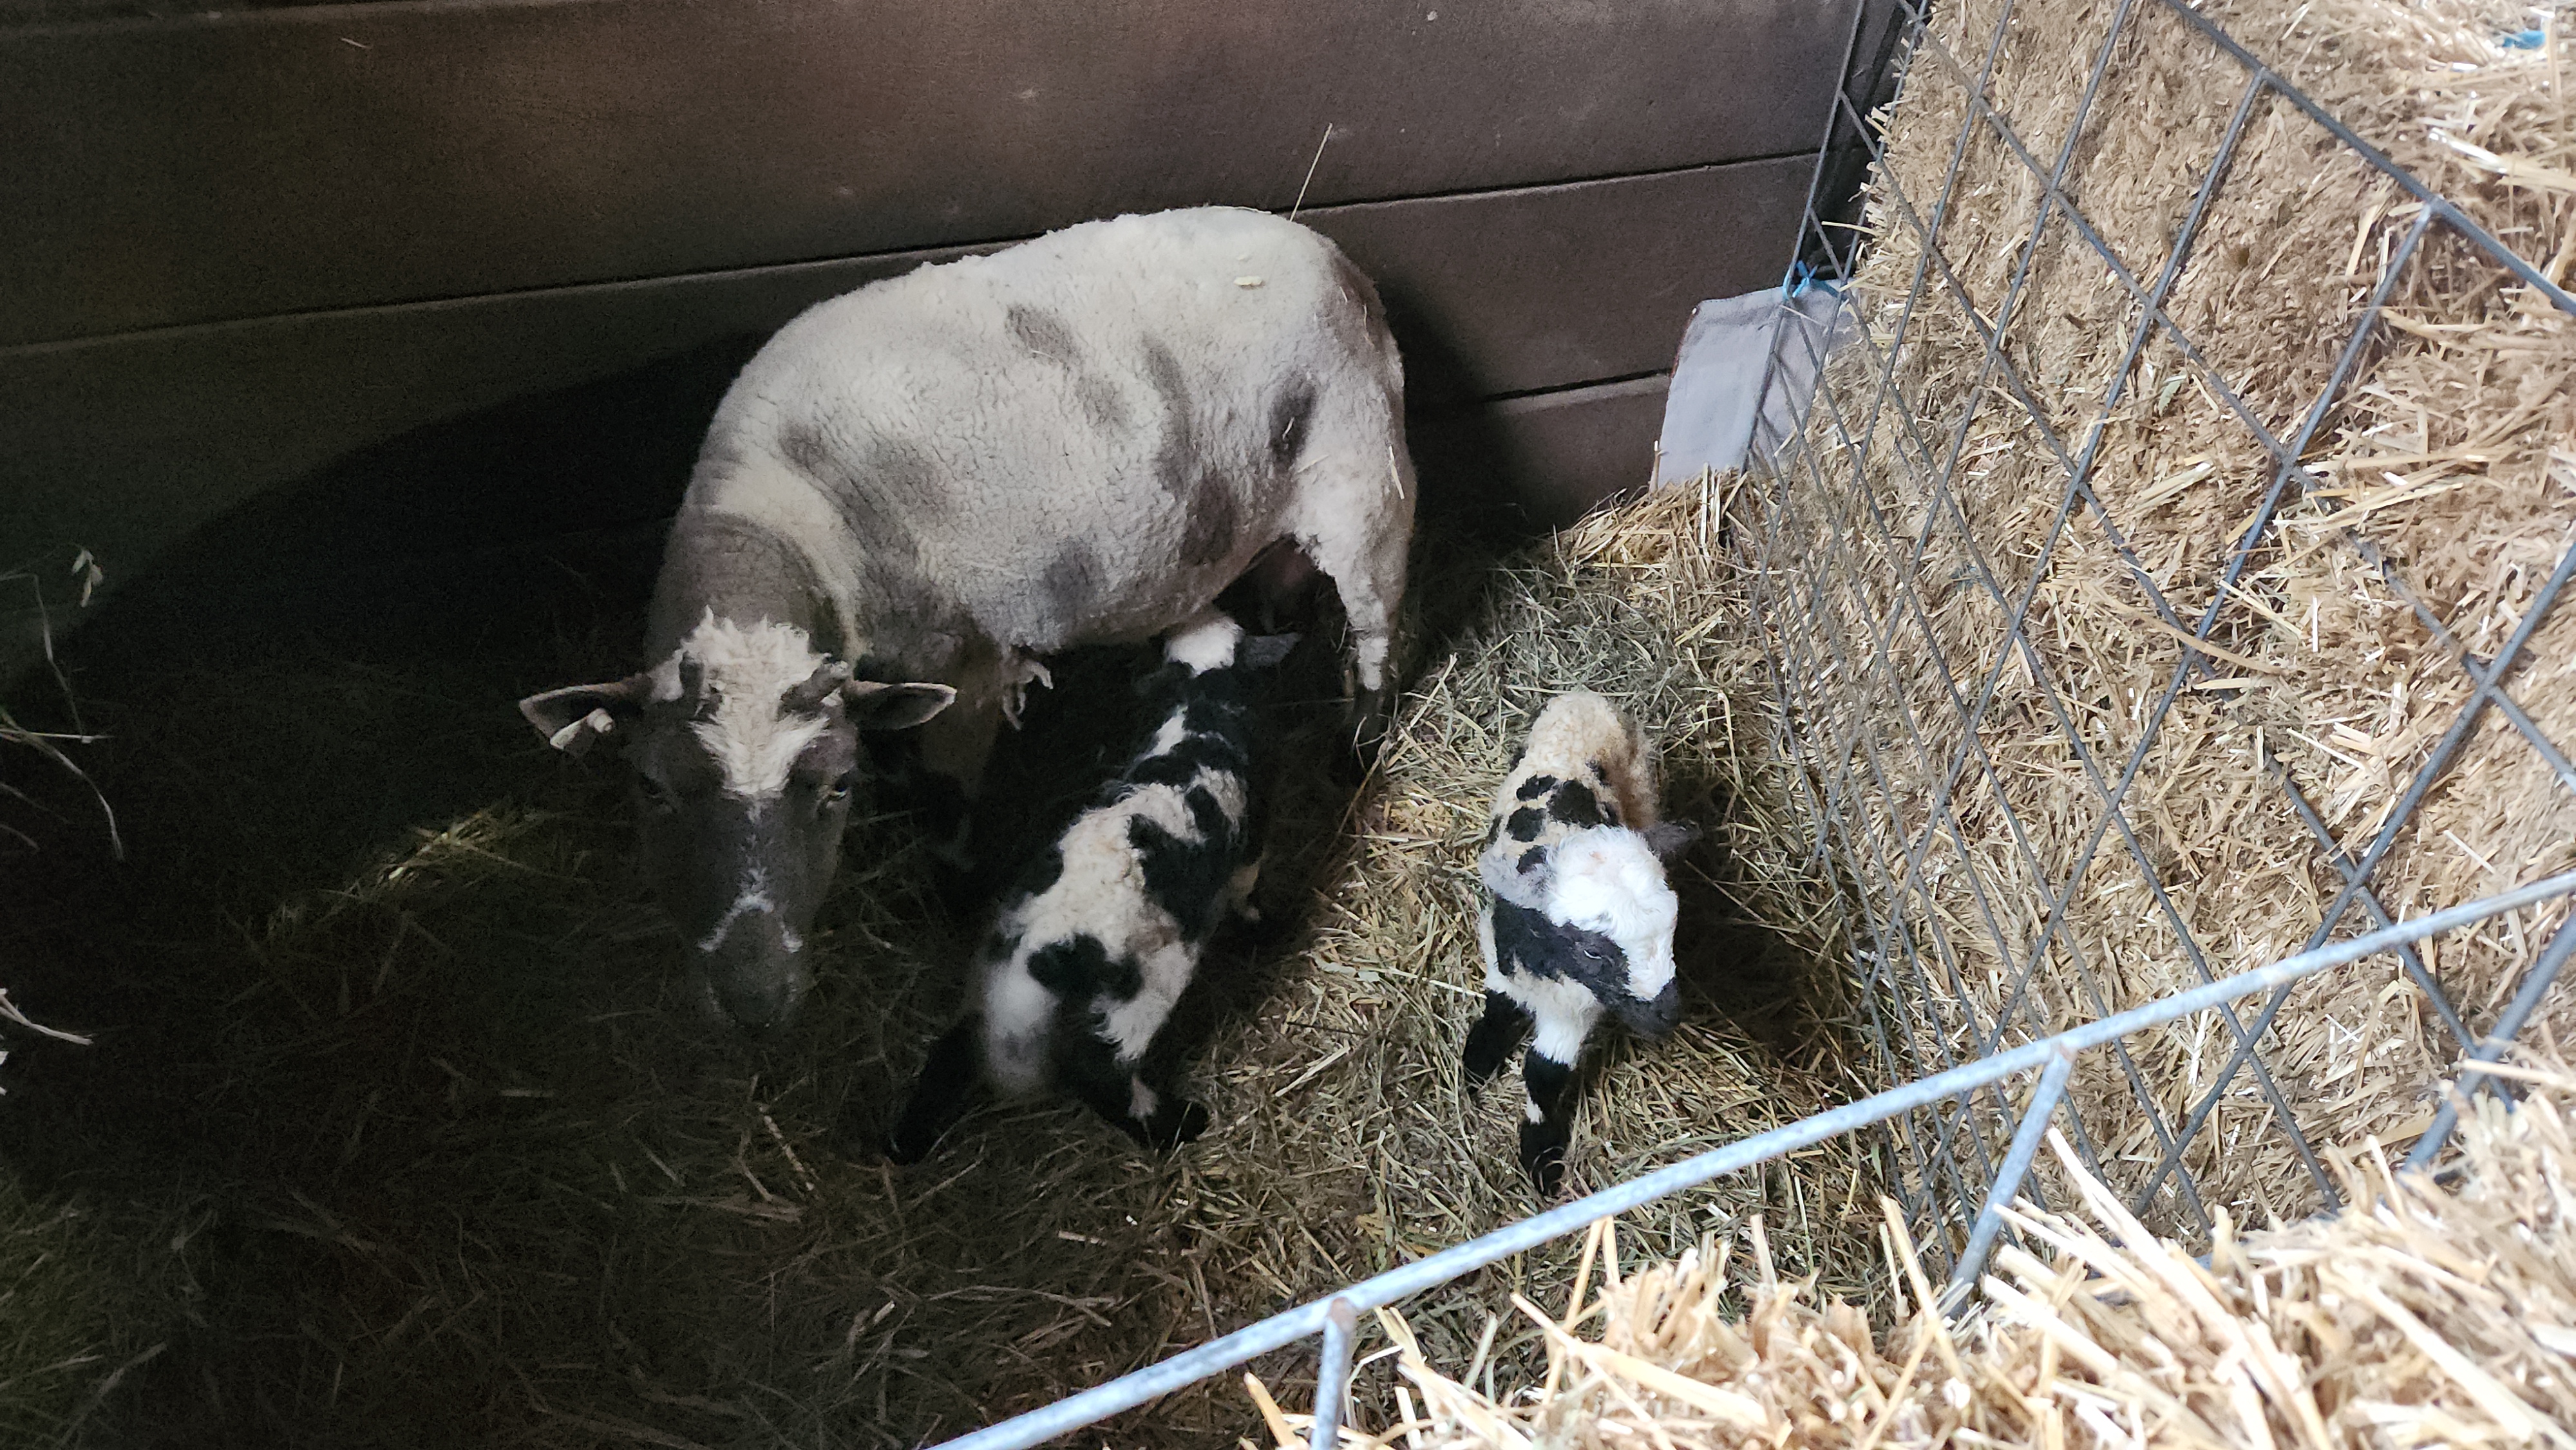
Kate had twin ewe lambs this morning! She didn’t want to eat breakfast around 8sm, so I went out to the barn to check on her. Maya kept bothering her, so we opened the stall door and let her wander around the barn aisle.
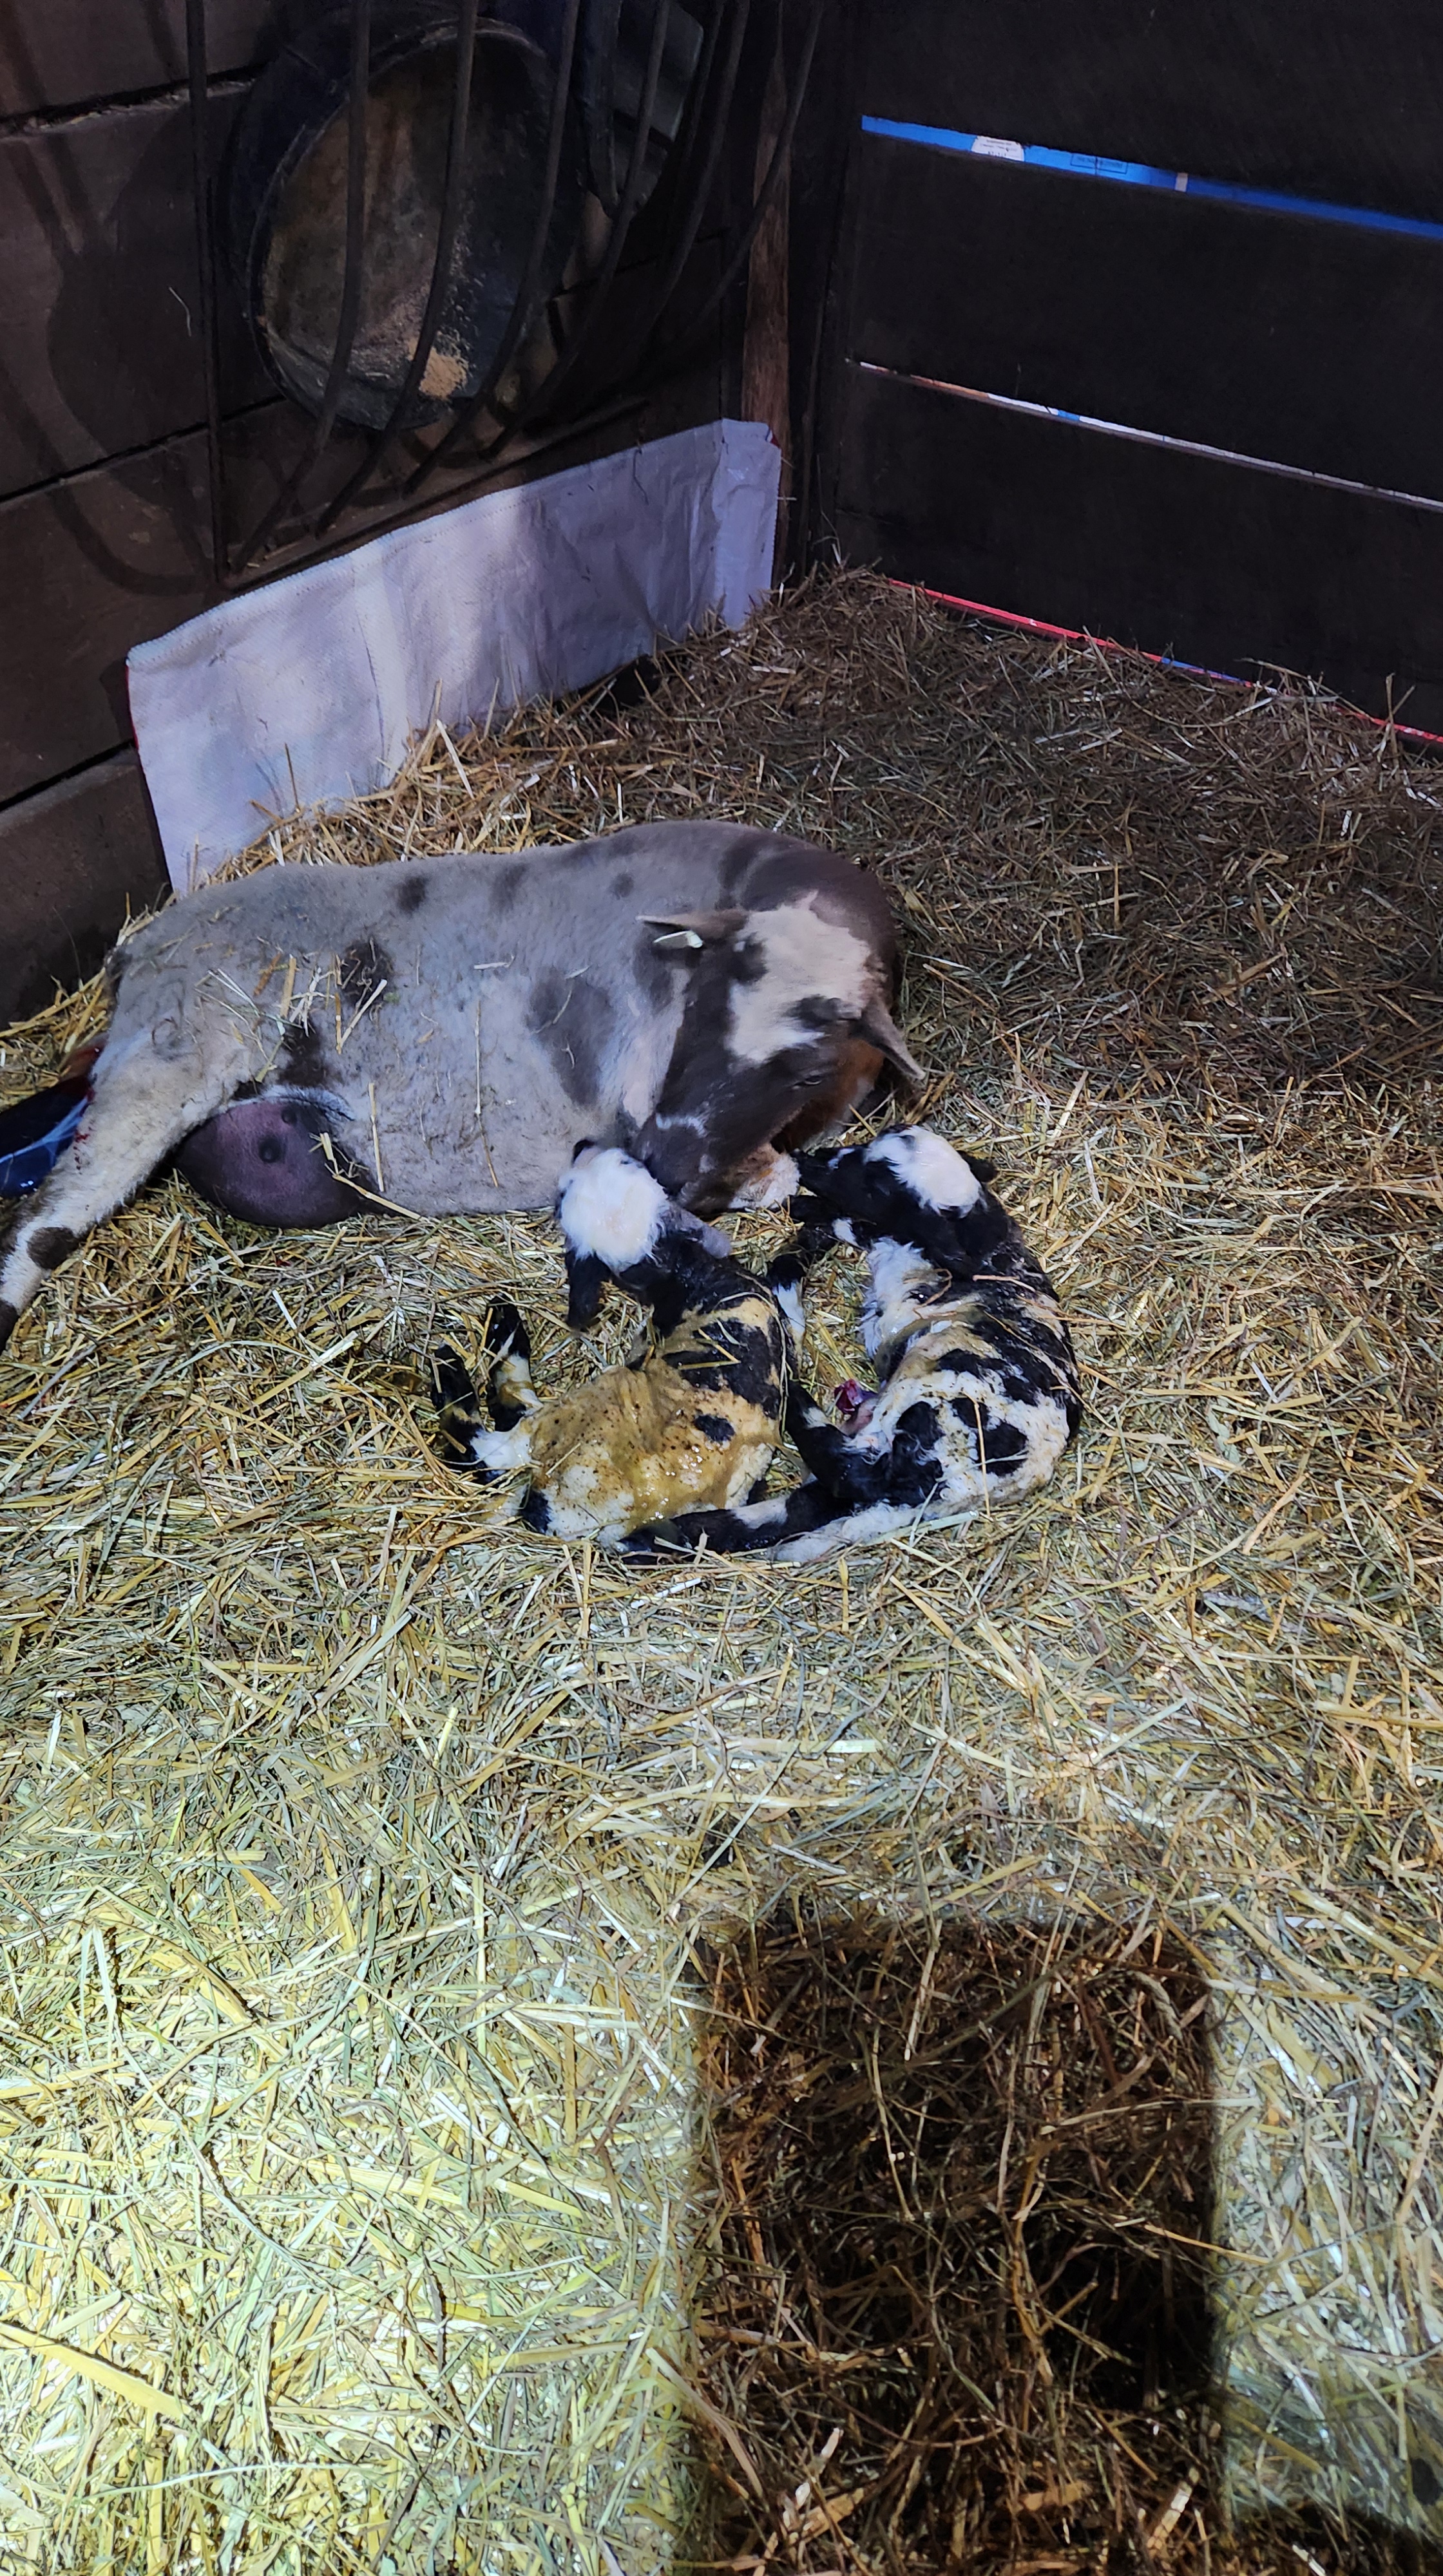
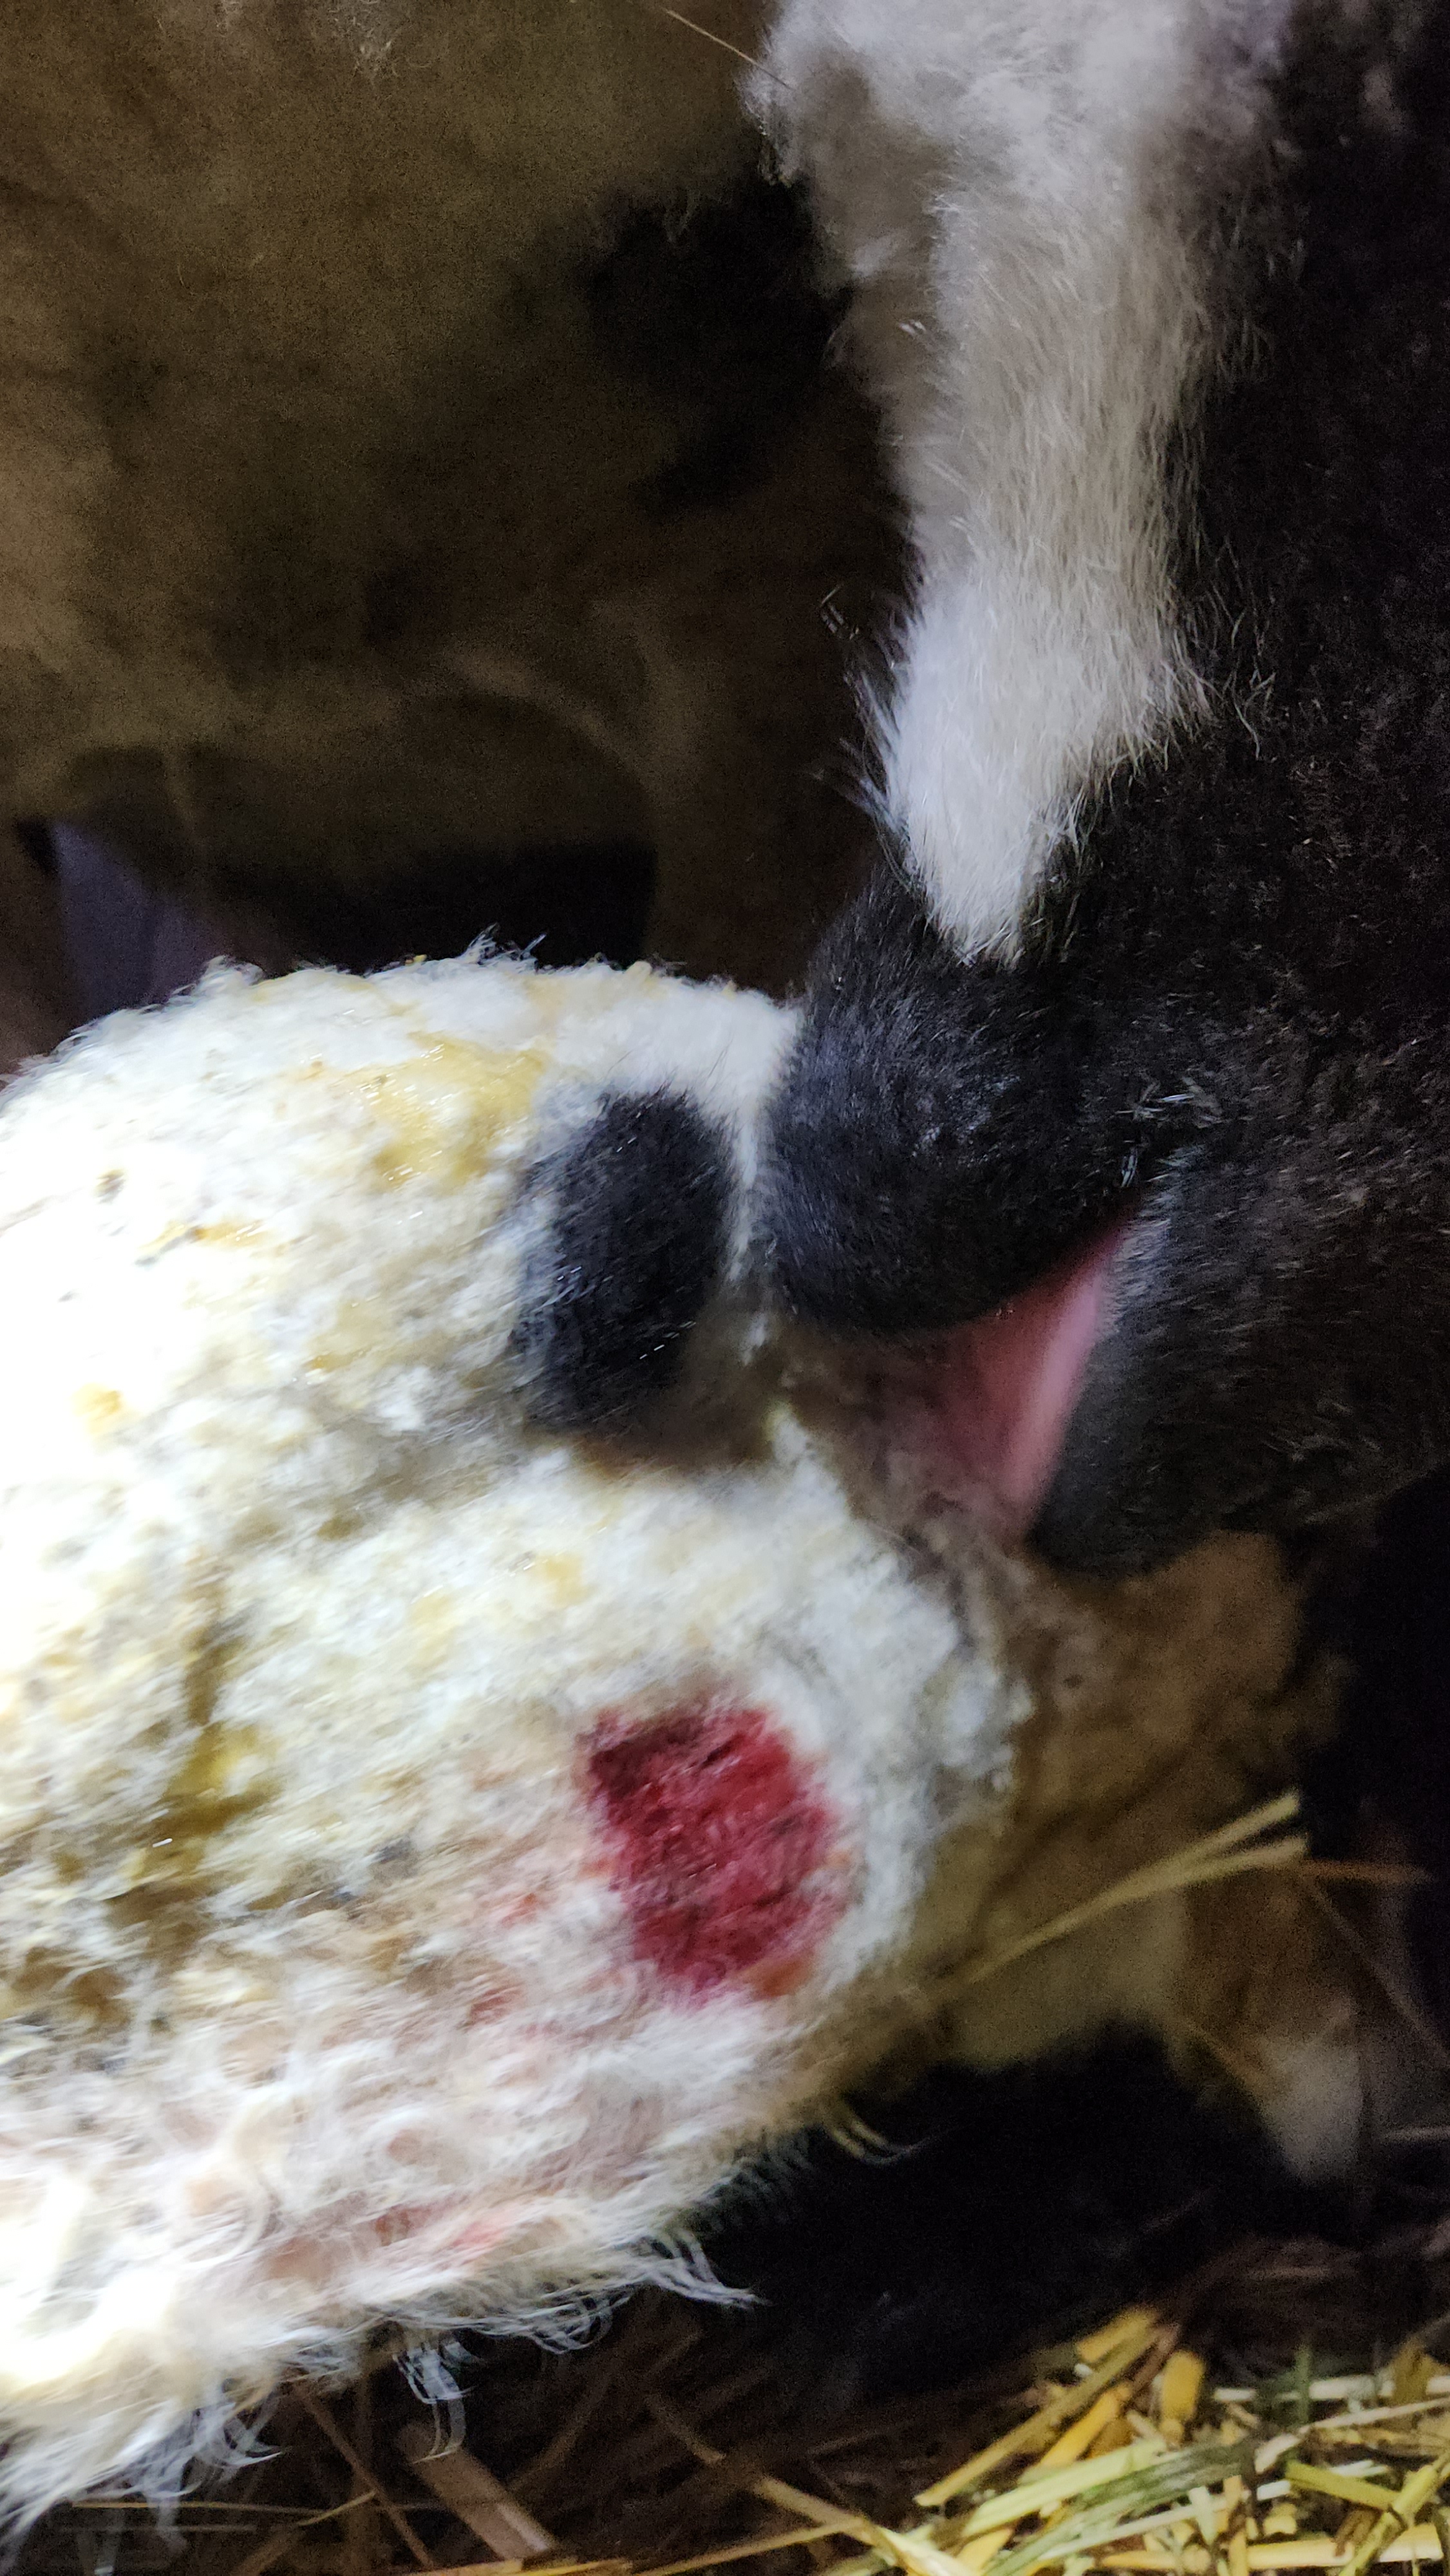
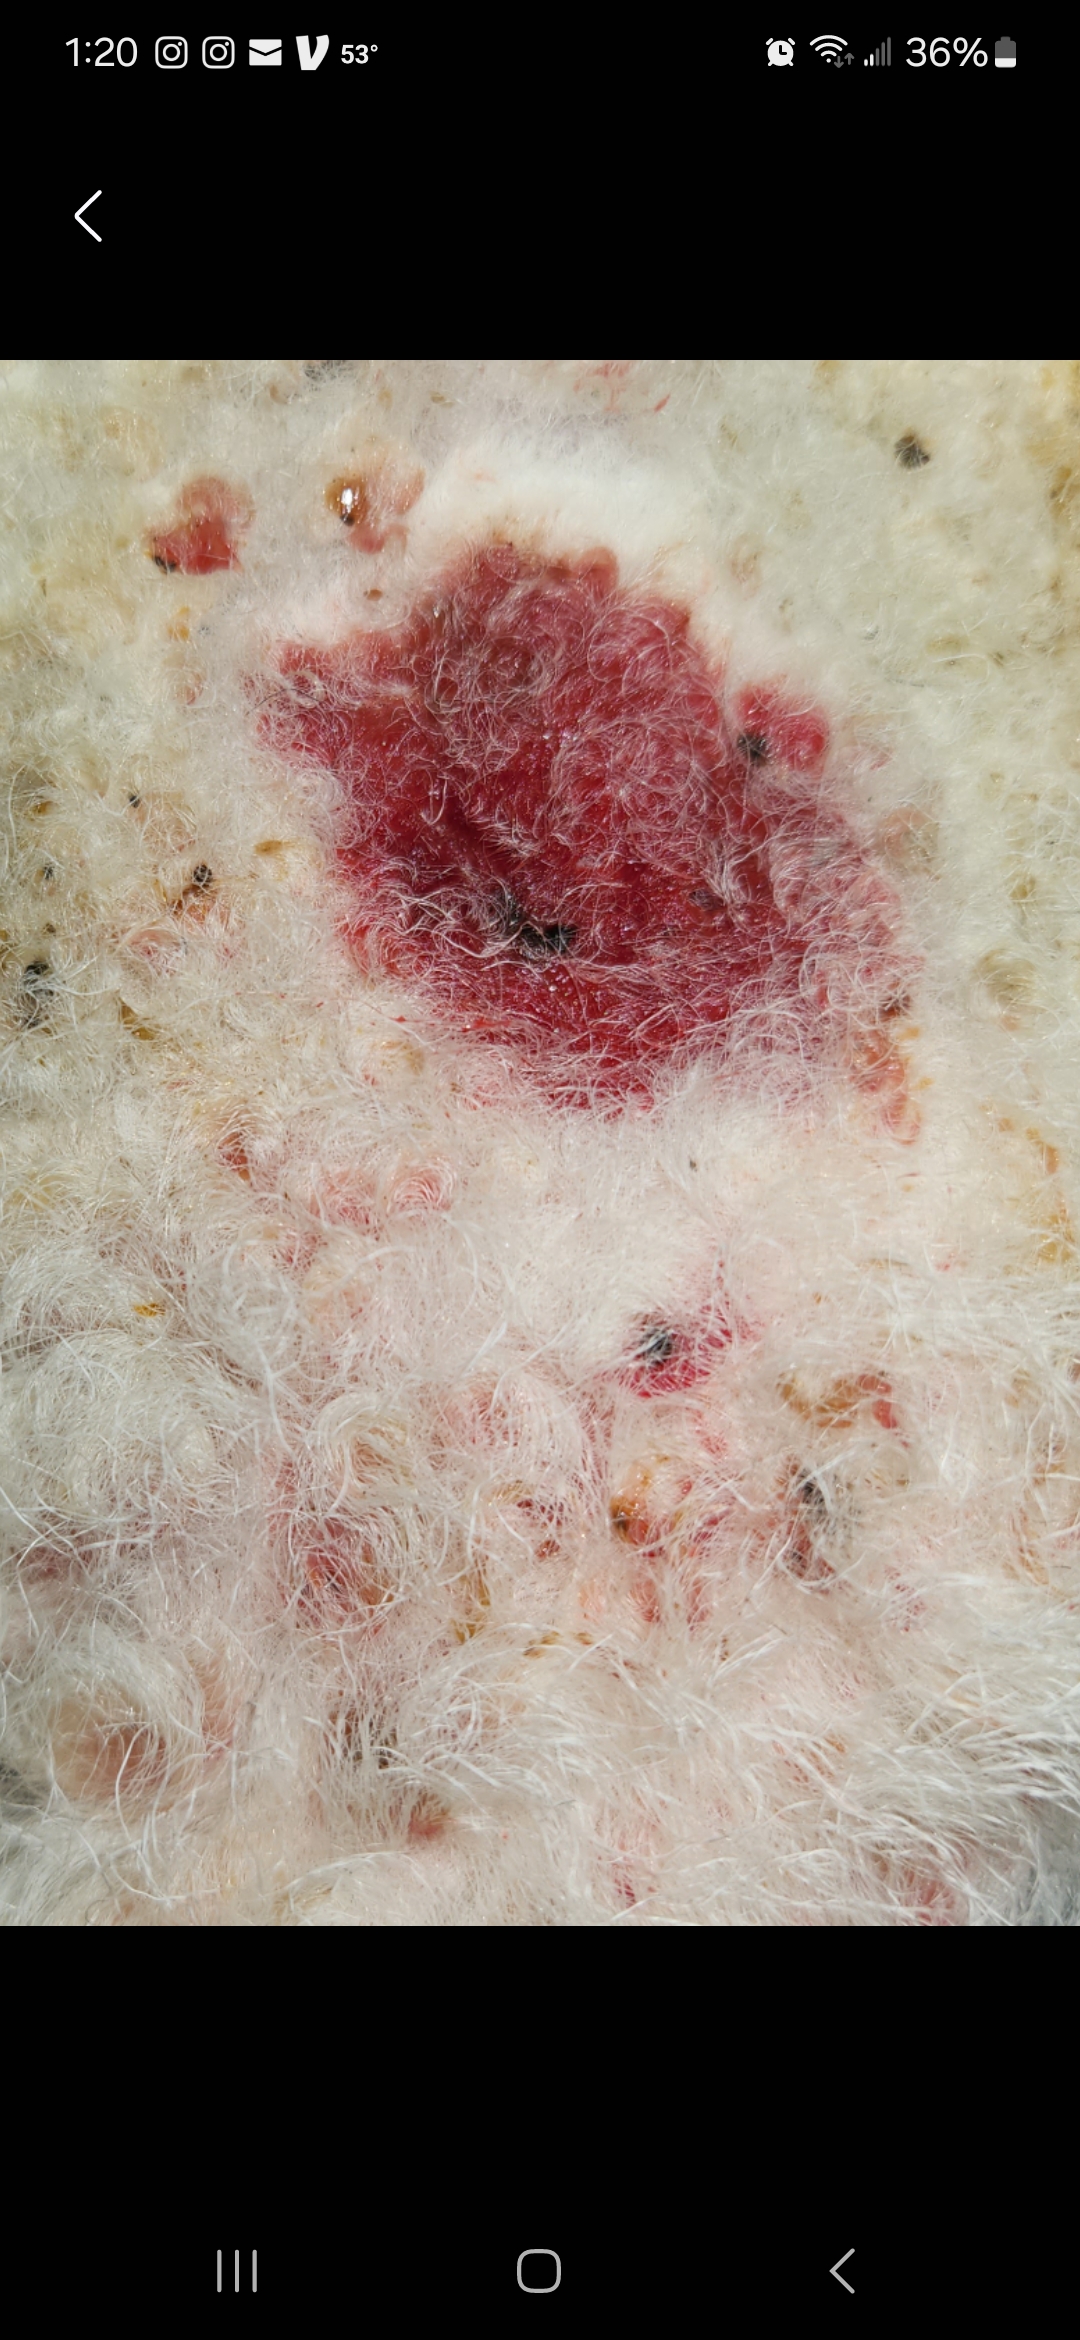
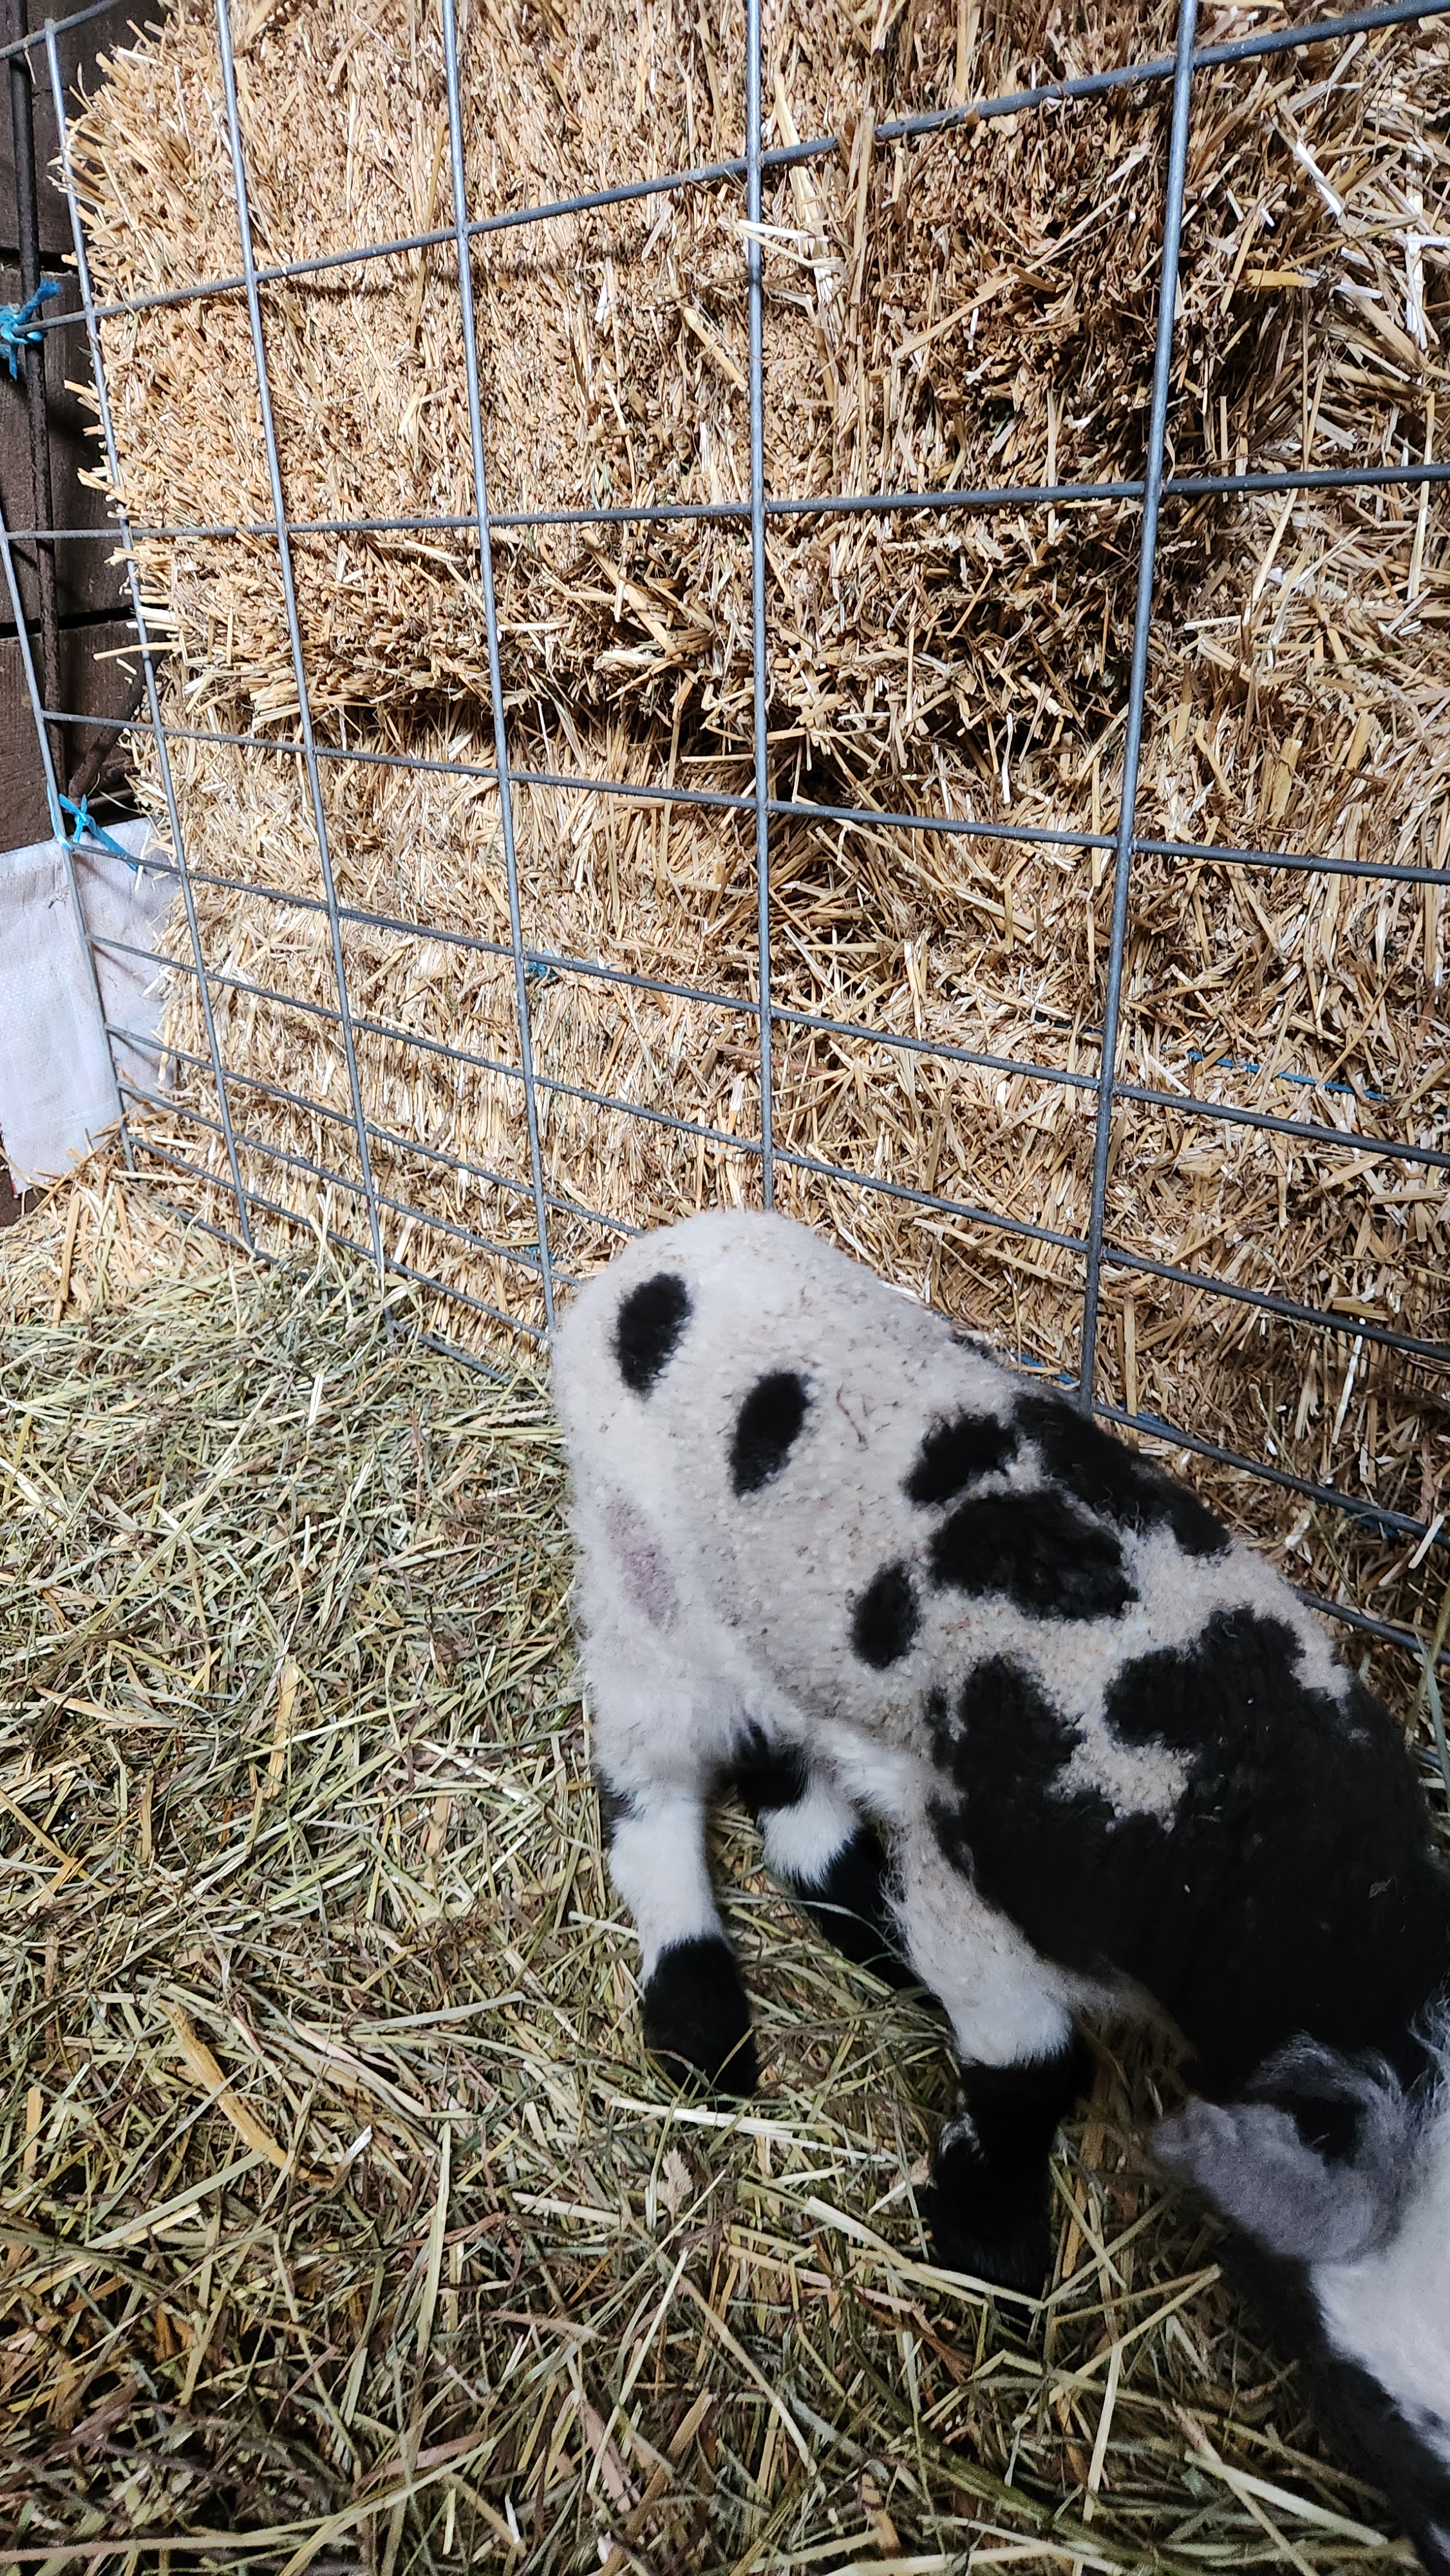
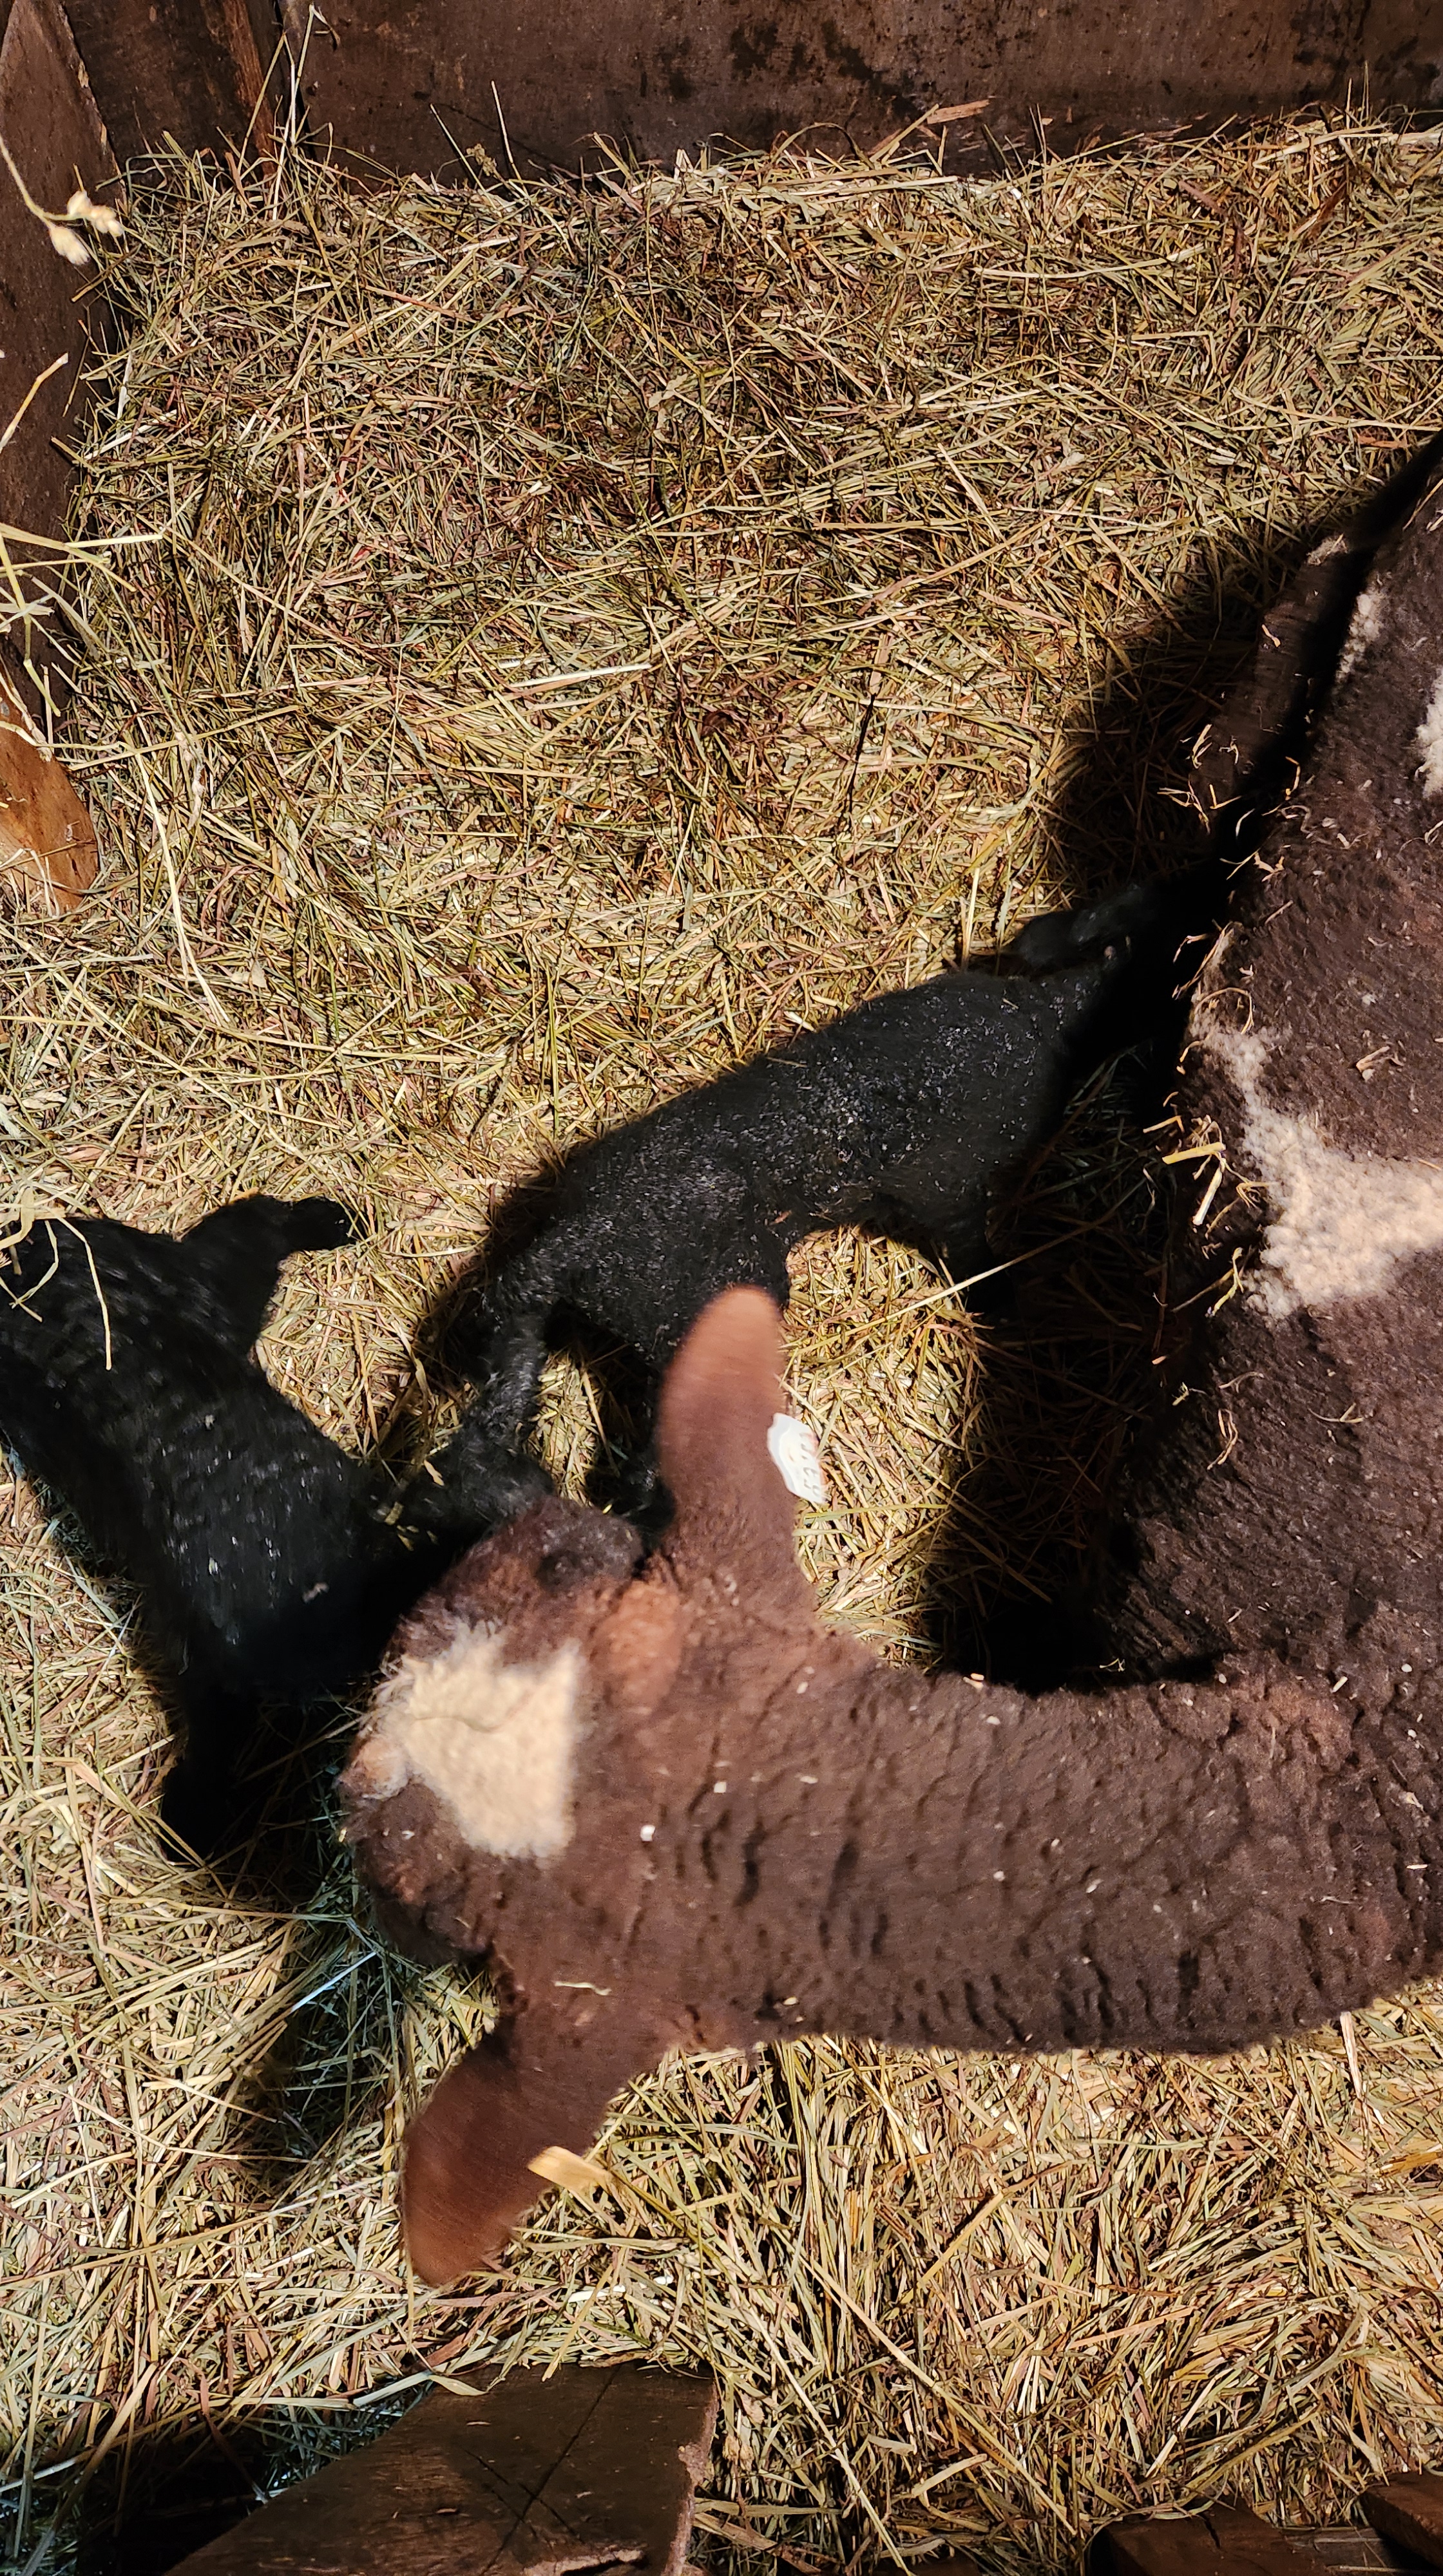
The first lamb was born around 10:30. She’s the one on the left in the 1st photo. She weighed 7.25lbs and has an odd spot on her right rear leg that looks like raw skin. I’m researching epitheliogenesis imperfecta, but I’m not sure if that’s what it is. I can’t tell if there’s actually no skin or just raw skin. It’s definitely in the shape of her other spots.
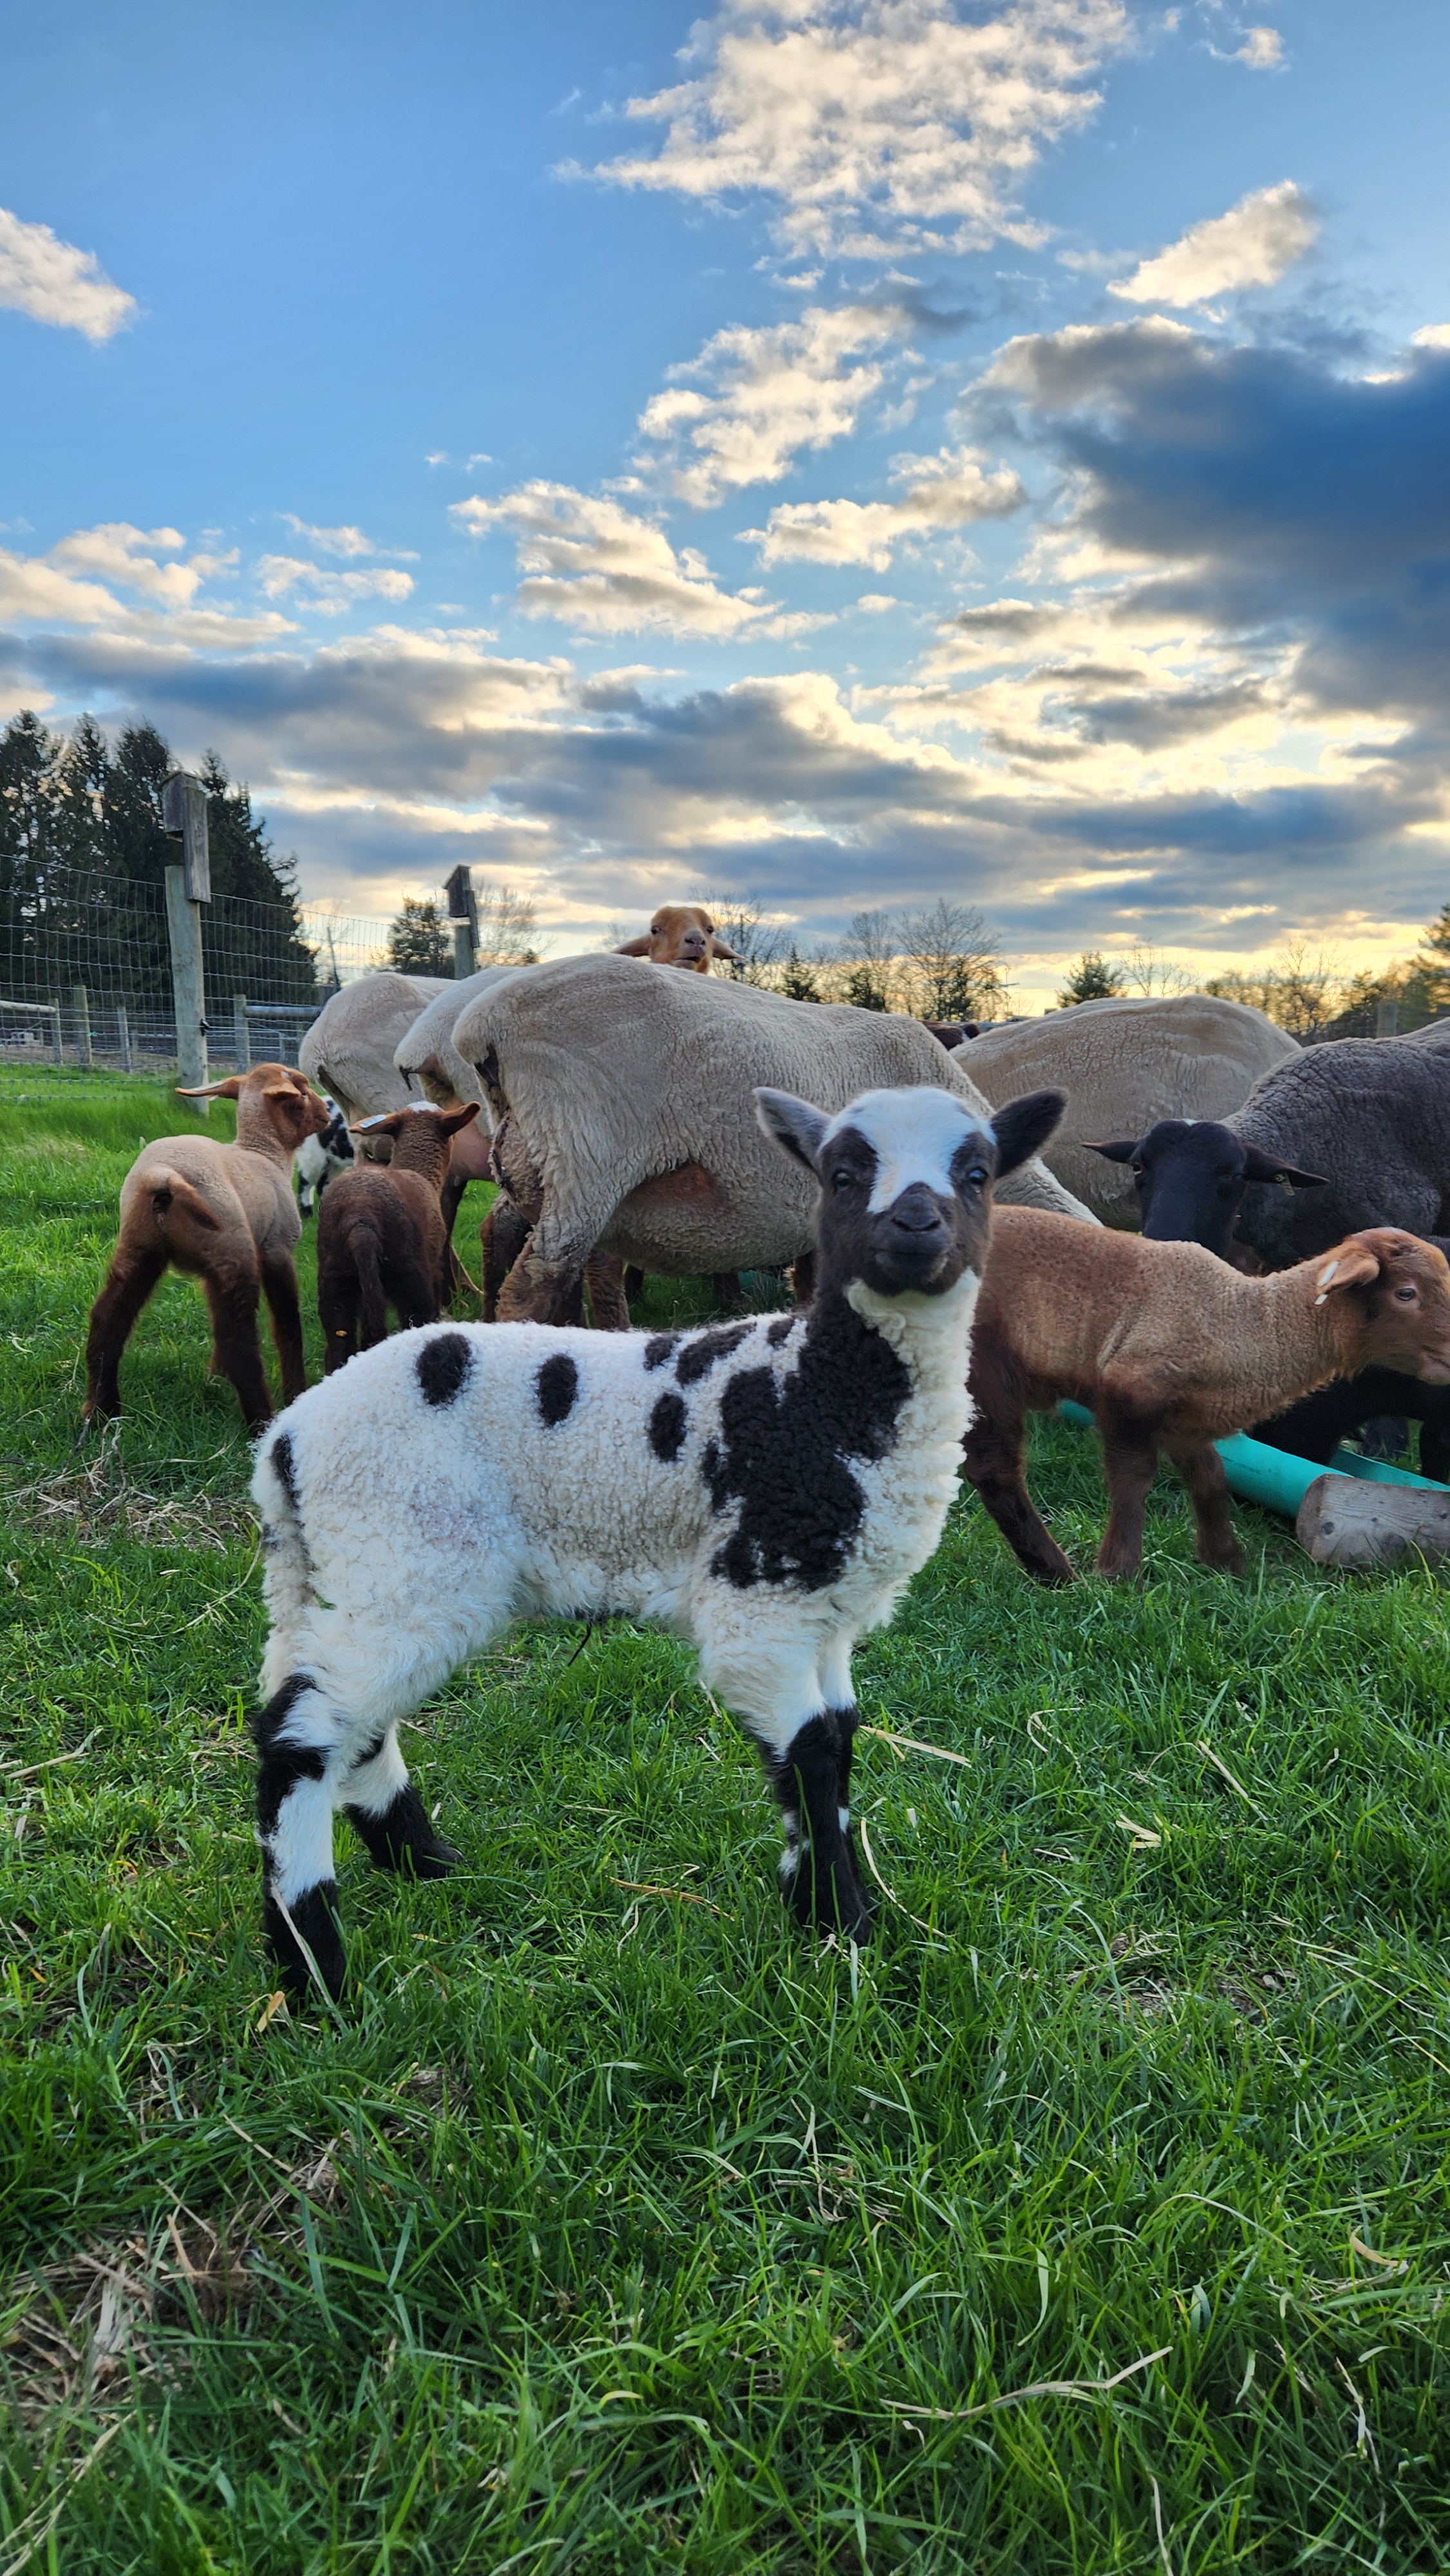
The second lamb was born shortly afterwards and weighs 8.4lbs. Both lambs seem to be lilac or dark lilac but we’ll be able to tell better as they get dried and cleaned. I think 1 is a 4 horn and 1 is a 2 horn.
We added a wall of straw around the lambing jug because Maya tried multiple times to clean the lambs through the panels.
Edit: I applied a medicated cream to the first lamb’s red spot after she was clean and dry. even though it seemed like it wasn’t raw skin anymore. After a day or so, you could barely see where the spot was, and now the area looks and feels normal. I’m wondering if a blood clot or something got stuck in her fiber during or before birth.
April 6, 2025 – Sunday
Qi’ra surprised us with twins tonight! I thought she was too slender to be carrying twins, but she fooled me.

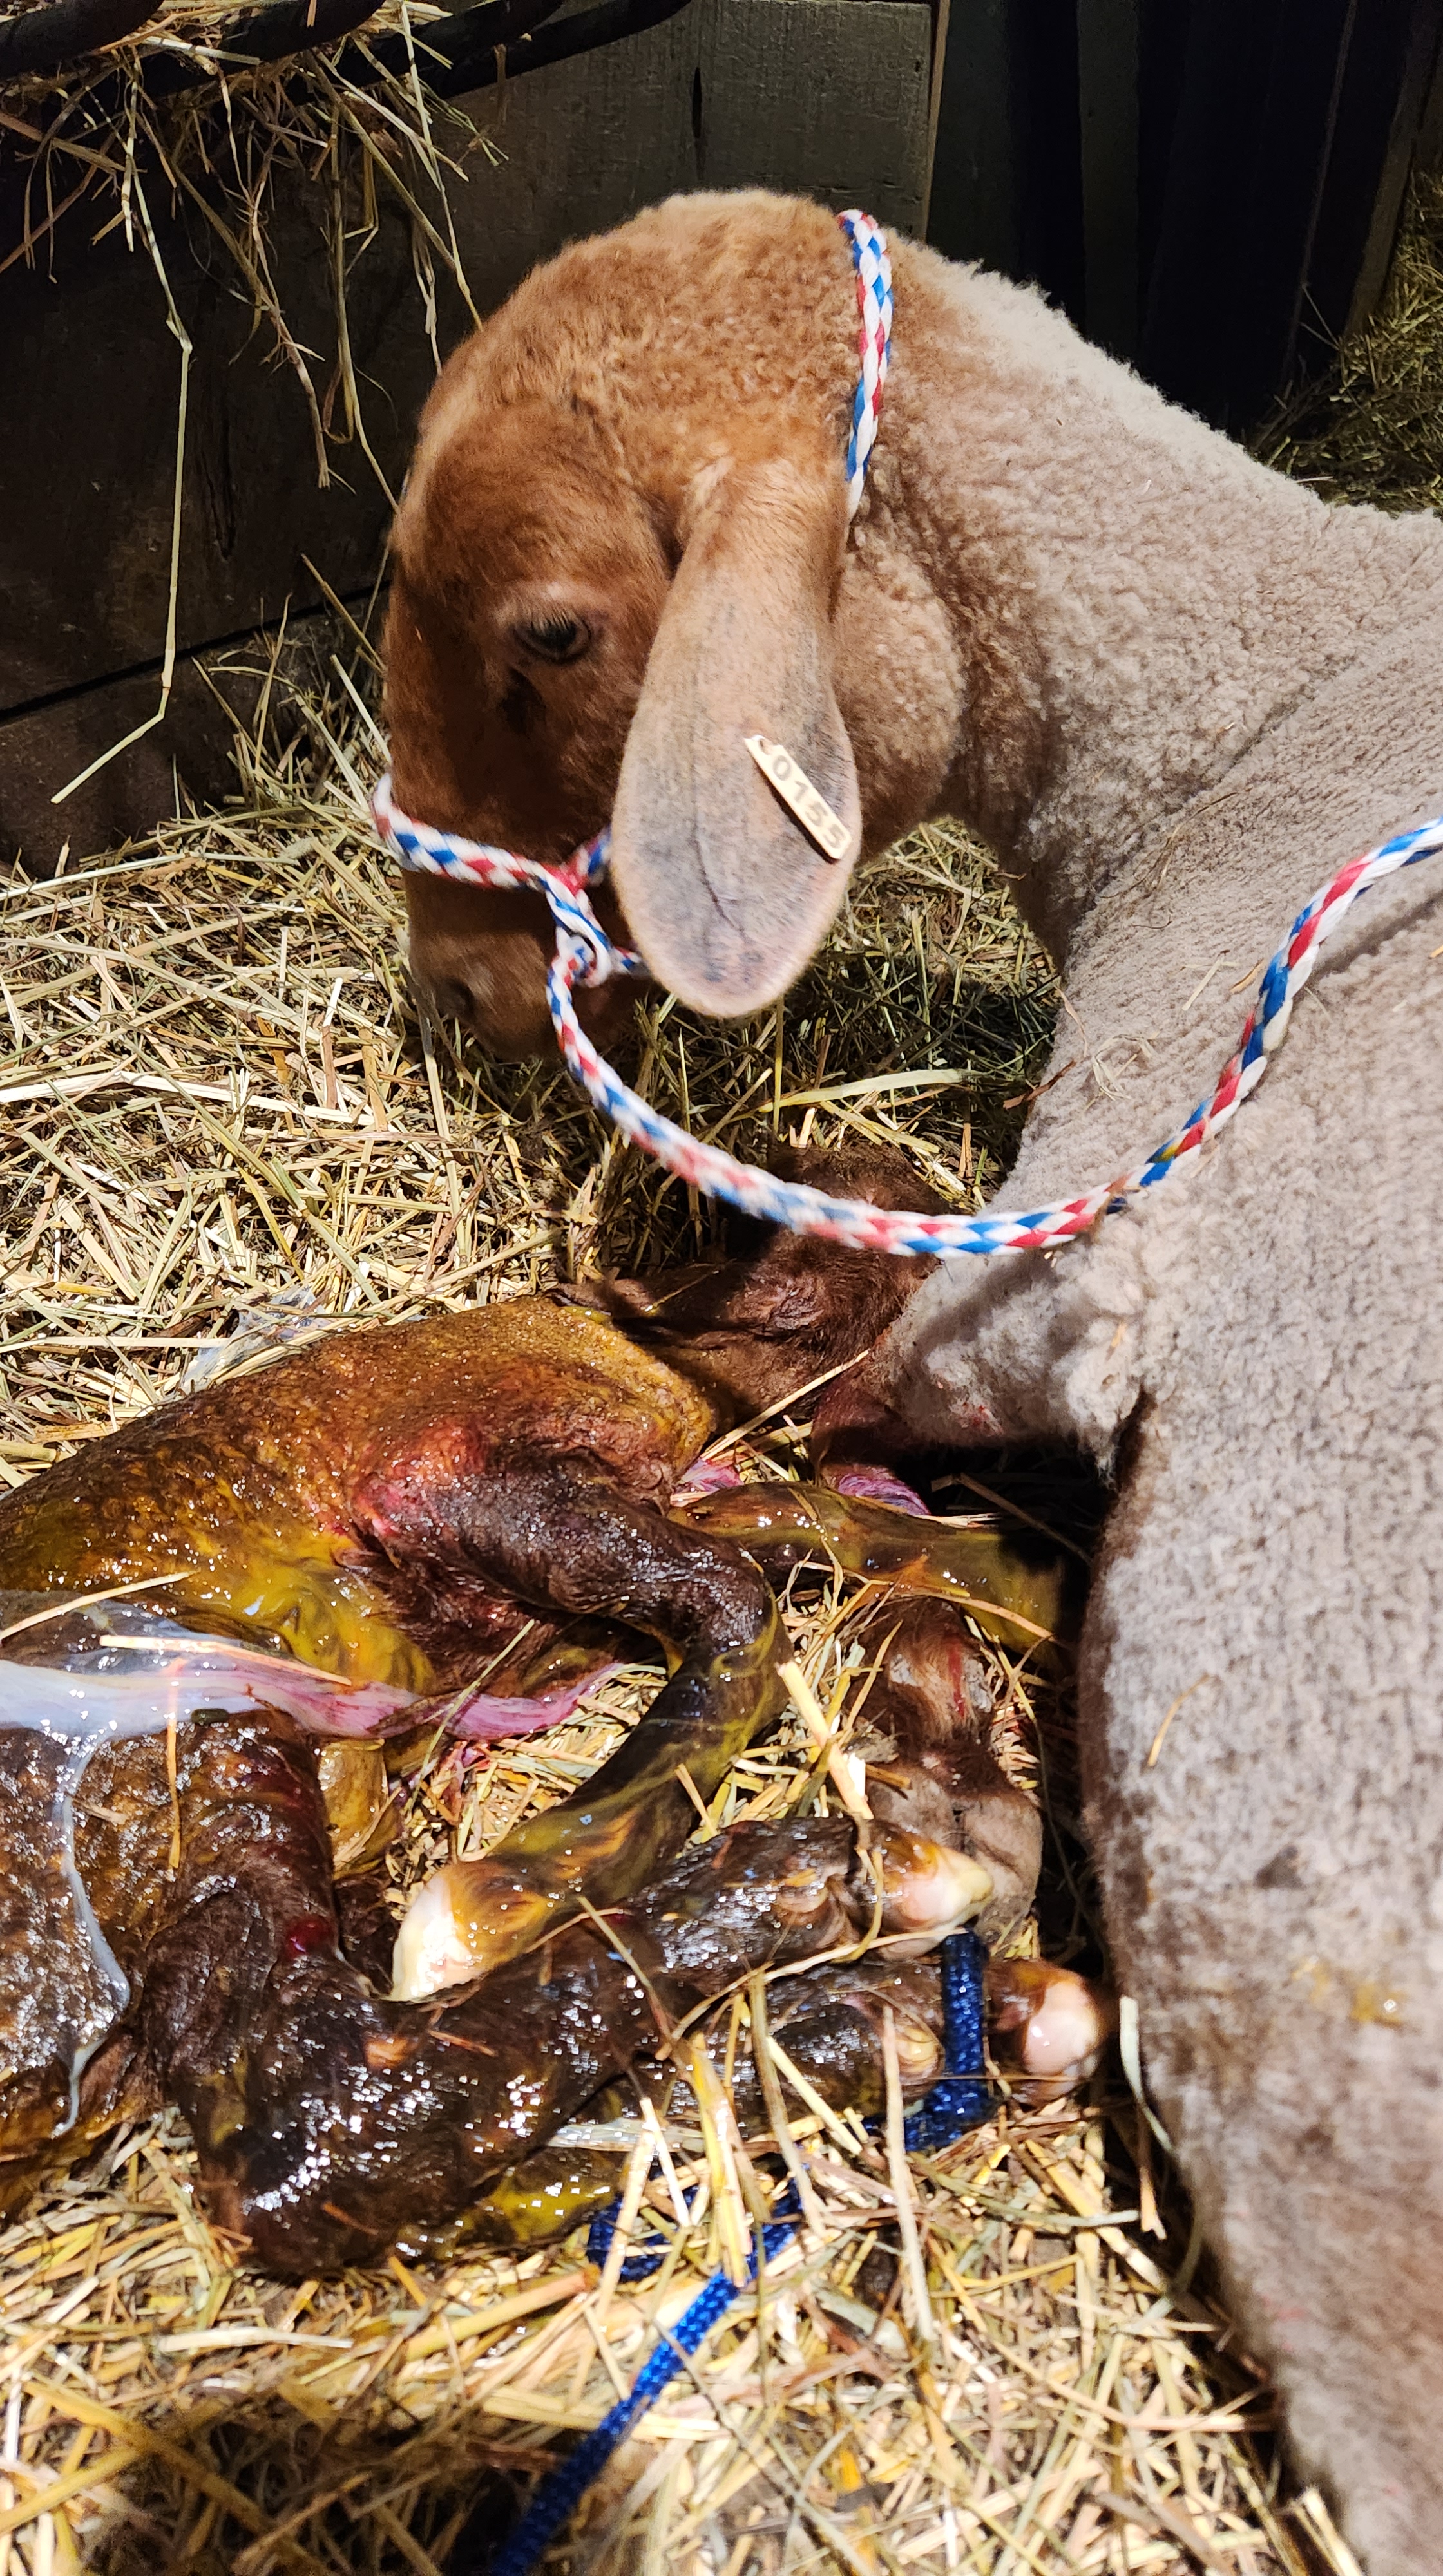
She showed us she was getting ready to give birth by separating herself from the other ewes most of the day. When I checked the monitor around 8pm or so, I saw her pushing. I went out to the barn and watched her for a while. When it was obvious she was tiring, I helped her deliver the lamb. She’s a first-time mama and wasn’t sure what was happening most of the delivery, but once the lamb made noise, she began cleaning it off.
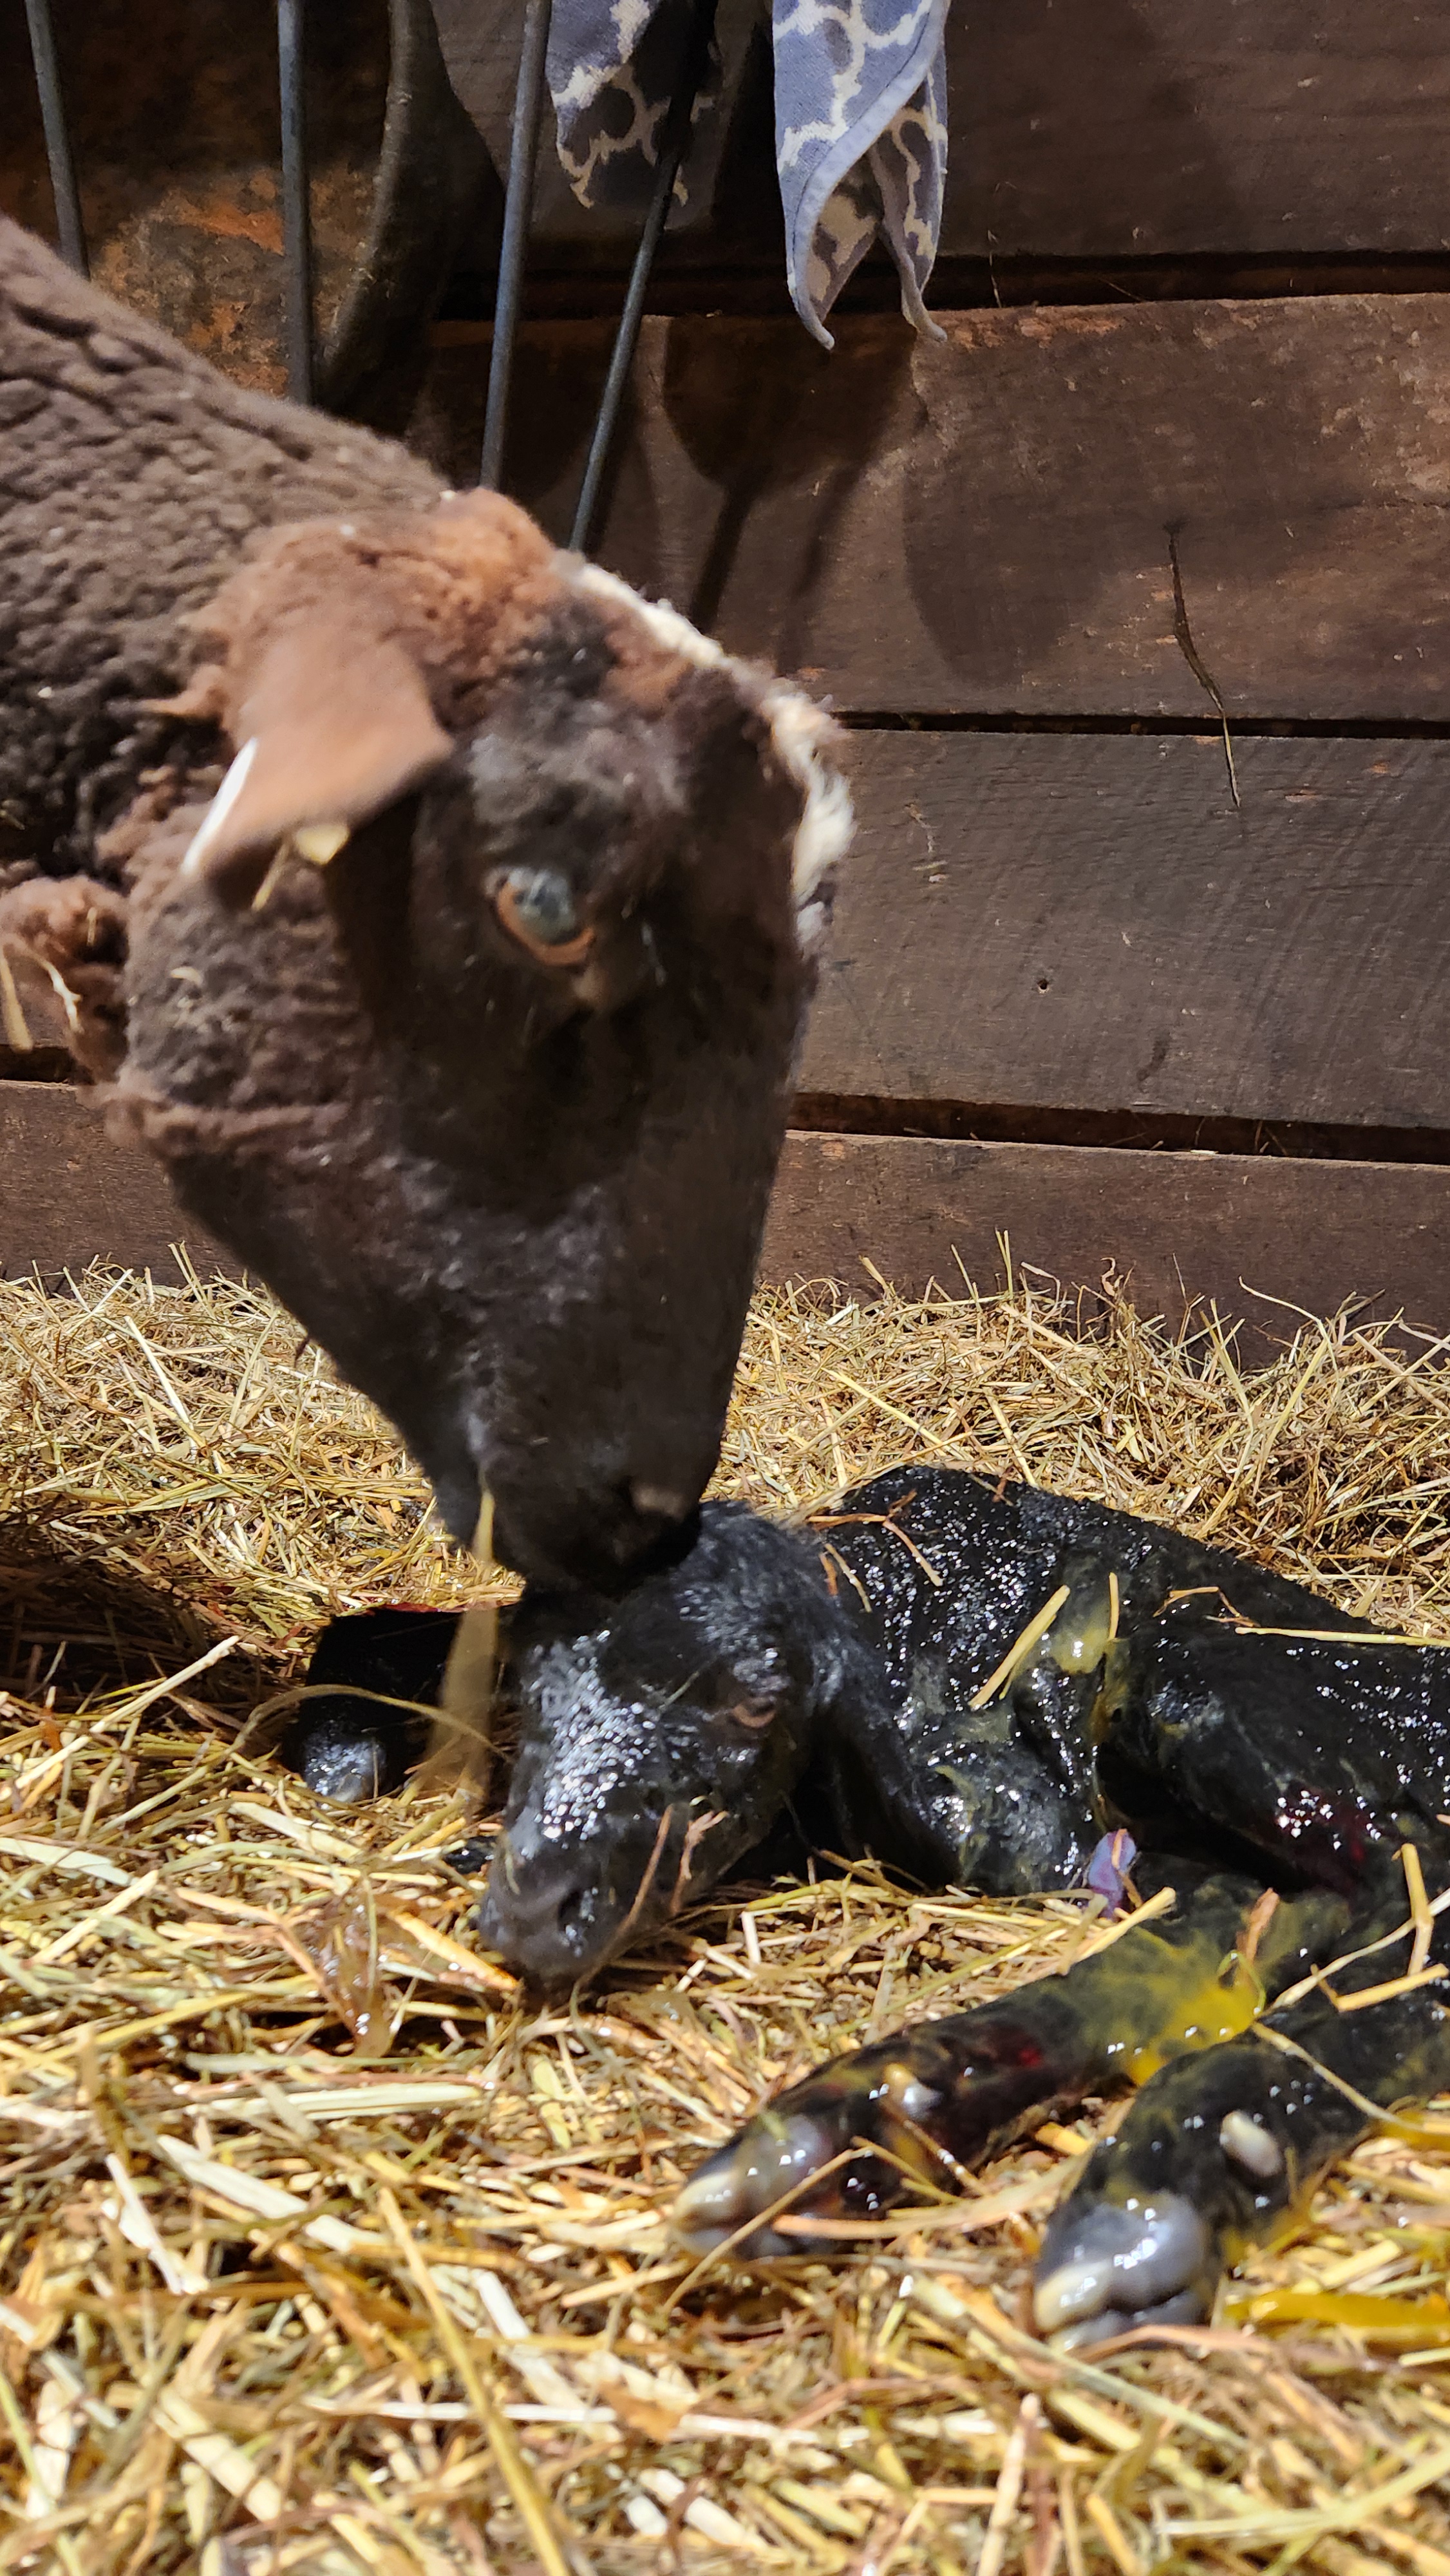
We moved her and the ram lamb to the lambing jug, and I noticed she had another set of hooves visible. Her first lamb was up and nursing, and Qi’ra wasn’t pushing the second lamb out. I wiggled the feet around, and she soon delivered the ewe lamb.
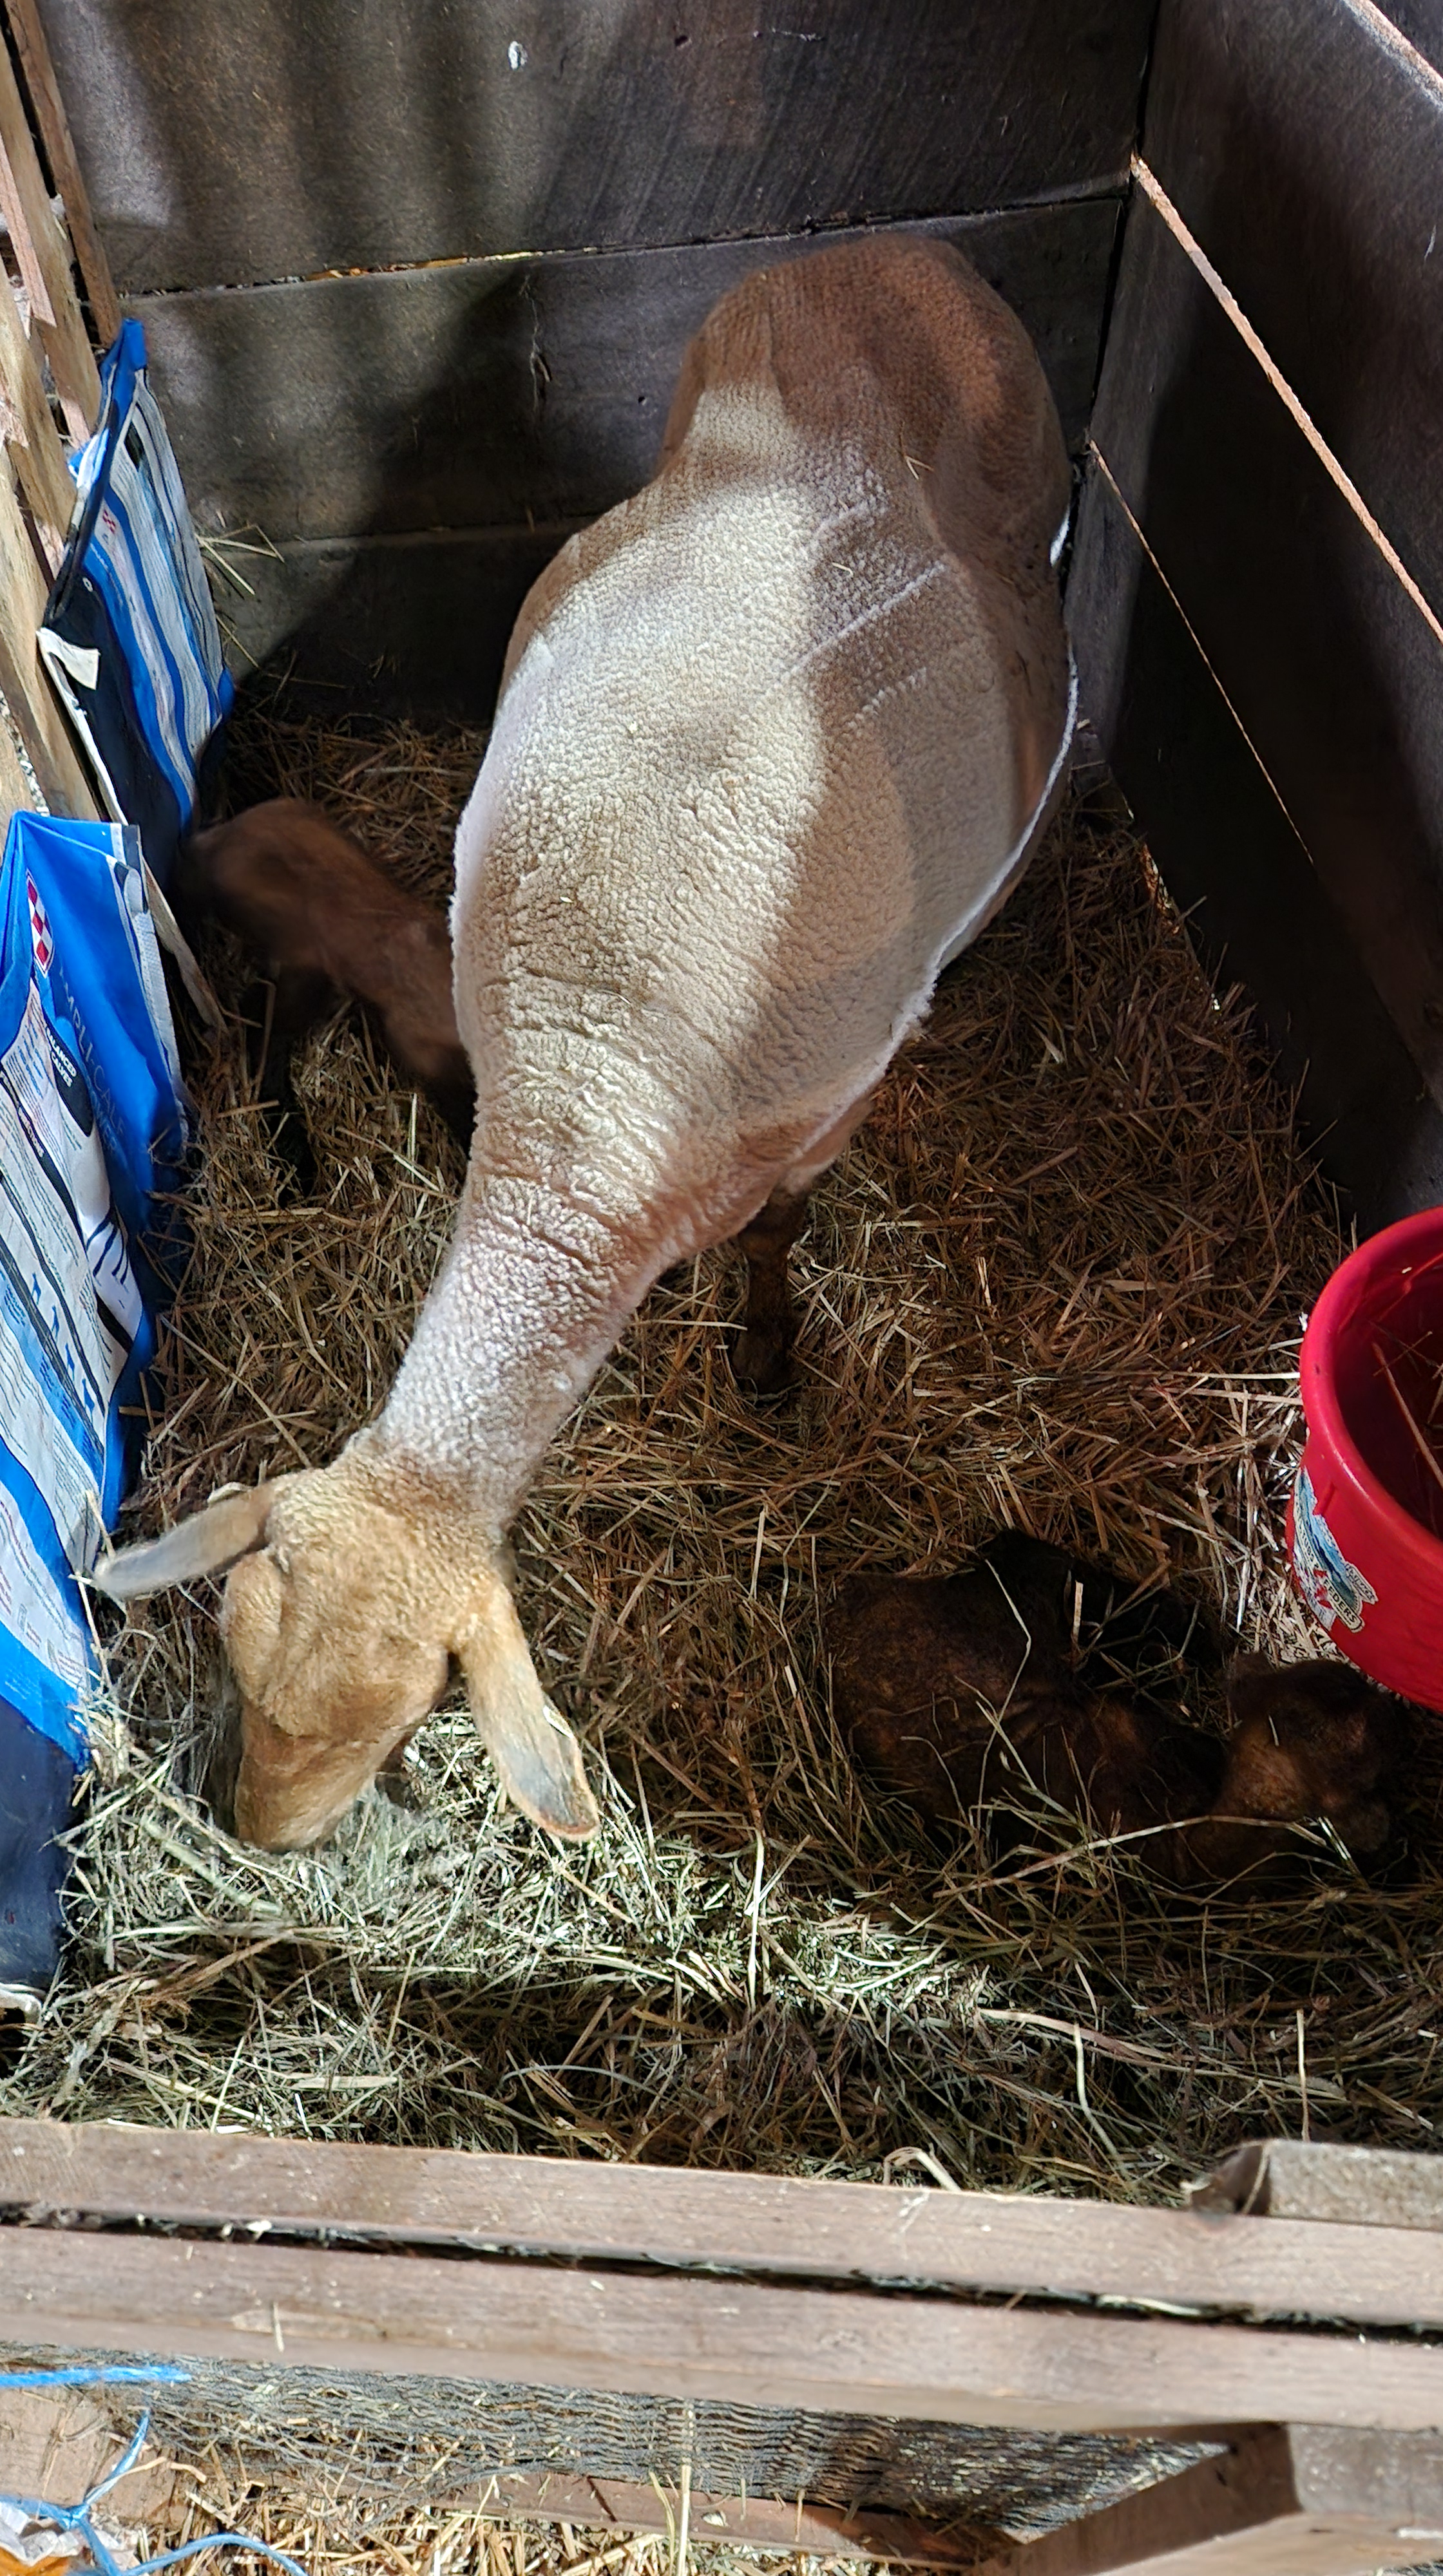
The ram ram weighed 9.65lbs, and the ewe weighed 8.05lbs. They had so much energy that once they got their footing, they didn’t stop moving.
For a first-time mama, Qi’ra is pretty relaxed and is taking good care of her babies.
Check back next week for more Lambing Diaries!