Virtual Field Trip

With schools closed because of the Covid-19 virus, we decided to host a Virtual Field Trip to complement any learning your children are already doing from home. We broadcast the field trip live on Facebook Friday, March 20th, but also wanted to post it here for anyone not on Facebook.

We hope you enjoy this, and please post any questions you have in the comments below.

We will be hosting another virtual field trip on Wednesday, March 25th live on Facebook at 1pm EDT. The topic of this broadcast will be Eggs.
Continue reading

Egg Blowing 101: A Tutorial

Have you ever wanted to decorate eggs that you could keep forever?  You can empty and clean the eggs quickly and easily so you won’t have to use your creations for egg salad!

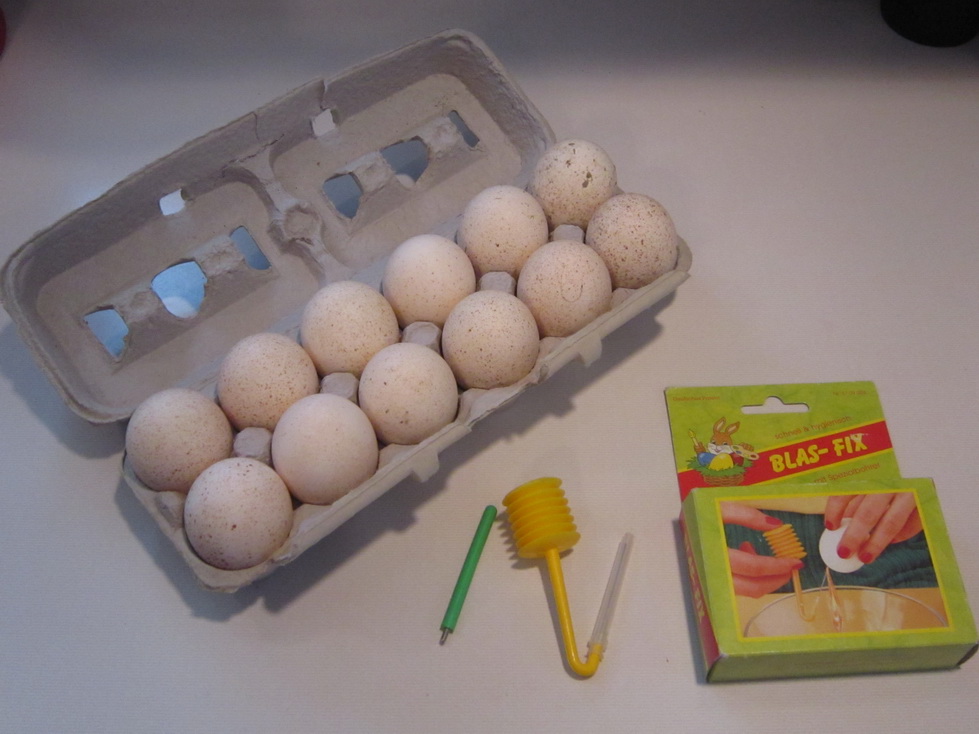
I use an egg blowing tool (available here), but you can also use a tack or small drill bit and a syringe (without the needle).  Along with the supplies I have pictured below, I also use a large bowl for collecting the egg whites/yolks and another large bowl for cleaning (if you are emptying a lot of eggs you could also use your sink).

Egg Blowing Supplies

Step 1:  Using your drill tool notch one end of the egg and drill a hole.  (If you are using a syringe you will need to make a hole on each end of the egg.)

Drilling Egg

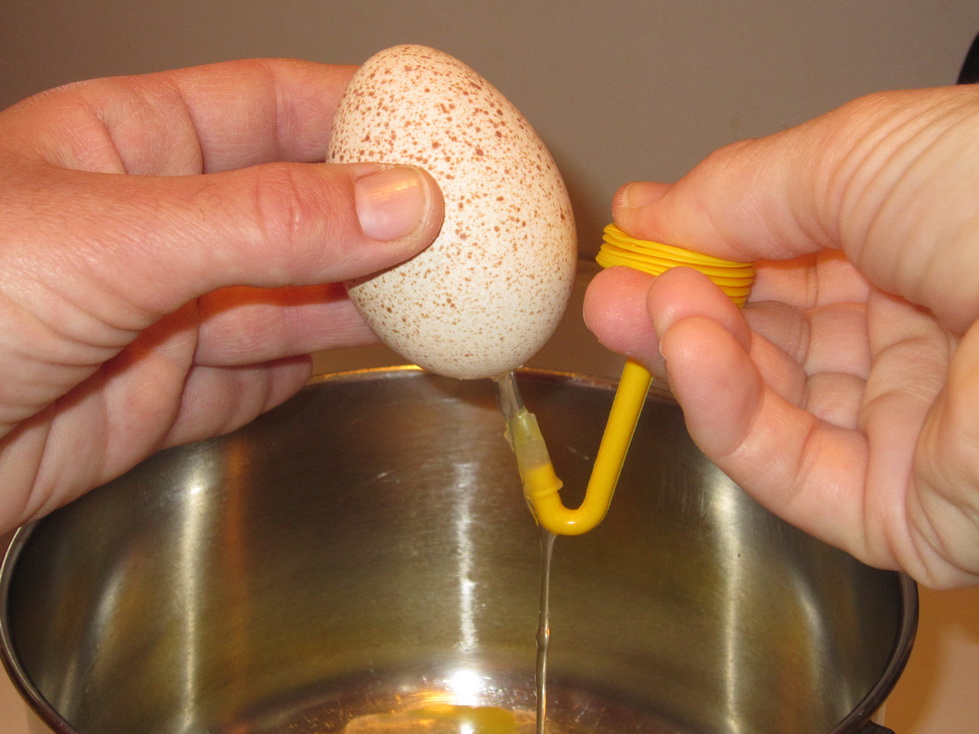
Step 2: Take the cap off of the pump and insert it into the hole (which is facing down).  Put your thumb over the hole and squeeze.  As you squeeze the pump you will begin to empty the egg.  When you squeeze all the air from the pump into the egg, take your thumb off of the hole and pump again.  (If you are using the syringe to empty the egg place the tip in the top hole and squeeze so that the egg contents come out of the bottom hole.)

Use caution during this step because if your egg is cracked at all or too thin it will break as you pump air into it.  Also, if you pump too much air into the egg too quickly it may break.  I usually poke the end of the pump tool into the egg now and then to help some of the material come out and also to pierce the yolk sac.  This step will take a couple to a few minutes, depending on how big your egg is.

Emptying Egg

Step 3: Once your egg is empty it’s time to wash it.  Using warm, soapy water wash off the outside of the egg.  Submerge the pump tool into the water to fill it.  Insert it into egg and squeeze the water into the egg.  Repeat this until only clean water comes out of the egg.  Rinse the egg in clean water and shake out excess water.

When your egg is clean you can microwave it to sanitize it, if you’d like.  I place my eggs on a paper towel-lined plate and microwave on high 3 times for 10 seconds each.

Washing Eggs

Step 4:  I cook all of the egg whites and yolks and give them to our chickens, turkeys and ducks.  The cooked eggs are a very nutritious treat for the birds!

Scrambled Eggs

Step 5: Once the eggs are dry they are ready to be decorated.  Be creative and have fun!

Trying a New Waterer

Last year we added ducks to our chicken coop.  It worked quite well, except for the mess they made of the waterer.  For a long time we had the waterer in the chicken house raised so only the chickens could get to it, and a general water trough outside.  This worked for a while, but eventually became a mess in its own way.  If only we had an automatic water system…

Then one day we got our FarmTek catalog in the mail.  Looking through it, I saw that they had a plan for making a poultry drinker with a 5-gallon bucket and their Super Flow push-in Nipples.   Basically you get a 5-gallon and drill 3 holes in the bottom.  push the drinker nipples in, fill with water and hang it so the bottom is about eye-level for your poultry.  We keep the lid on the bucket so that the water stays clean, but we only snap it on in 1 or 2 places so it’s easy to take off.

We ordered 6 nipples but just make one waterer to begin.  We showed the poultry how to drink from it by holding their beaks to it and they will drink from it, but still prefer the outdoor water bowl.  I think if we switched over to only this type of waterer, they would use it without problem.

We made a 2nd drinker when our ducklings were old enough to house with the rest of the chicks.  The young chicks, ducklings and poults adapted more quickly to the new system than the older birds did. 

Here are photos of the drinker in the chick nursery:

Chicks and ducklings drinking from hanging waterer

Another picture showing the handle

They are still using this waterer exclusively, however, when the rain fills their little pond up they prefer to drink out if that.  Even though they have been trained to use this bucket drinker, drinking out of a trough (or puddles) is more natural to them.