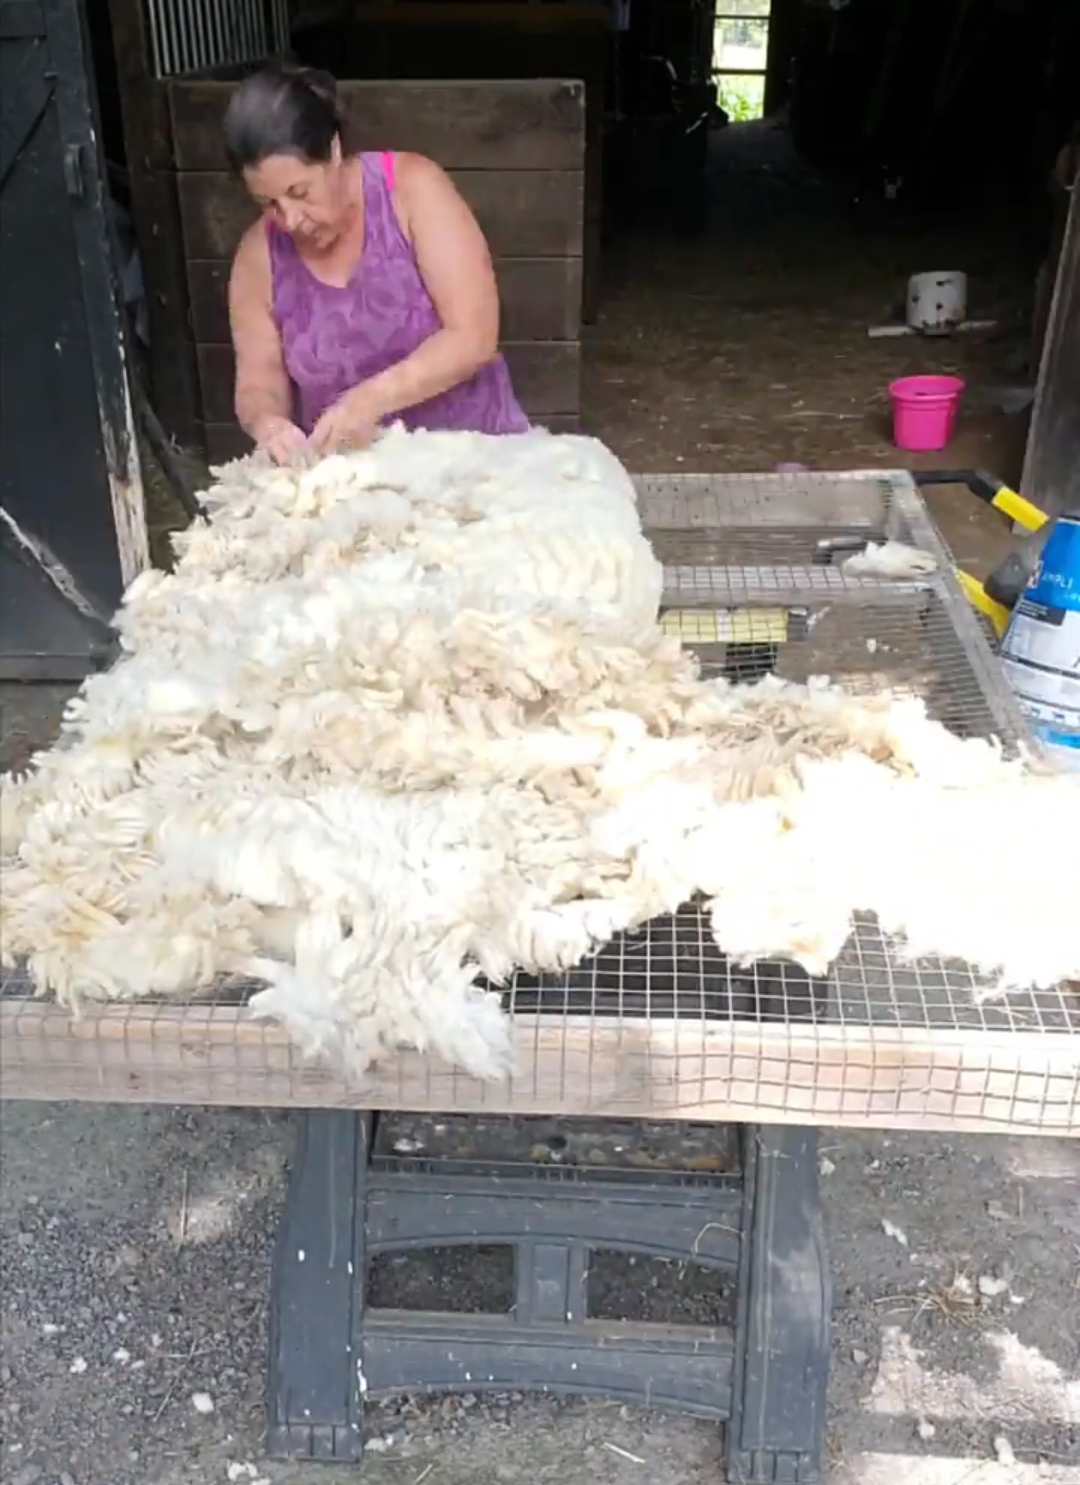
You’ve shorn your sheep, now learn to skirt wool fleeces in person! I will be hosting 2 skirting classes this spring, and will also be offering private skirting sessions where you bring a fleece to skirt.
Rendering your beeswax cleans it of impurities and is necessary in order to use your beeswax in most projects. There are a few methods for rendering beeswax – I use the crock-pot/slow-cooker method. It’s easy and doesn’t involve pouring any hot wax through a strainer.
First, you need to gather your beeswax and supplies. You will need:
a slow-cooker (with lid)
an old (but clean) white, cotton t-shirt, cut in 2 pieces so you have the front and back torso separated – you can find inexpensive t-shirts at crafts stores if you don’t have one that you can use
kitchen twine or other string
approximately 2-4 cups water
a spatula or other utensil
a knife
You will want to use items that will not be needed for food in the future because beeswax is difficult to fully remove from objects, even after rigorous cleansing. I purchased a spare slow-cooker, 2nd hand from someone local, for rendering my wax.
Step 1 – Add about 2 inches of water to the slow-cooker pot. Cover the pot with 1 layer of the tshirt and tie with kitchen twine just under the pot lip. Don’t tie the t-shirt too taunt – you want it to give a little.
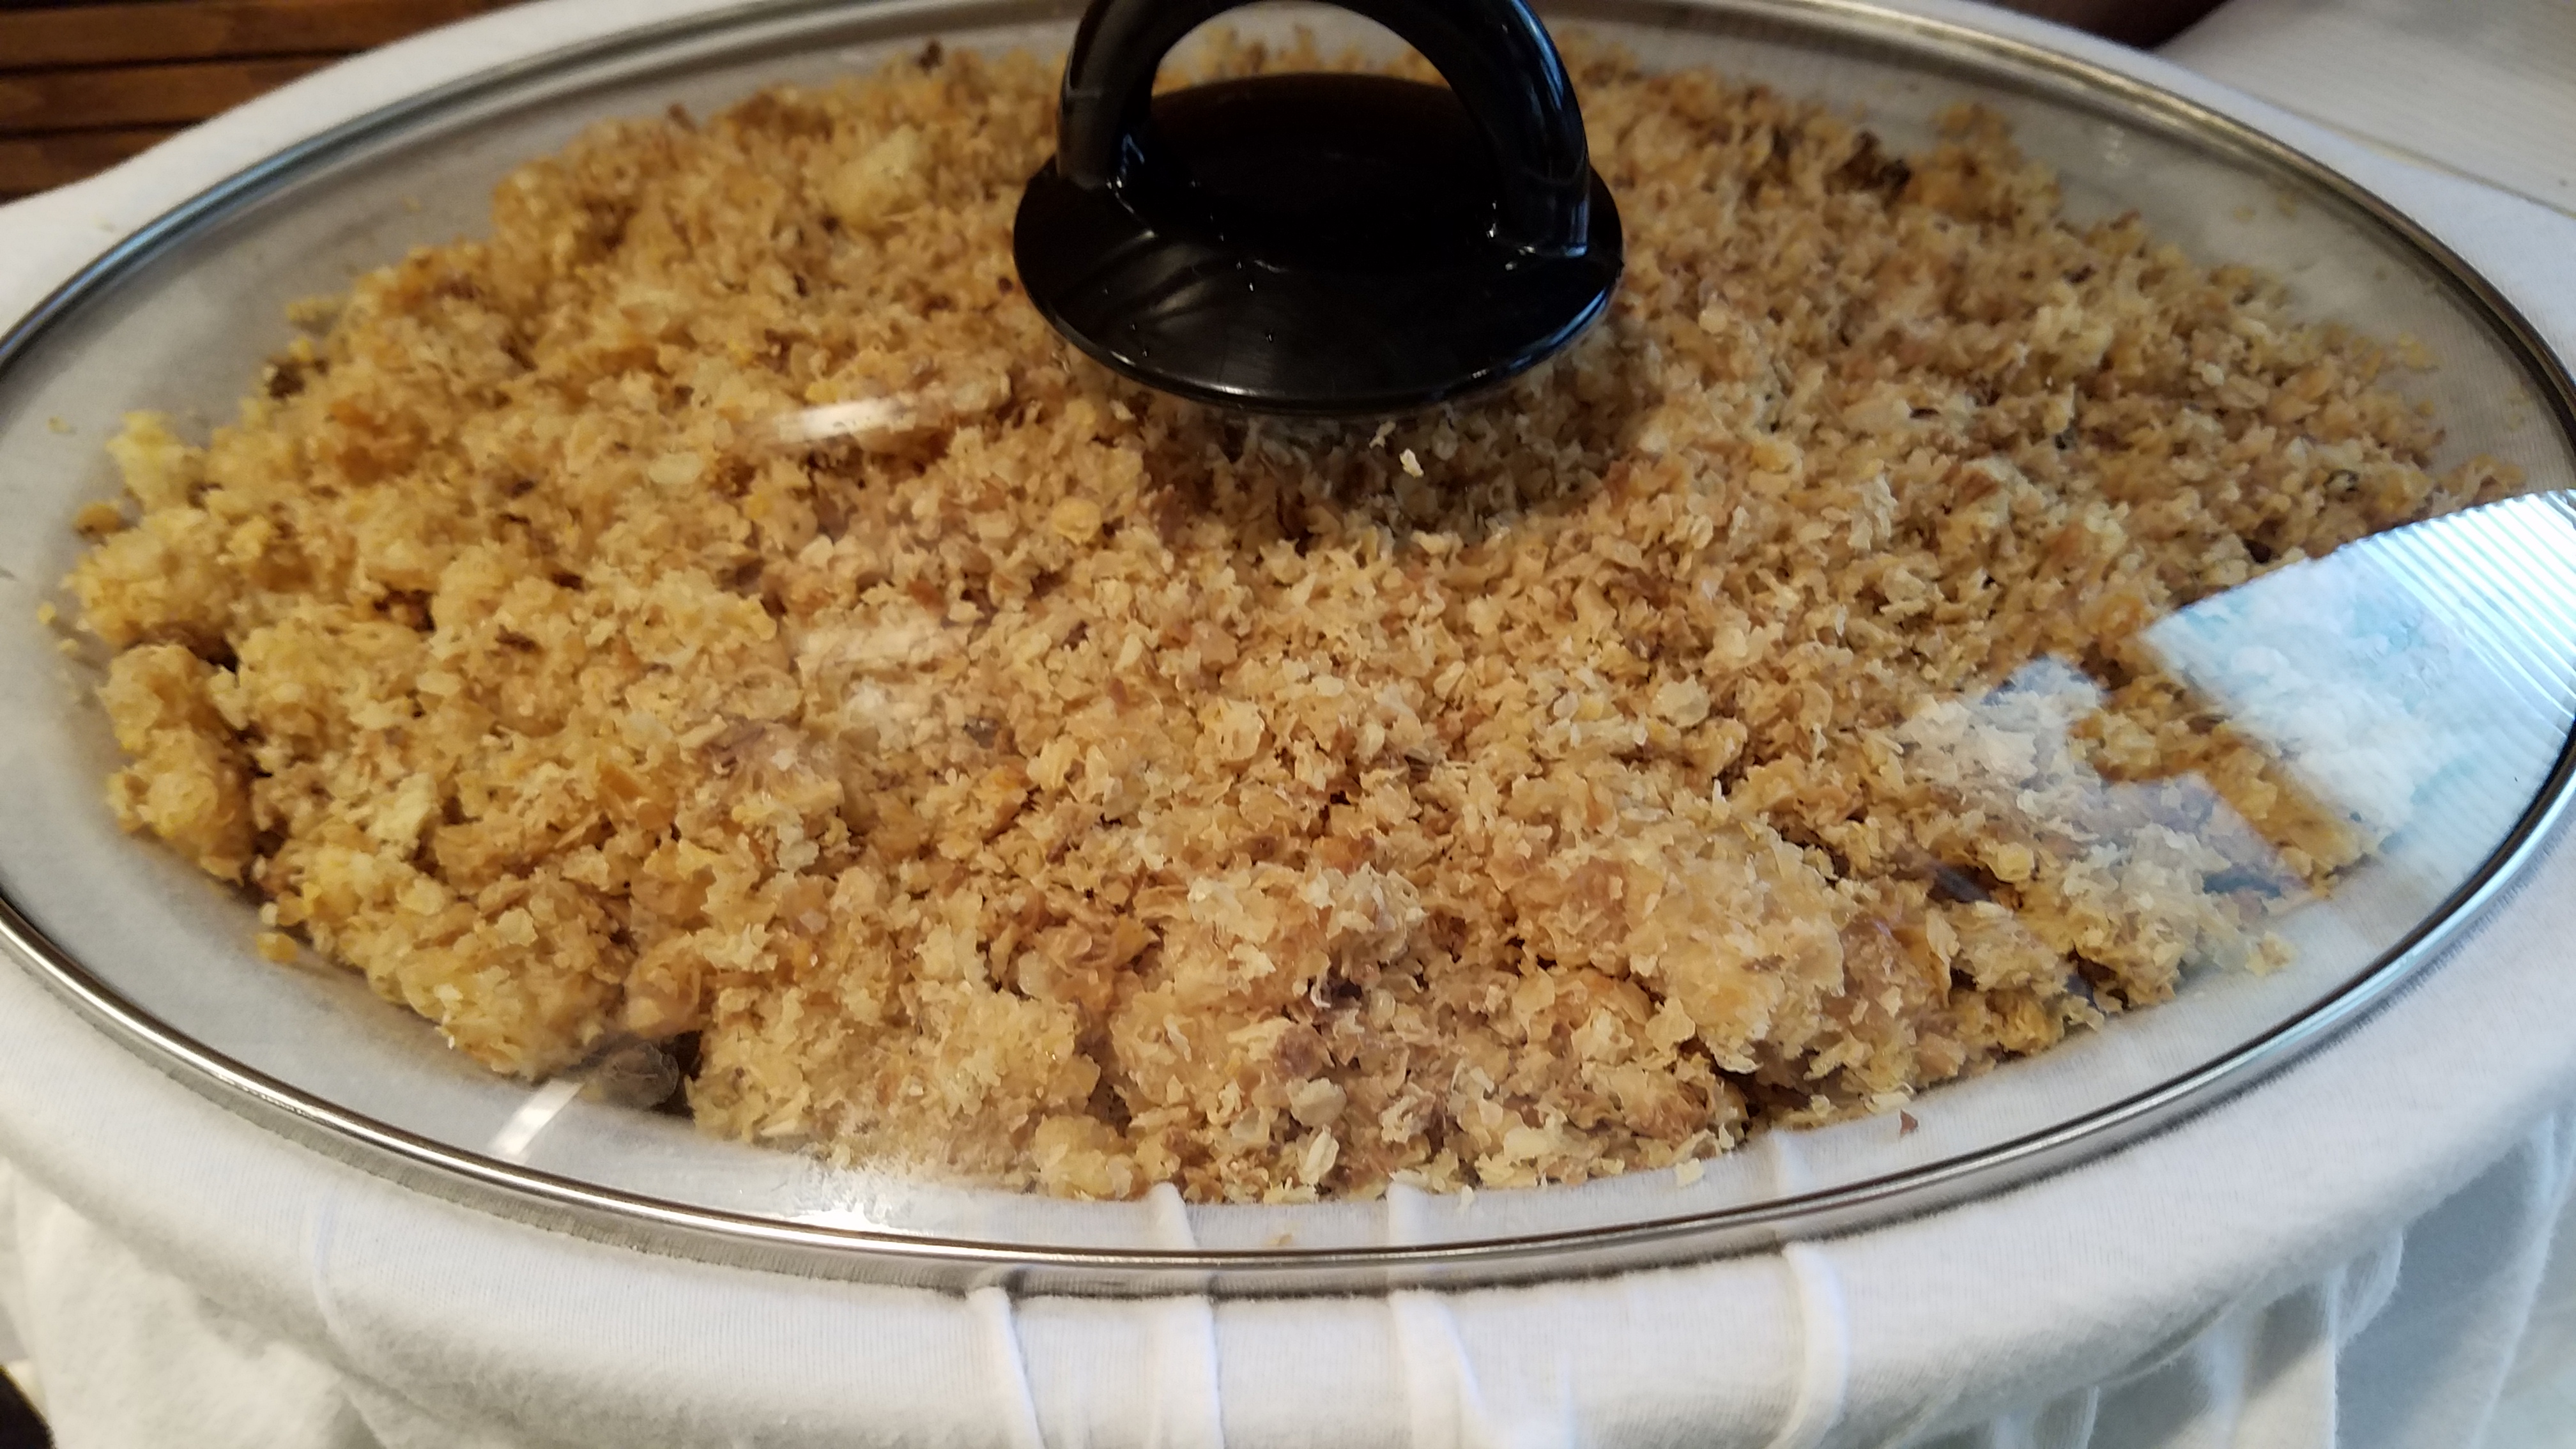
Step 2 – Set your pot in the base, making sure the t-shirt is not stuck inside the base. Place your wax cappings and any other beeswax on top of the t-shirt. You can push the t-shirt down so it hangs like a hammock, but keep it at least an inch from the water level. Place the lid on the slow-cooker.
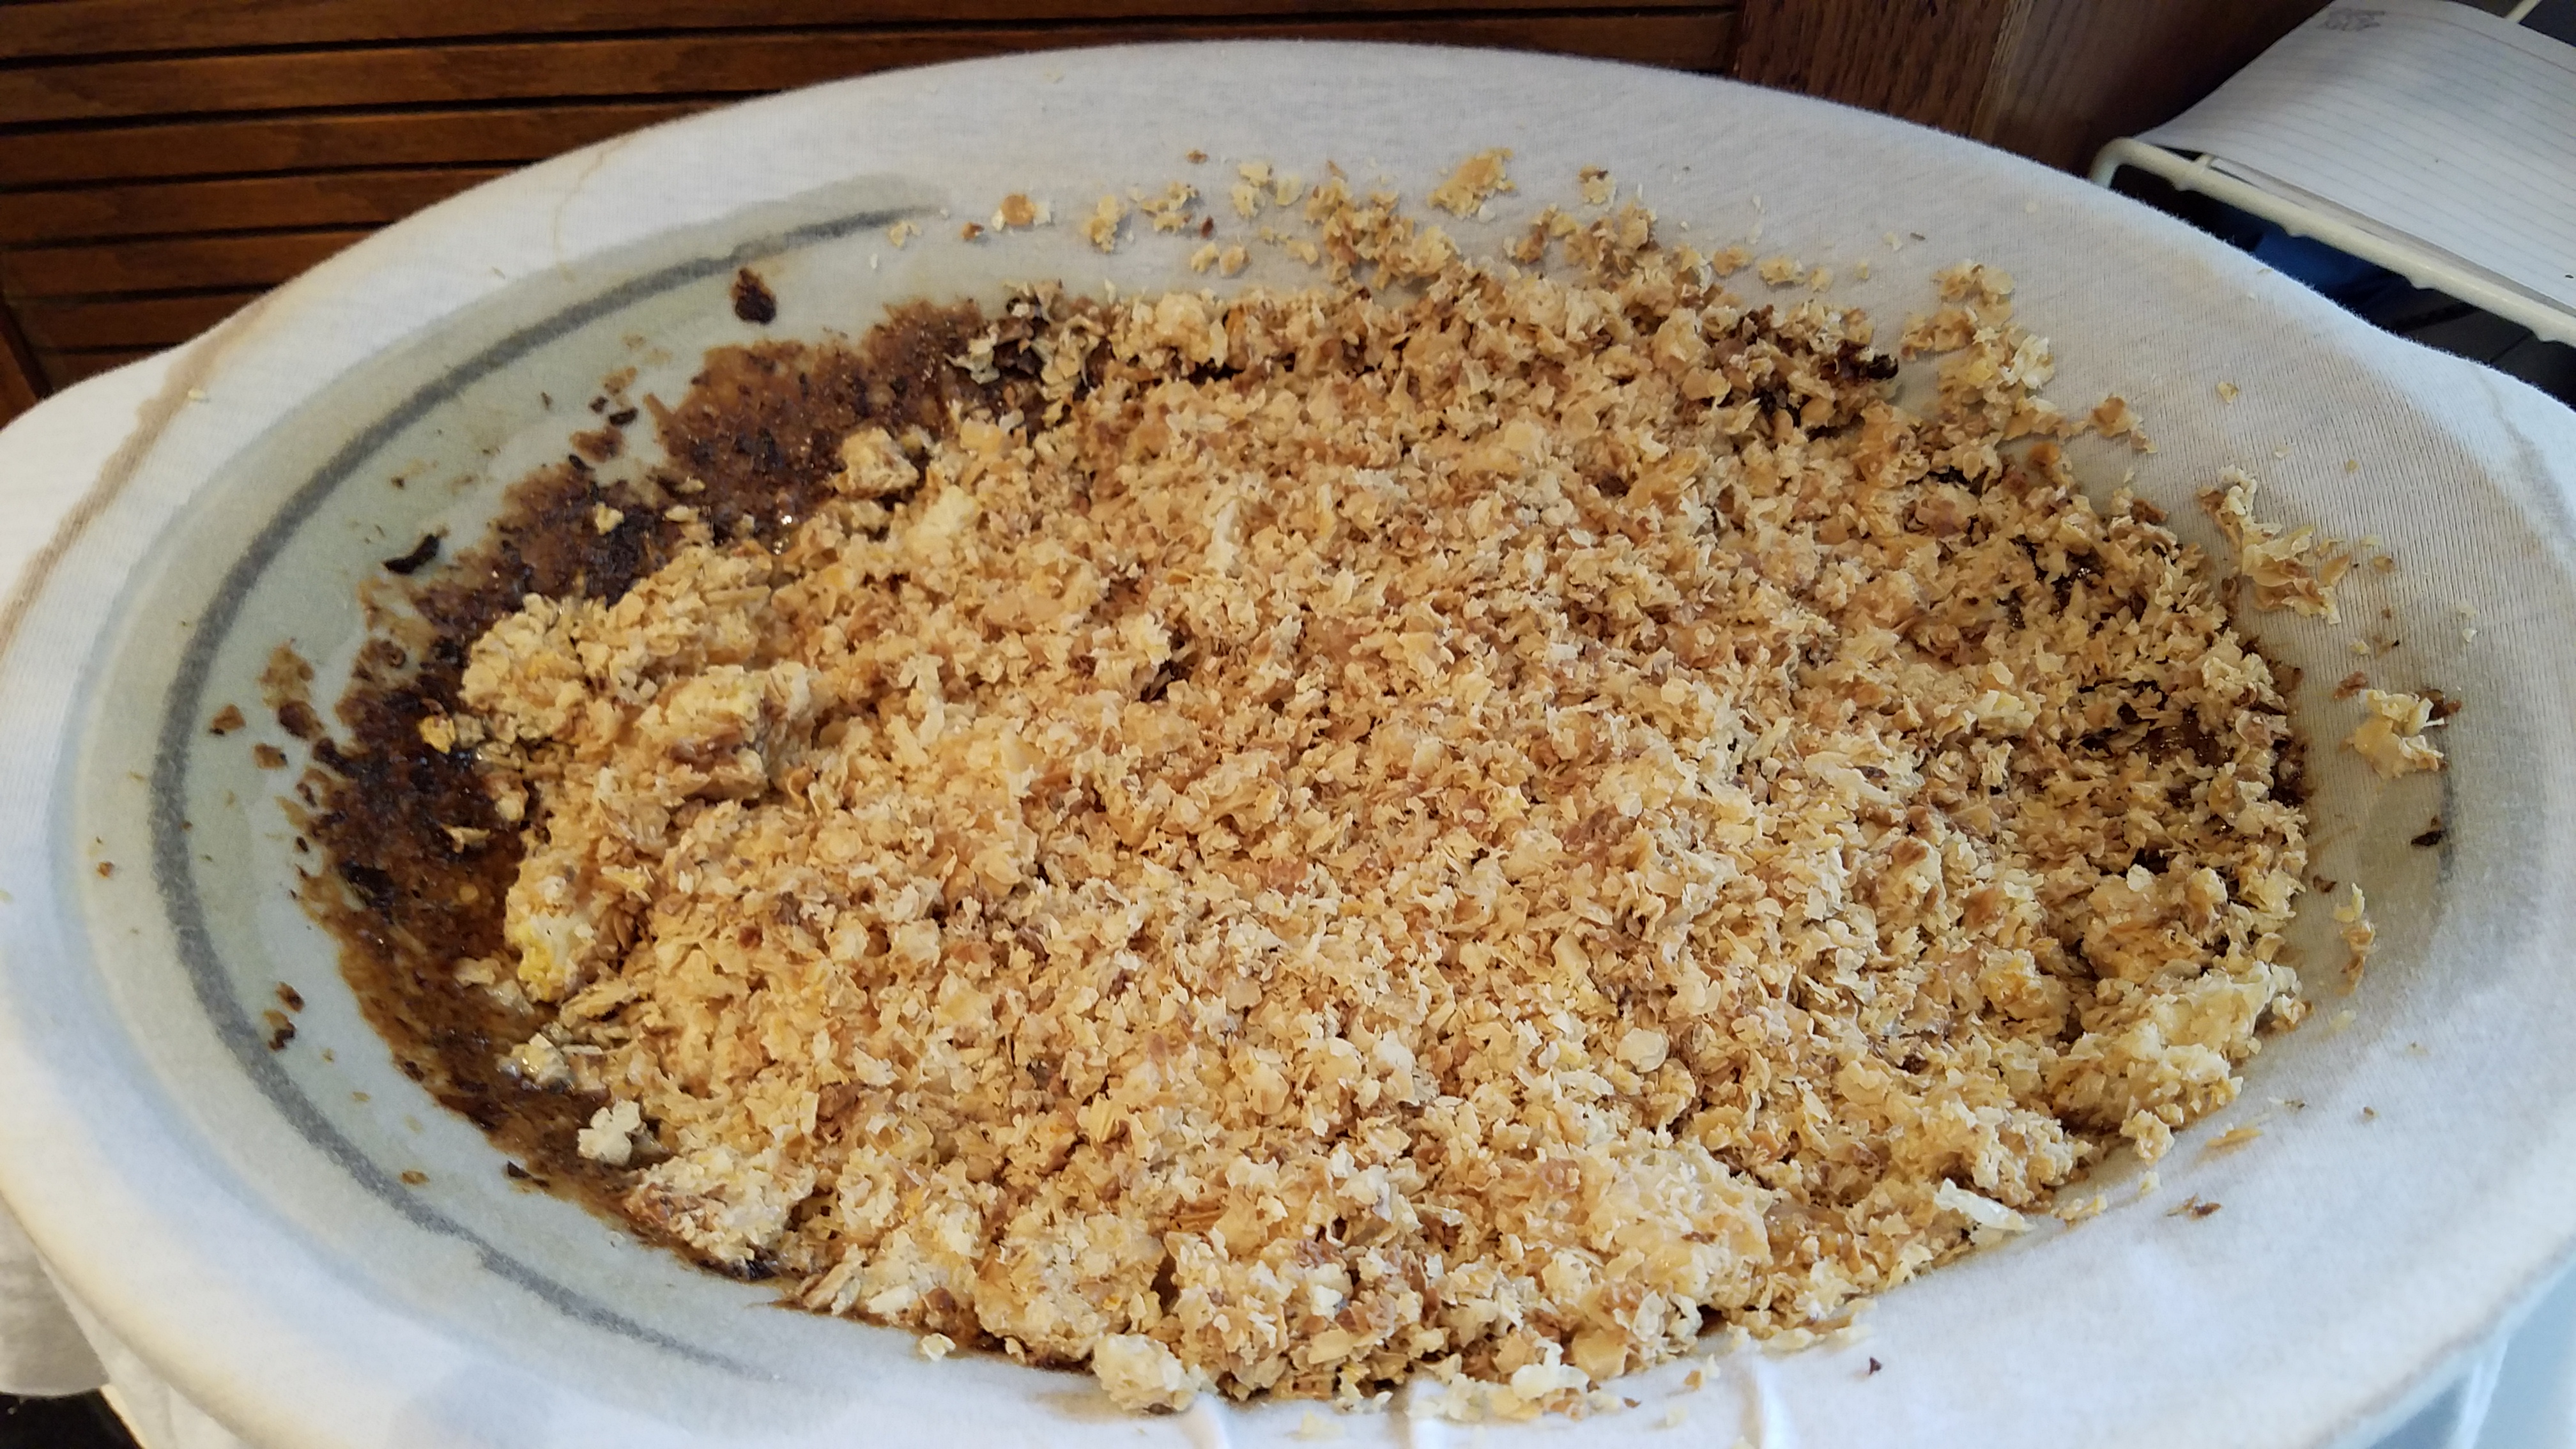
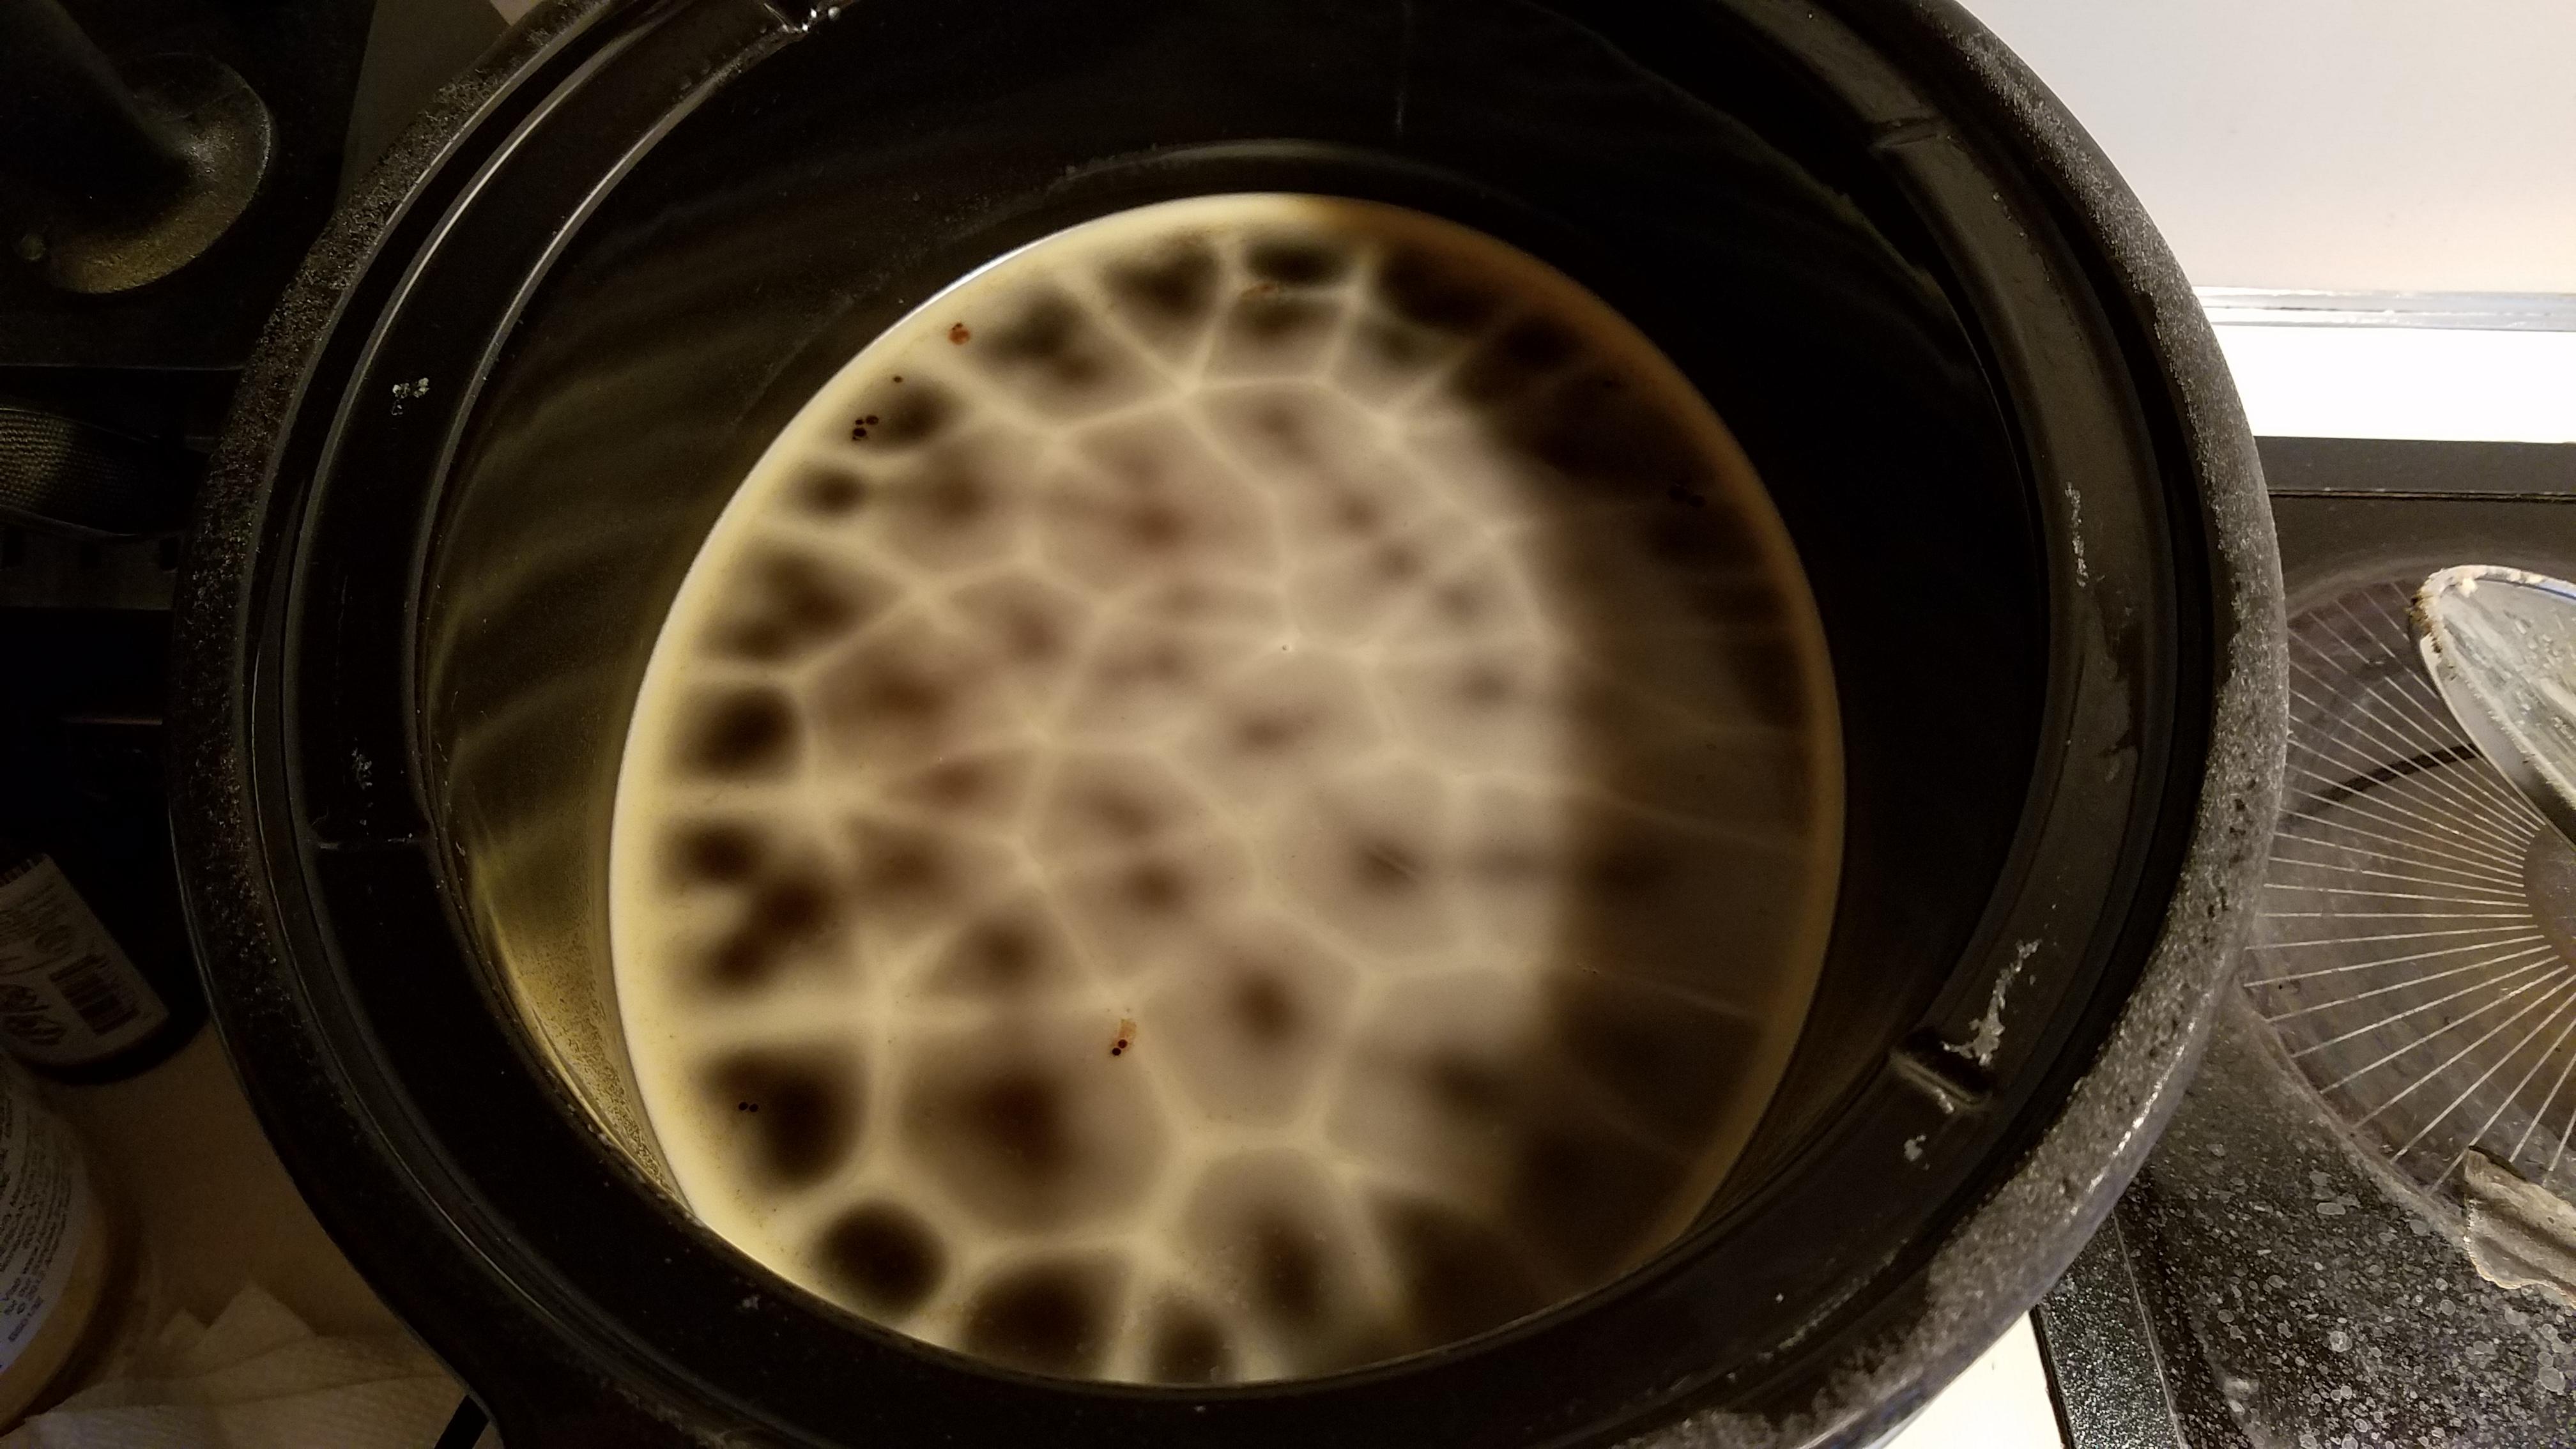
Step 3 – Turn slow-cooker on LOW. Melting the beeswax will take approximately 2 hours, depending on how much wax you have and the size of your slow-cooker. As the wax melts and drips through the t-shirt you will see dirt, propolis and other impurities left behind. You can spread the wax out as it melts if desired.
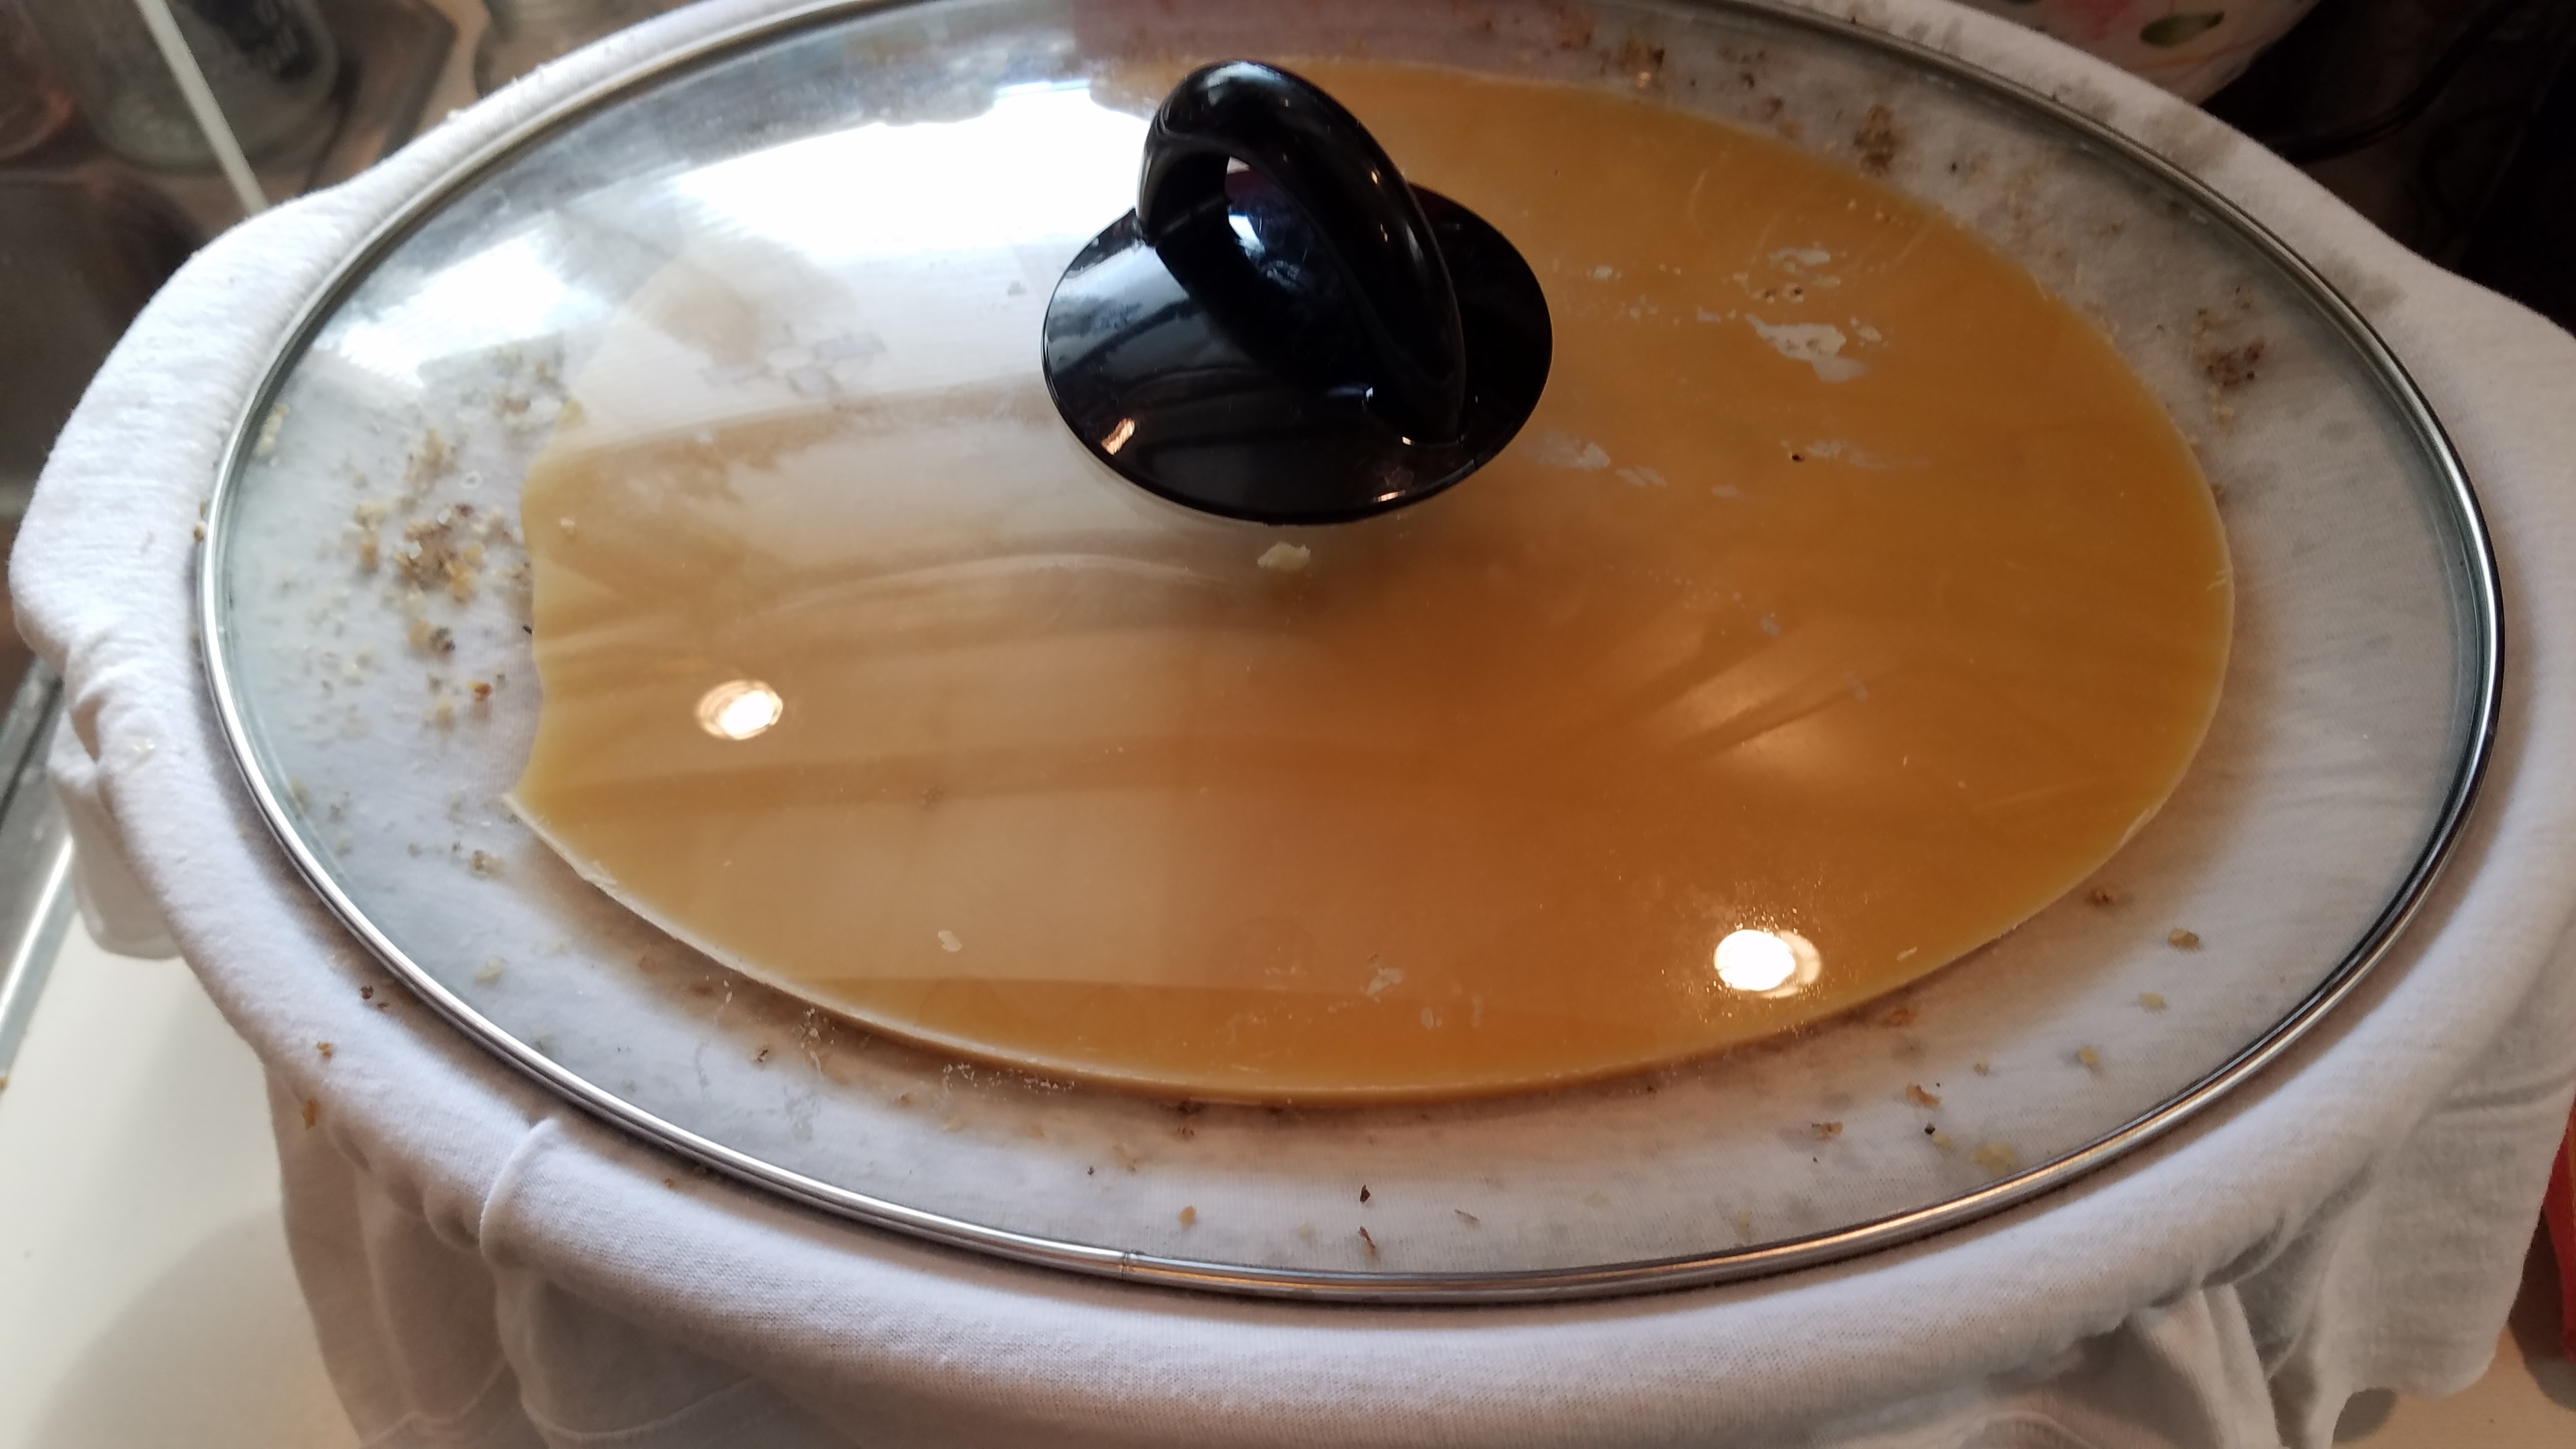
Step 4 – Once the wax is completely melted, turn off the slow-cooker. With oven mitts, remove the pot from the base. Untie or cut the twine and discard the t-shirt (if it’s 100% cotton this can be composted).
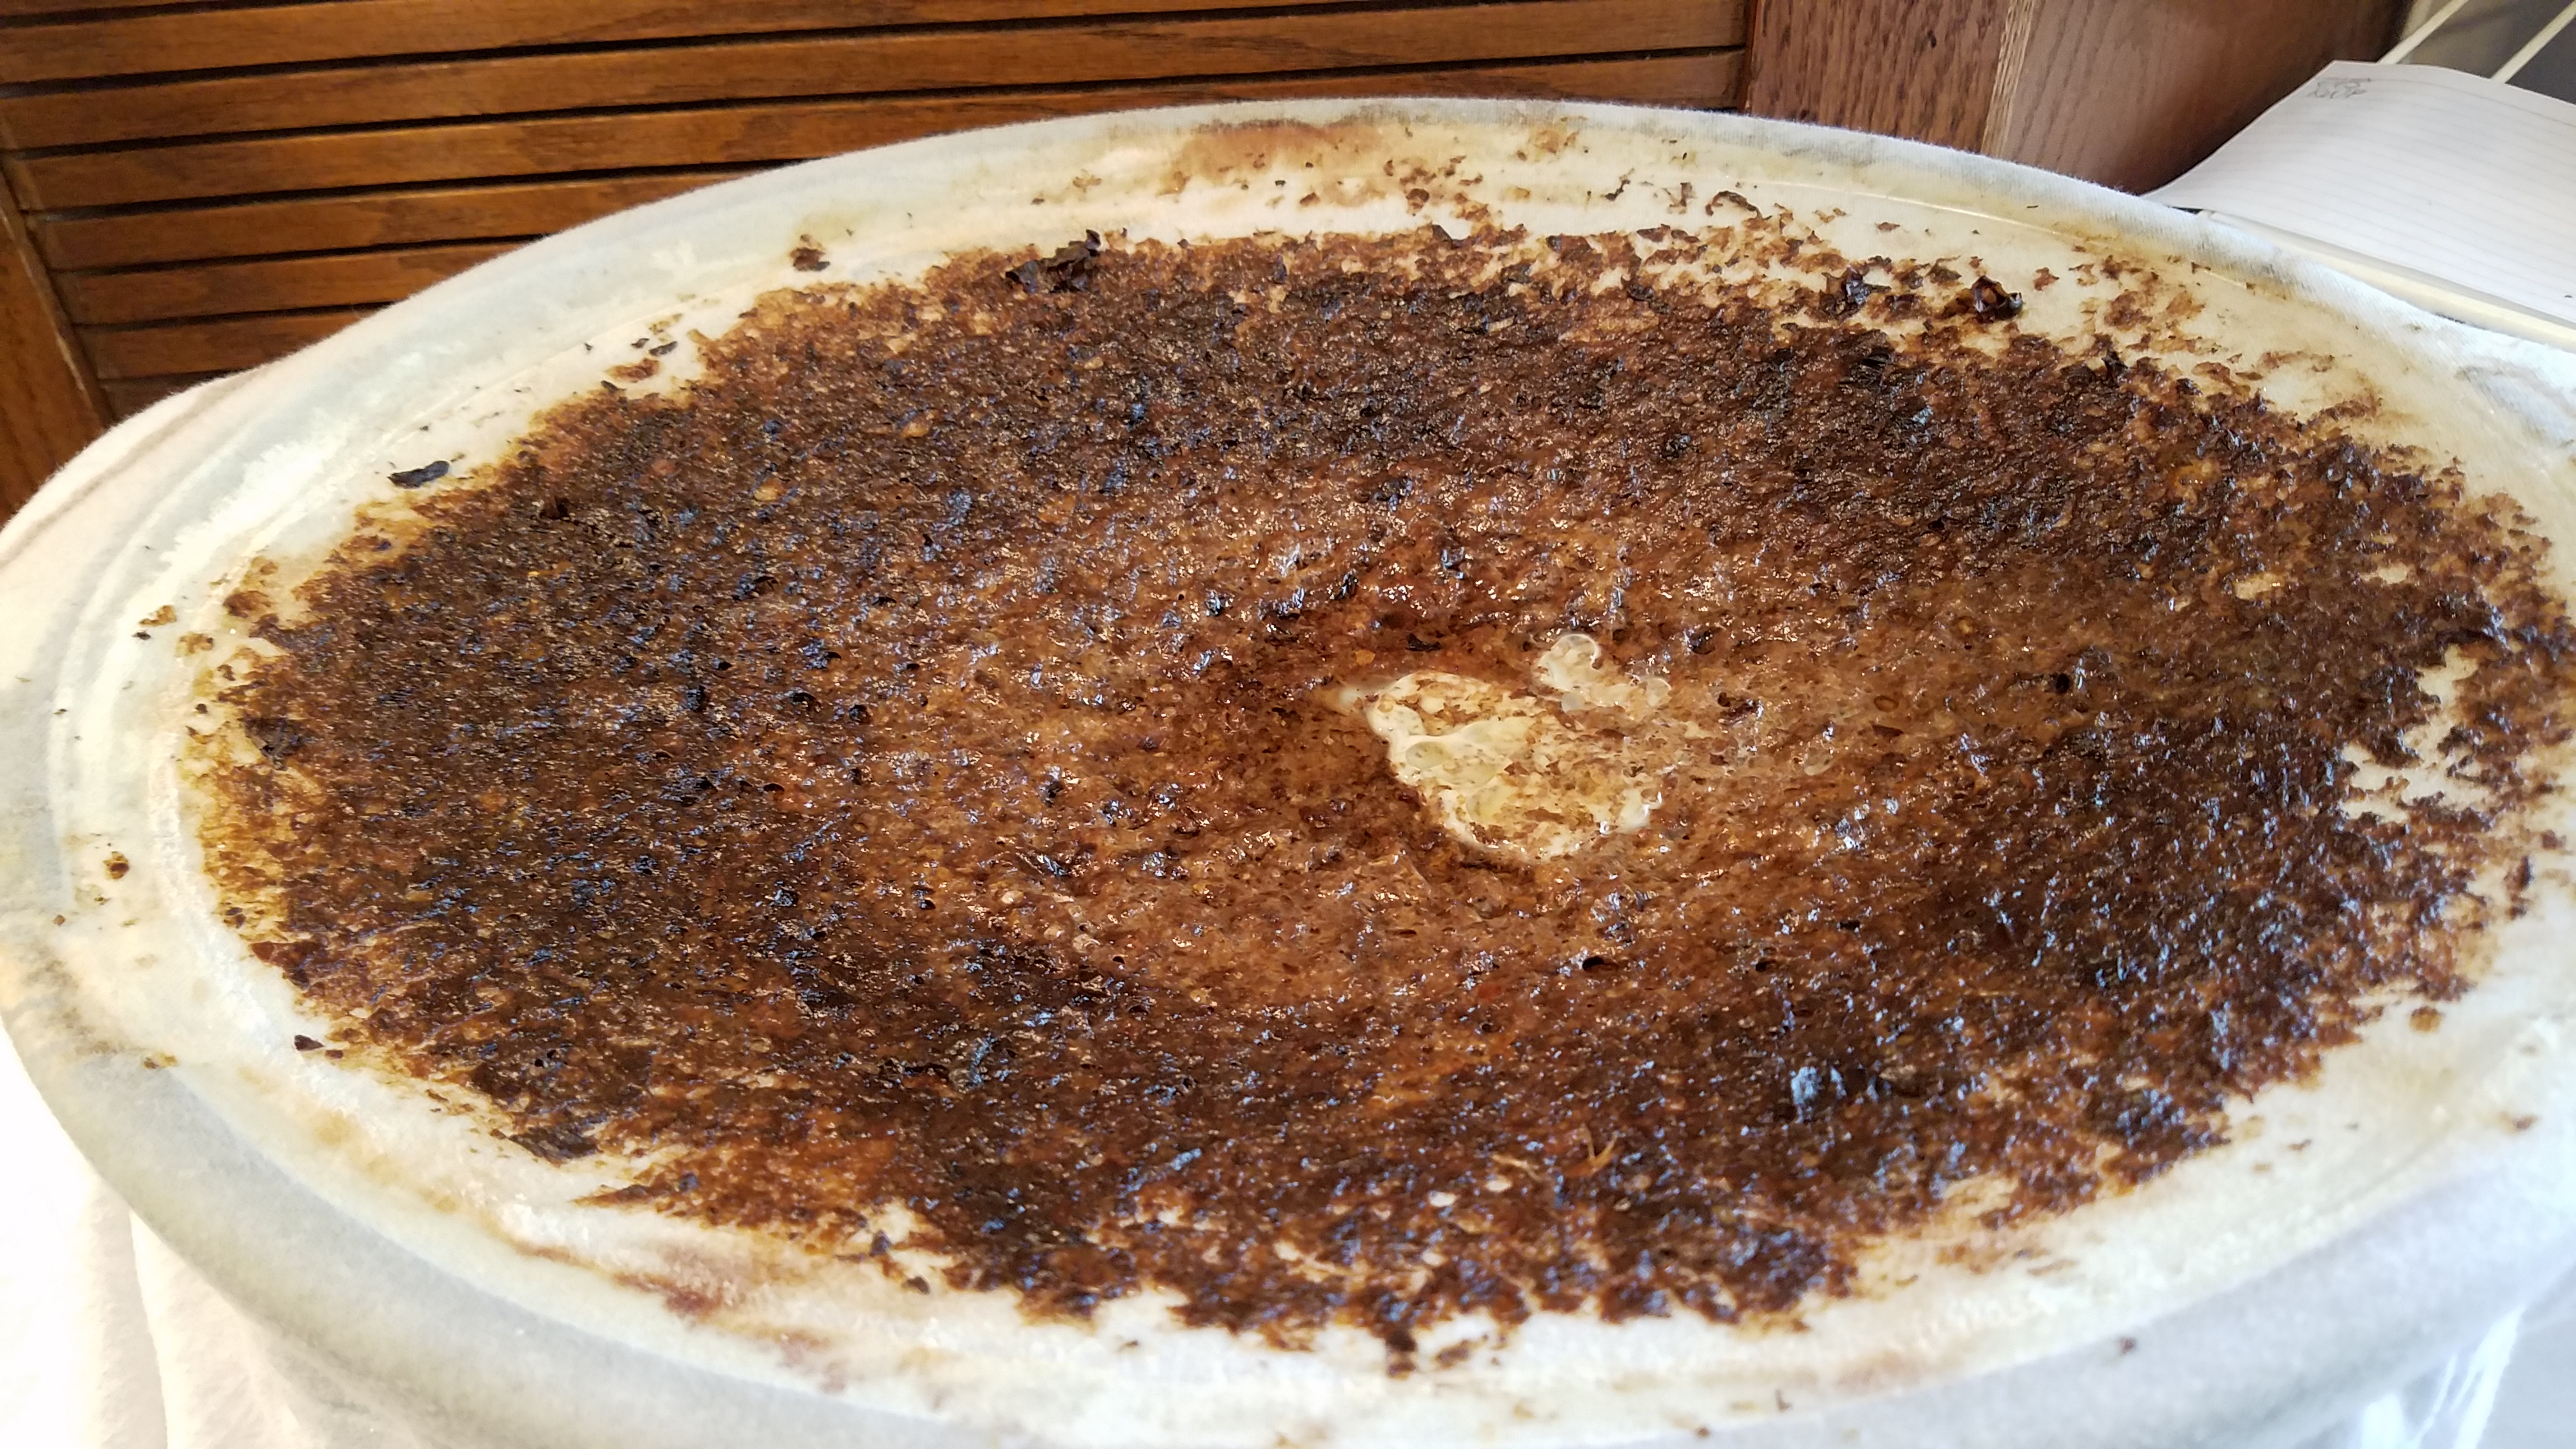
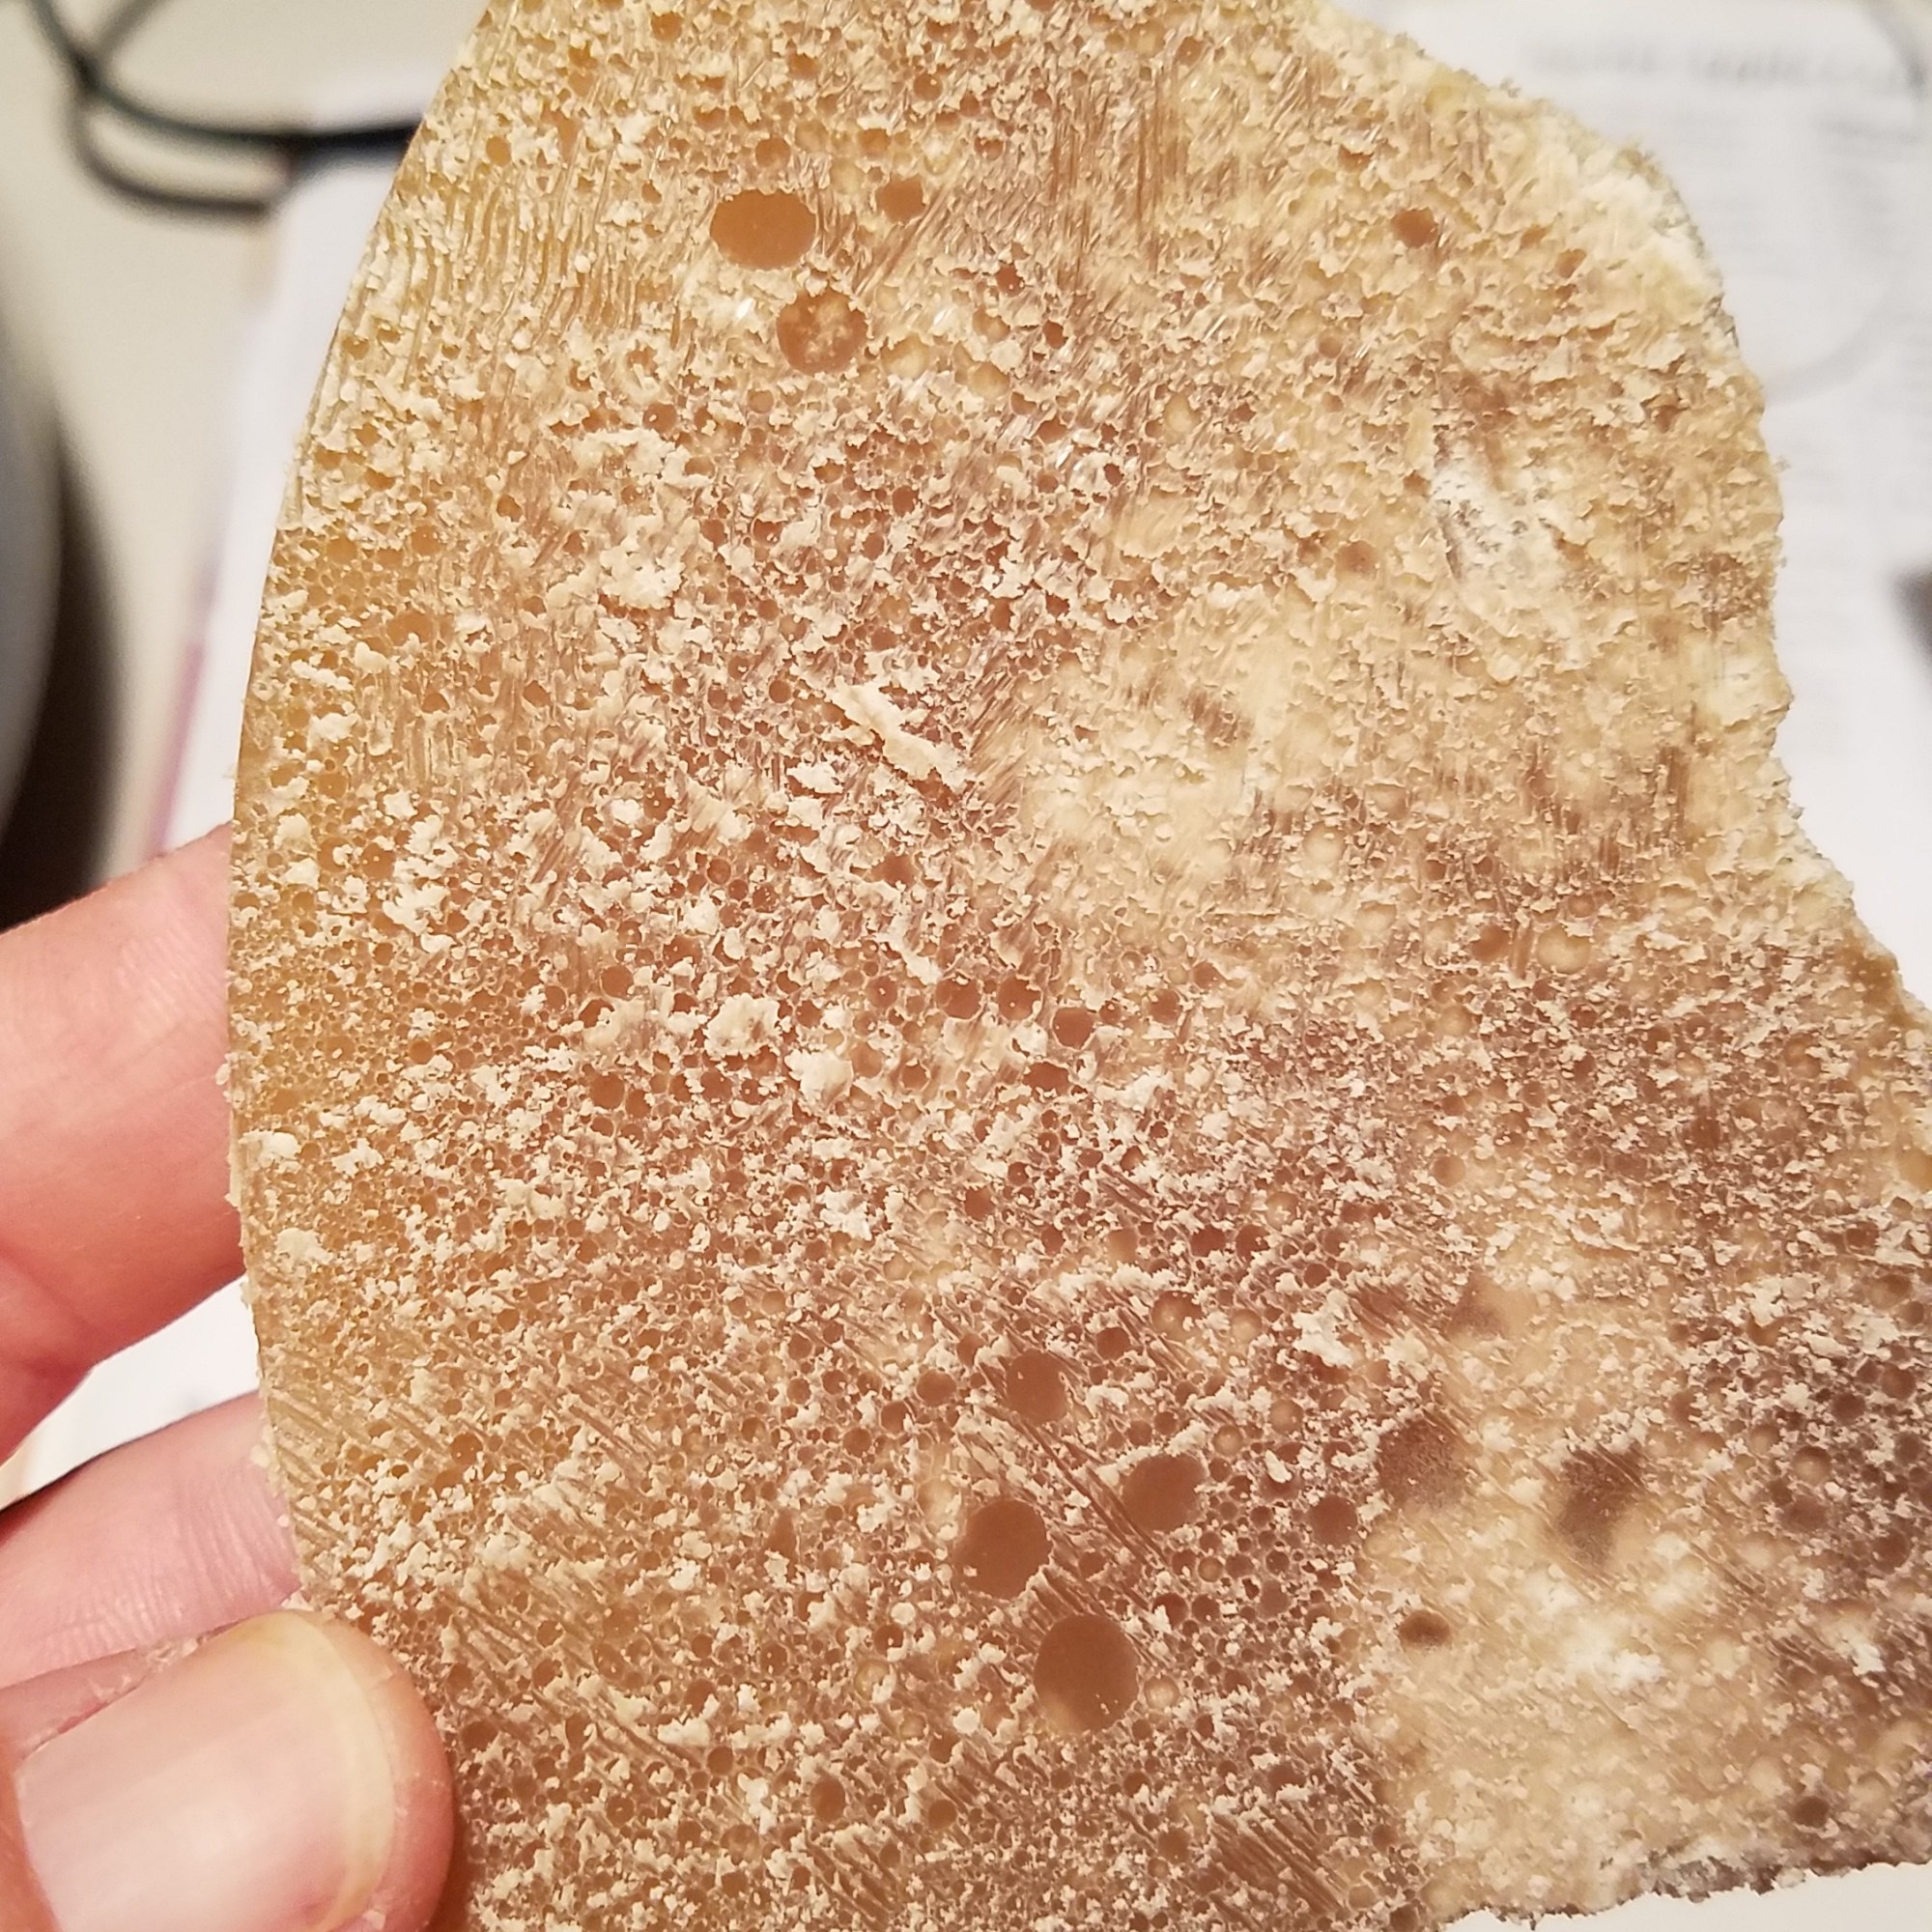
Step 5 – Let the beeswax cool and harden. Once solid, remove it from the pot (remember there’s water underneath the wax that can splash). You may need to use a knife to dislodge the wax from the sides of the pot.
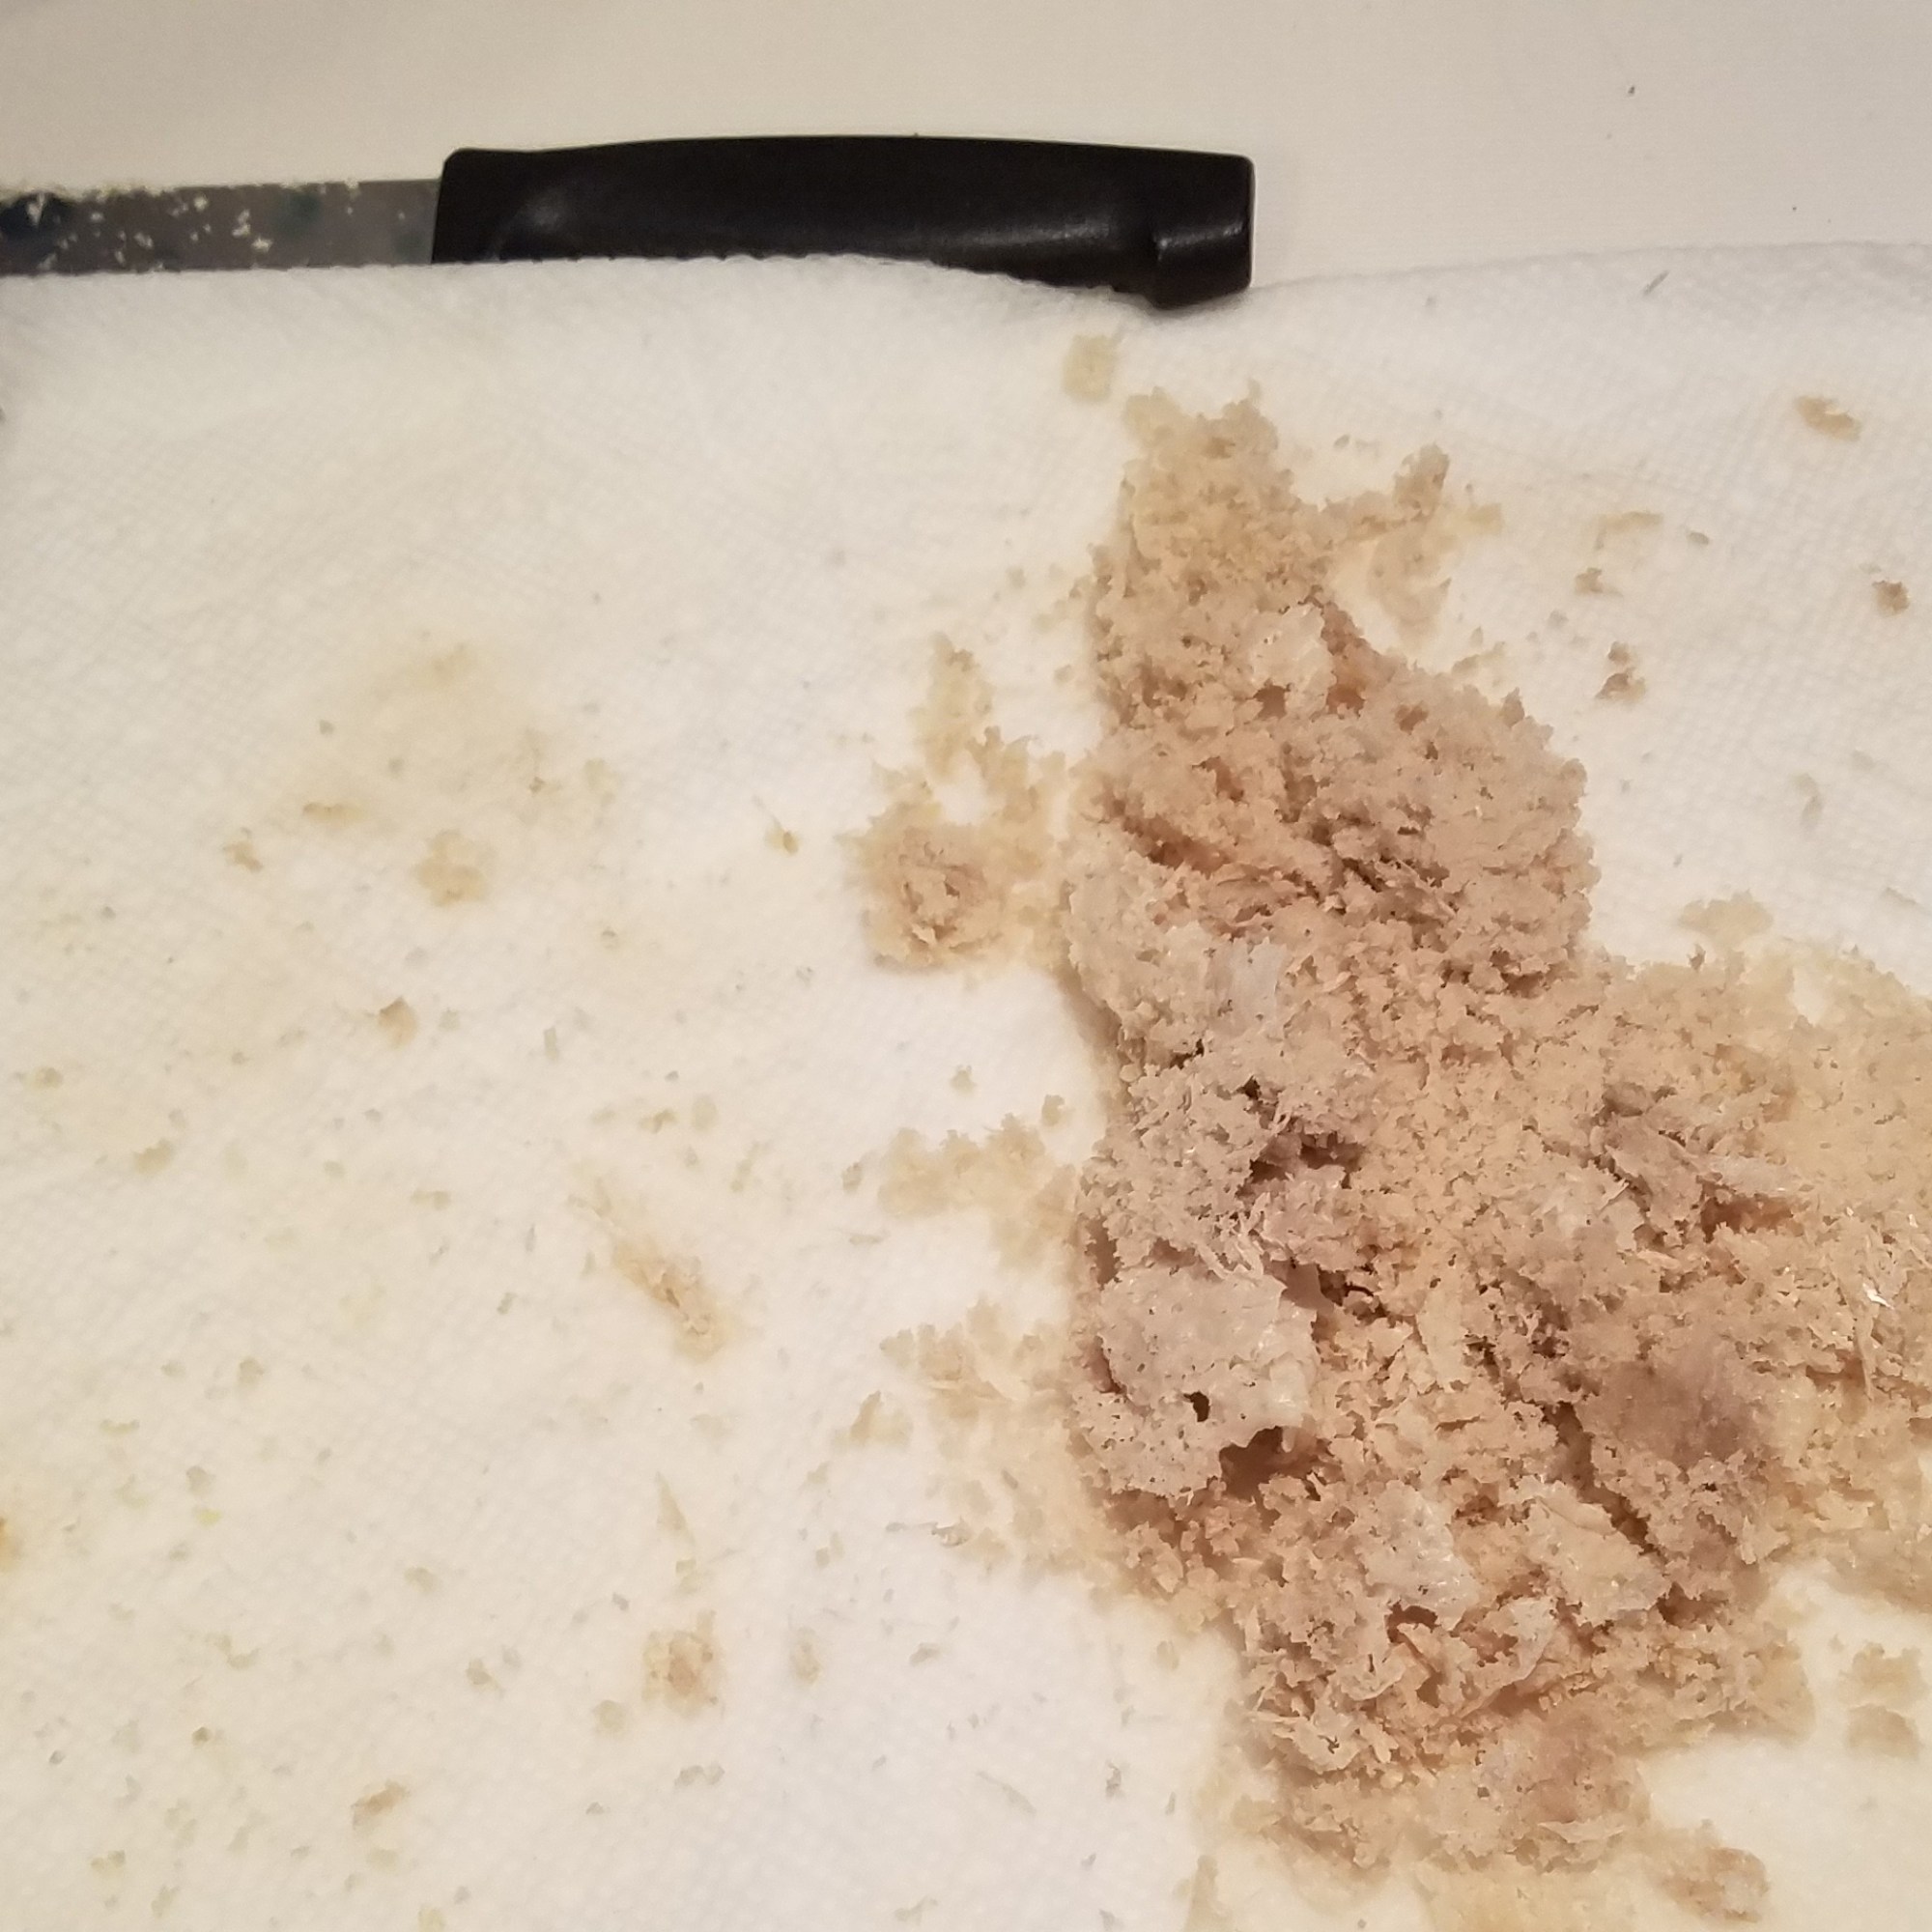
Step 6 – Dry the wax disc. The bottom of the disc will be rough and will contain some impurities. Scrape this off the wax disc with a knife.
Step 7 – Repeat process with your wax disc using the other piece of clean t-shirt. This process can be repeated as many times as you wish, but I usually render my wax twice.
After cooling, drying and scraping your beeswax a second time you can store it as is or melt again in a double boiler or wax melting pitcher and mold into smaller blocks. I like to mold my wax into small discs, each weighed out to the portion I will need for my lip and skin balm recipes.
Remember it’s best to store your wax sealed in a ziploc-type bag or airtight container because it can attract wax moths.
We are really bummed that the Allentown Fiber Festival has been cancelled this year. We wanted to do something special for our customers so we are running a special sale in our Etsy Shop this weekend.
Take 25% off any order of $20 or more Friday, April 3rd through Sunday, April 5th. No coupons needed. If you’re local and you’d like to pick up your order, use coupon code LOCALPICKUP and I will message you when it’s ready to be picked up.
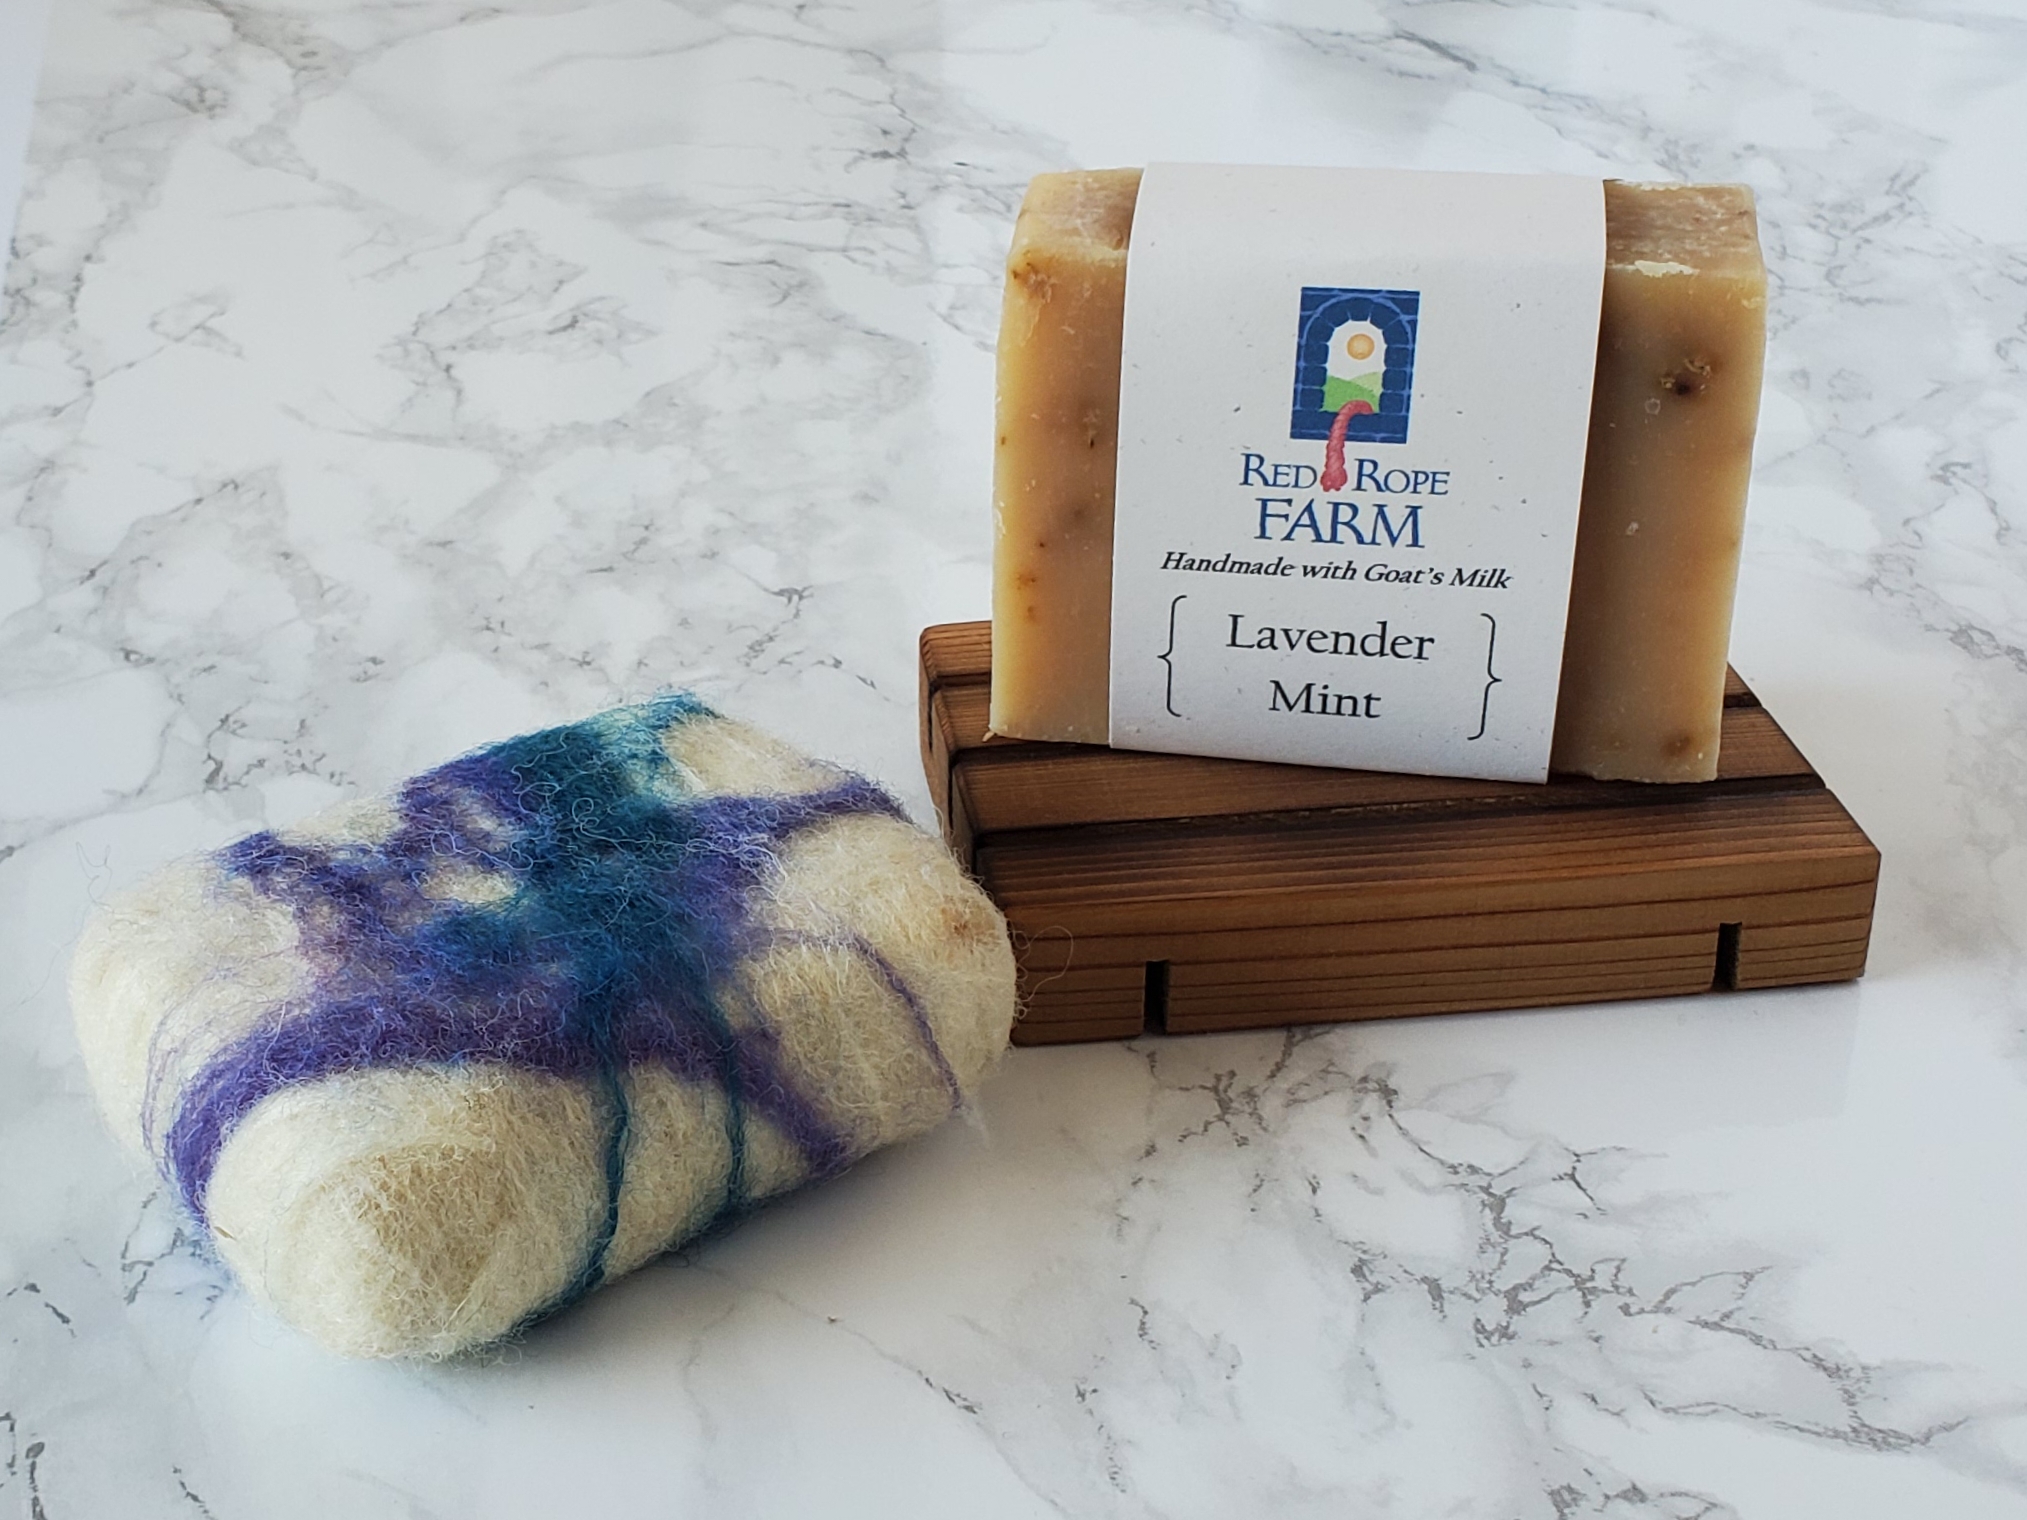
If you’re participating in The Livestock Conservacy’sShave ’em to Save ’em program, please leave a note when you order so I can include your sticker! We have Tunis and Leicester Longwool yarn in stock.
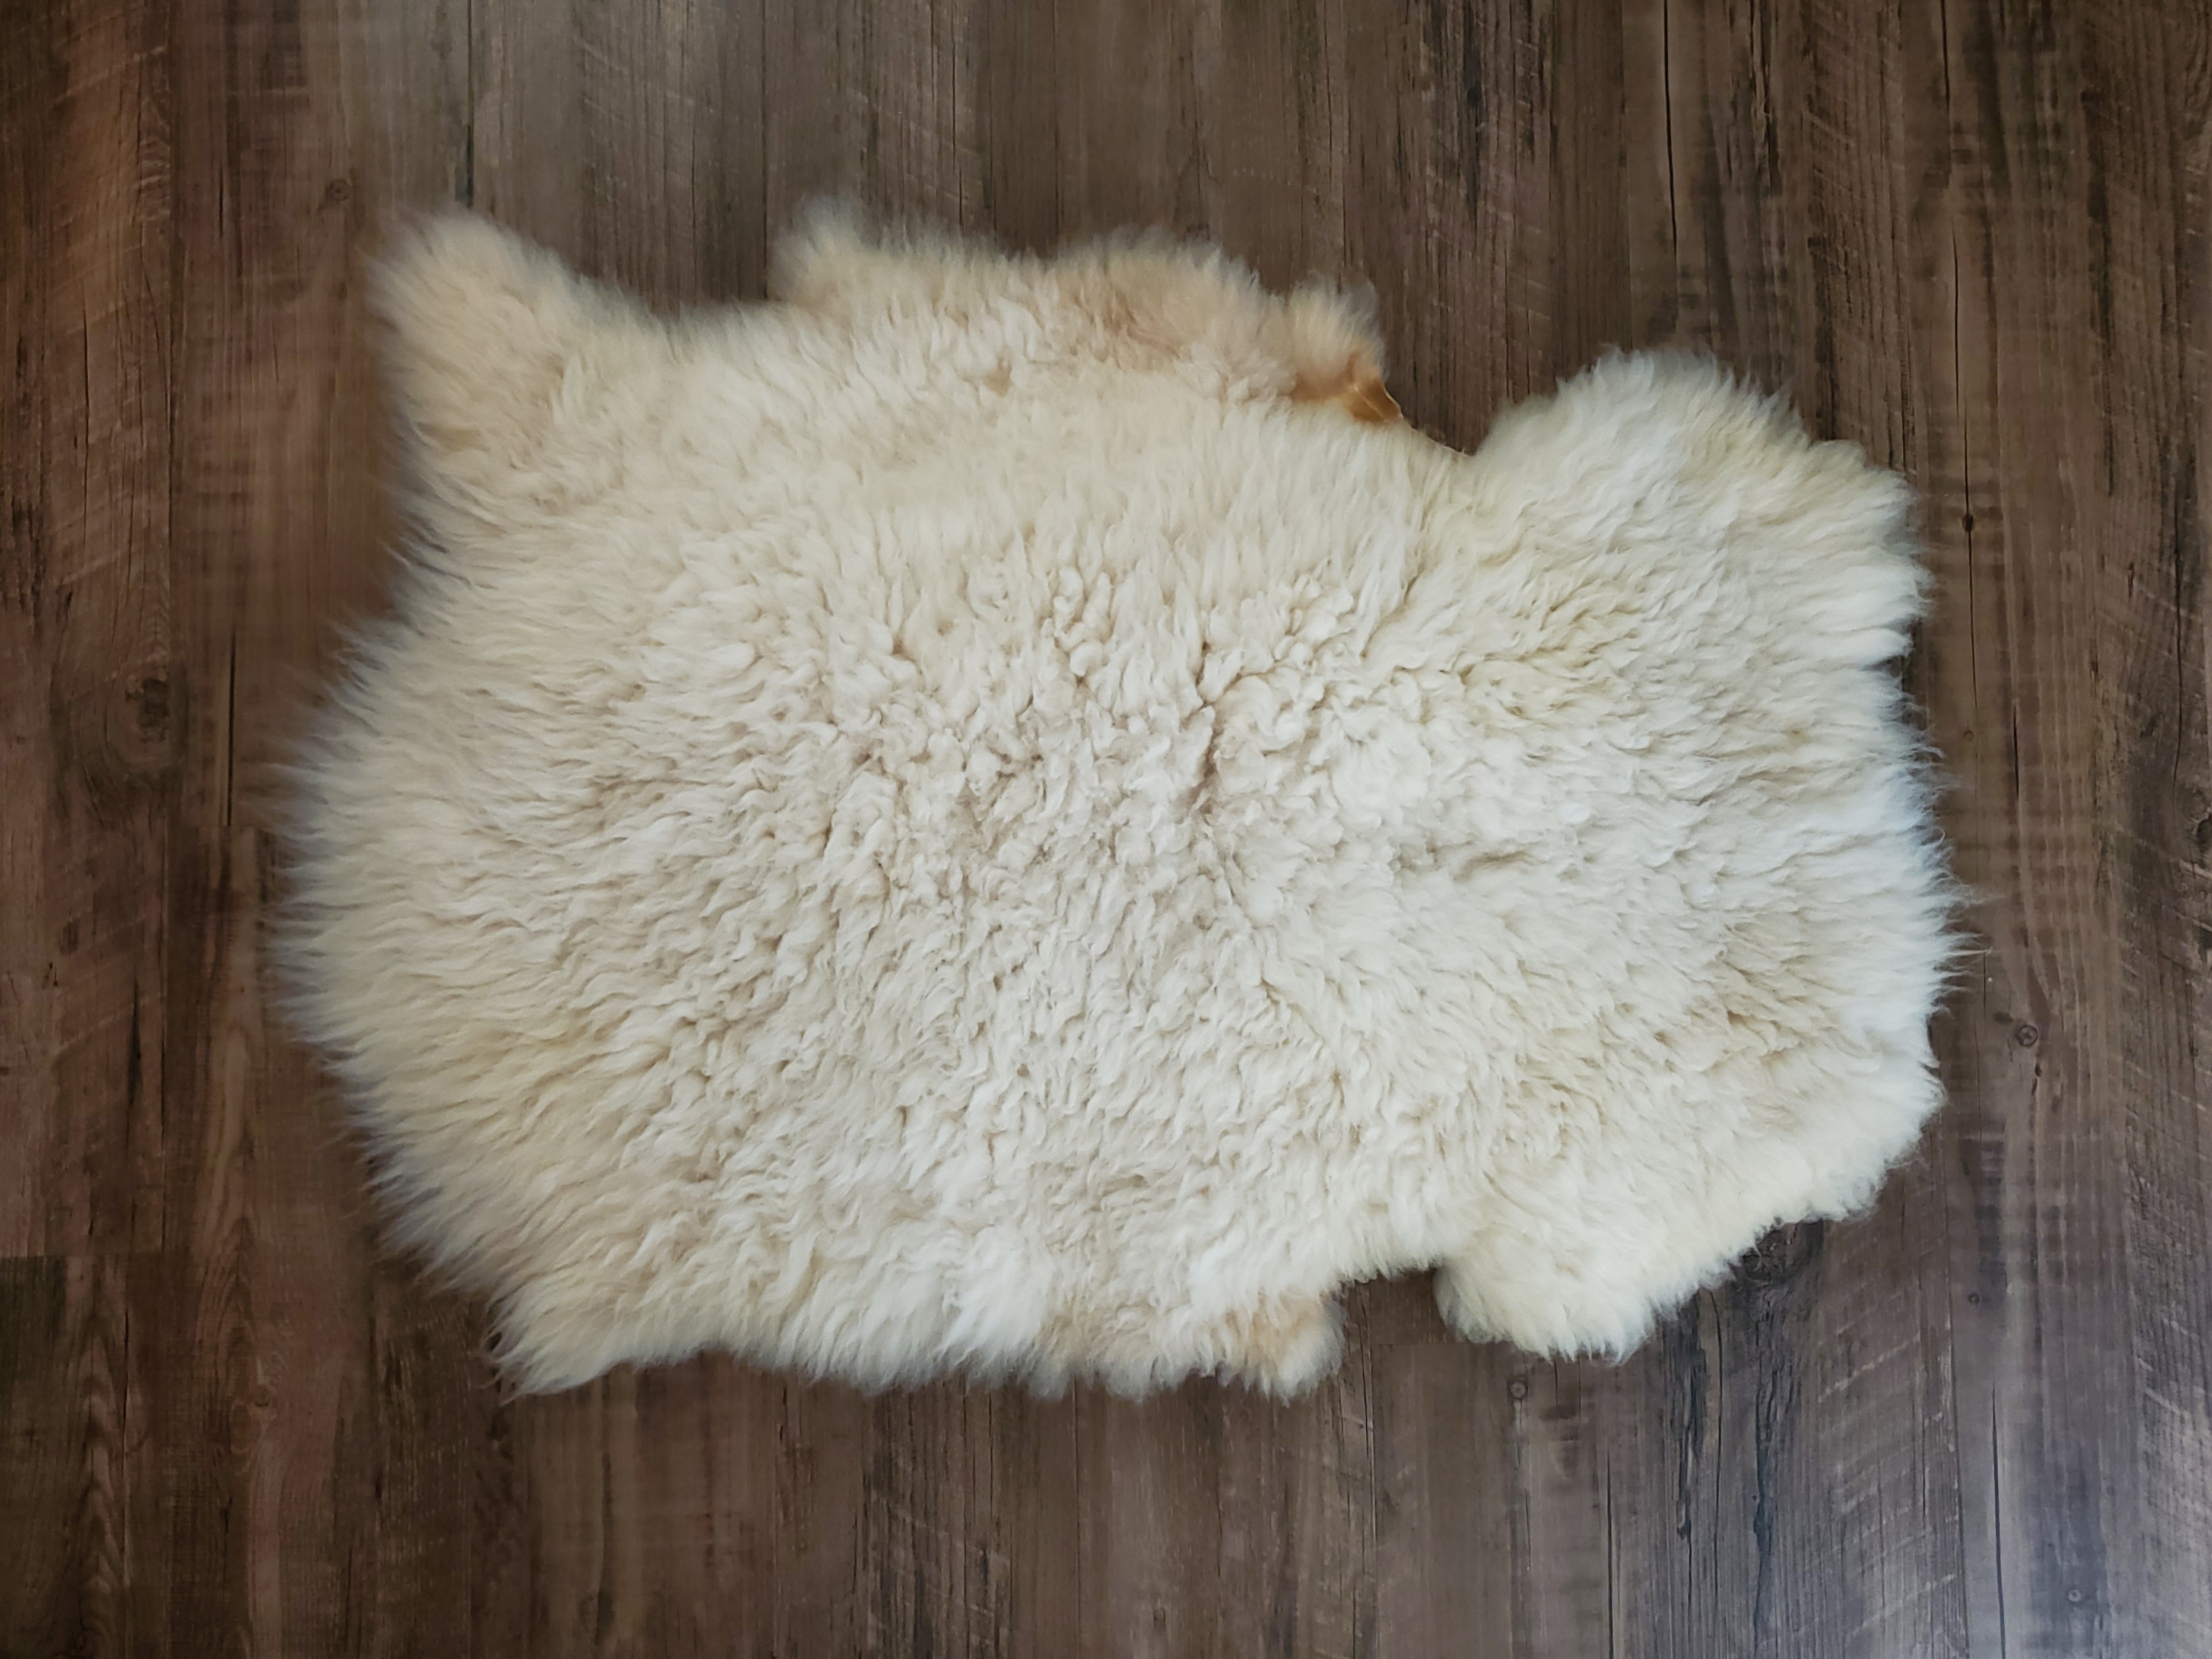
Don’t forget to check out our homegrown lambskins, too. They are washable and super soft.
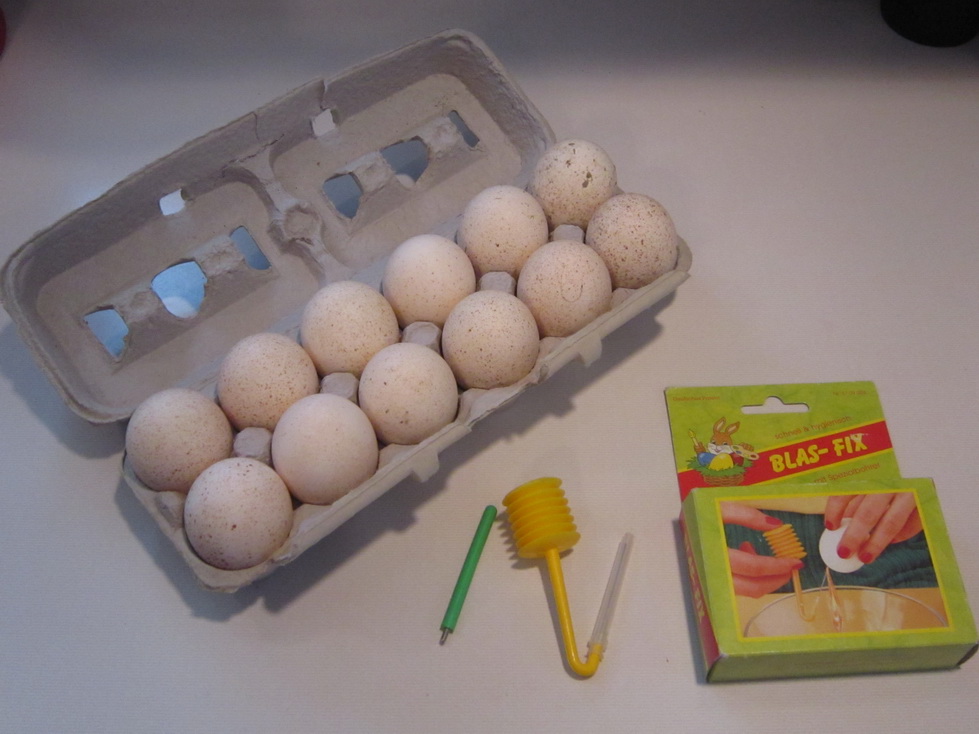
Have you ever wanted to decorate eggs that you could keep forever? You can empty and clean the eggs quickly and easily so you won’t have to use your creations for egg salad!
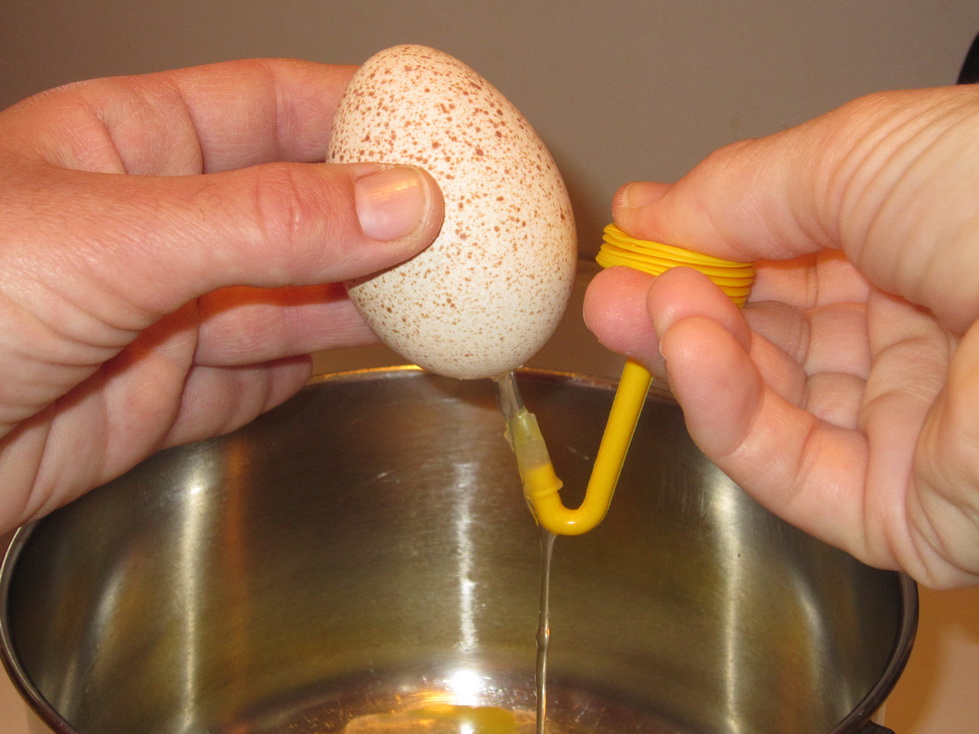
I use an egg blowing tool (available here), but you can also use a tack or small drill bit and a syringe (without the needle). Along with the supplies I have pictured below, I also use a large bowl for collecting the egg whites/yolks and another large bowl for cleaning (if you are emptying a lot of eggs you could also use your sink).
Step 1: Using your drill tool notch one end of the egg and drill a hole. (If you are using a syringe you will need to make a hole on each end of the egg.)
Step 2: Take the cap off of the pump and insert it into the hole (which is facing down). Put your thumb over the hole and squeeze. As you squeeze the pump you will begin to empty the egg. When you squeeze all the air from the pump into the egg, take your thumb off of the hole and pump again. (If you are using the syringe to empty the egg place the tip in the top hole and squeeze so that the egg contents come out of the bottom hole.)
Use caution during this step because if your egg is cracked at all or too thin it will break as you pump air into it. Also, if you pump too much air into the egg too quickly it may break. I usually poke the end of the pump tool into the egg now and then to help some of the material come out and also to pierce the yolk sac. This step will take a couple to a few minutes, depending on how big your egg is.
Step 3: Once your egg is empty it’s time to wash it. Using warm, soapy water wash off the outside of the egg. Submerge the pump tool into the water to fill it. Insert it into egg and squeeze the water into the egg. Repeat this until only clean water comes out of the egg. Rinse the egg in clean water and shake out excess water.
When your egg is clean you can microwave it to sanitize it, if you’d like. I place my eggs on a paper towel-lined plate and microwave on high 3 times for 10 seconds each.
Step 4: I cook all of the egg whites and yolks and give them to our chickens, turkeys and ducks. The cooked eggs are a very nutritious treat for the birds!
Step 5: Once the eggs are dry they are ready to be decorated. Be creative and have fun!
I’m sure you’ve all heard of the Tour de France, the 22-day long bicycle race across France starting on July 2nd … but how many of you have heard of the Tour de Fleece? I’m sure if you’re familiar with Ravelryyou’ve heard of it!
Many handspinners around the world spin yarn while the cyclist are racing. That’s right … 20 days of spinning at least a little each day with 2 rest days. For some, it’s simple. Others have it a little more challenging, especially those who have 2 young children, animals to feed and a growing garden.
I did manage to spin every day that the cyclists rode. To kick off the Tour I even made a special dinner on July 2nd… One of our homegrown turkeys, rubbed with a mixture of olive oil and herbs de provence (brought home from Paris by my aunt!) rotisseried on the grill.
I also watched a lot of the race and really became interested in it. Noah loved watching it with me in the mornings, and Dave and I watched some of it at night, too. We all gasped when Johnny Hoogerland crashed and cheered for him when he continued racing.
Some days I only managed to squeeze in 10 or 15 minutes but most days I spun for 30 minutes or more. A few days I spun on my drop spindle because I didn’t have time to sit down at my wheel. We also left for camping a couple of days before the Tour was over so I packed my drop spindle to take with us… it takes up far less room than my wheel! I posted photos of my daily progress to my Flickr account, but here’s a collage of my work:
A big heartfelt “Thank You” goes out to Heather from Bee Vintage Redux for choosing me to receive a Liebster Award for my blog! Never heard of a Liebster Award? Neither had I until yesterday!
The goal of the Liebster Award is to recognize crafty blogs with less than 300 followers and share them with others. Upon accepting this award you agree to: 1) Blog about the Liebster award & reveal your 3 blog picks; 2) Let the recipients know that you chose them; 3) Copy & paste the blog award on your blog.
The blogs I want to award with the Liebster are (in no particular order, of course):
Jenny at Sheepy Hollow Farm, who is such a creative woman and even inspired me to make my own fresh cheese! Jenny posts lots of how-to’s for fiber and herbal crafts, as well as, gardening and cooking. Her Shetland sheep also produce lovely wool!
Leann at Forbidden Woolery has such a talent for hand dyeing wool. I met her at the Garden State (NJ) Sheep Breeder’s Association Sheep & Fiber Festival last September and bought some hand-dyed wool (in Professor Plum colorway). I love that she names her colorways by what inspired them!
Sara at Sara’s Texture Crafts. I don’t actually know Sara, but she always has such beautiful fiber and great tools in her Etsy shop! I just have to check out what’s new in her shop when I browse Etsy.
Please take some time and visit these wonderful women’s blogs and shops! Oh, and by the way, visit Heather’s blog and check out all her beautiful recycled vintage jewelry.
Today is supposed to be the last warm day in a while. The forecast says mostly sunny and 73 degrees – a perfect day to solar dye some wool.
I mixed up my dye bath and set it out on the deck as usual. Because the air temperature is not too warm, I put a dark-colored blanket around the glass bowl to insulate it and warm it; and I placed aluminum foil around the back of the bowl.
Later I used some old windows I bought a couple years ago to make a little solar dying “greenhouse”. It protected the bowl from the wind and helped it heat up better.
The Garden State Sheep and Wool Festival was held on September 11th & 12th this year. I drove over on Saturday for the morning to enter 2 fleeces and 2 skeins for the competitions. I had a great time – the weather was beautiful and I got to meet up with some friends and talk with them.
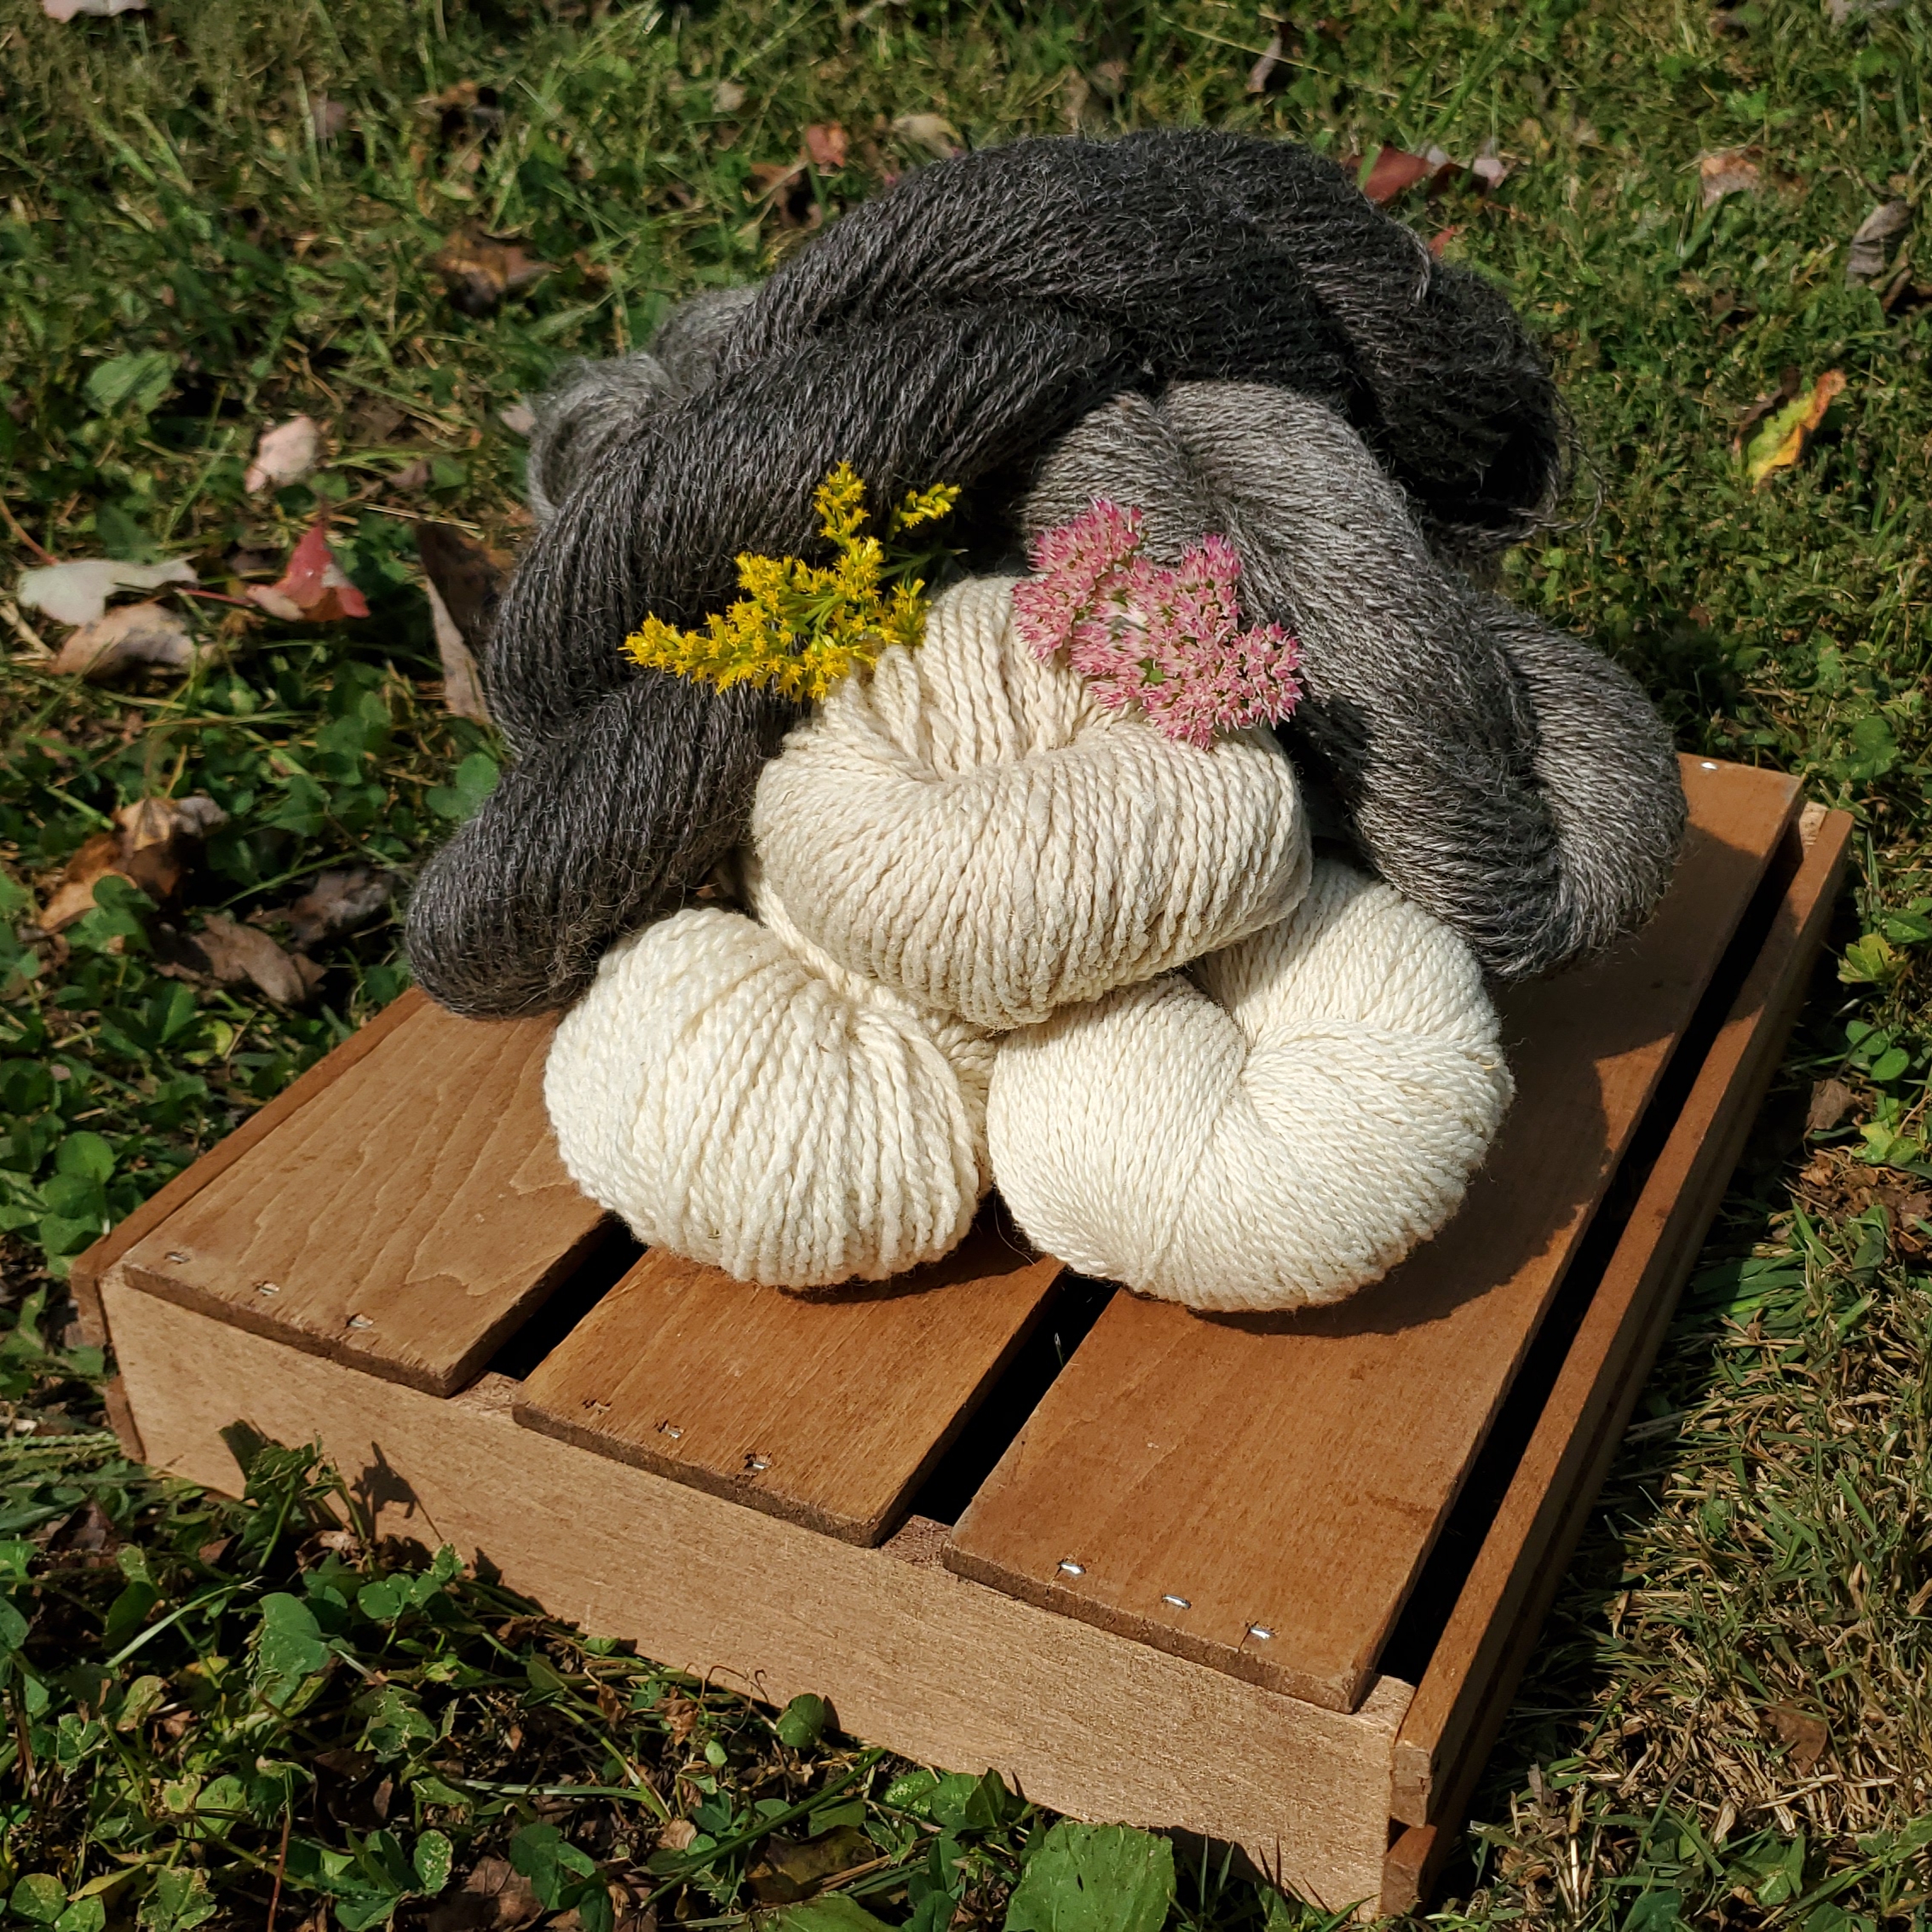
I entered my yarn in the Novice division of the skein competition since I’ve been spinning less than 1 year. My woolen Shetland yarn got 2nd place, while my worsted Merino yarn placed 4th! I’m very happy and excited about that.
I'm holding my grey Shetland yarn on the left and my white Merino yarn on the right.
I also entered 2 fleeces in the wool show. They didn’t place, but they both got a score of 81 (out of 100). And they both scored a 10 for my skirting… that was encouraging!
Earlier this month I participated in the Robbinsville Elementary School’s Colonial Day and talked to the 3rd graders about spinning wool. I only had 2 weeks to prepare and it turned out a lot different than I imagined, but I still enjoyed it and I think the students did, too.
My Set-Up for the Demo
The wool spinning station was in the gym, which didn’t have good air conditioning….or didn’t have any. It was hard to tell. 🙂 There were about 45 students in each of 6 sessions, which were 30 minutes. I talked about the history of spinning and the tools used in spinning. Everyone then got some wool and a spindle to try spinning. After the first 2 groups, I took the cd’s off my homemade spindles and the rest of the students just used the hooked dowels. They were much easier to use!
2 students were allergic to wool, and I felt bad that I didn’t bring any other fibers “just in case”. I will definitely bring some next year.
I also have a list of other things I want to improve on for next year….at least I have a better idea of what I’m doing now!