
Rendering your beeswax cleans it of impurities and is necessary in order to use your beeswax in most projects. There are a few methods for rendering beeswax – I use the crock-pot/slow-cooker method. It’s easy and doesn’t involve pouring any hot wax through a strainer.
First, you need to gather your beeswax and supplies. You will need:
- a slow-cooker (with lid)
- an old (but clean) white, cotton t-shirt, cut in 2 pieces so you have the front and back torso separated – you can find inexpensive t-shirts at crafts stores if you don’t have one that you can use
- kitchen twine or other string
- approximately 2-4 cups water
- a spatula or other utensil
- a knife
You will want to use items that will not be needed for food in the future because beeswax is difficult to fully remove from objects, even after rigorous cleansing. I purchased a spare slow-cooker, 2nd hand from someone local, for rendering my wax.
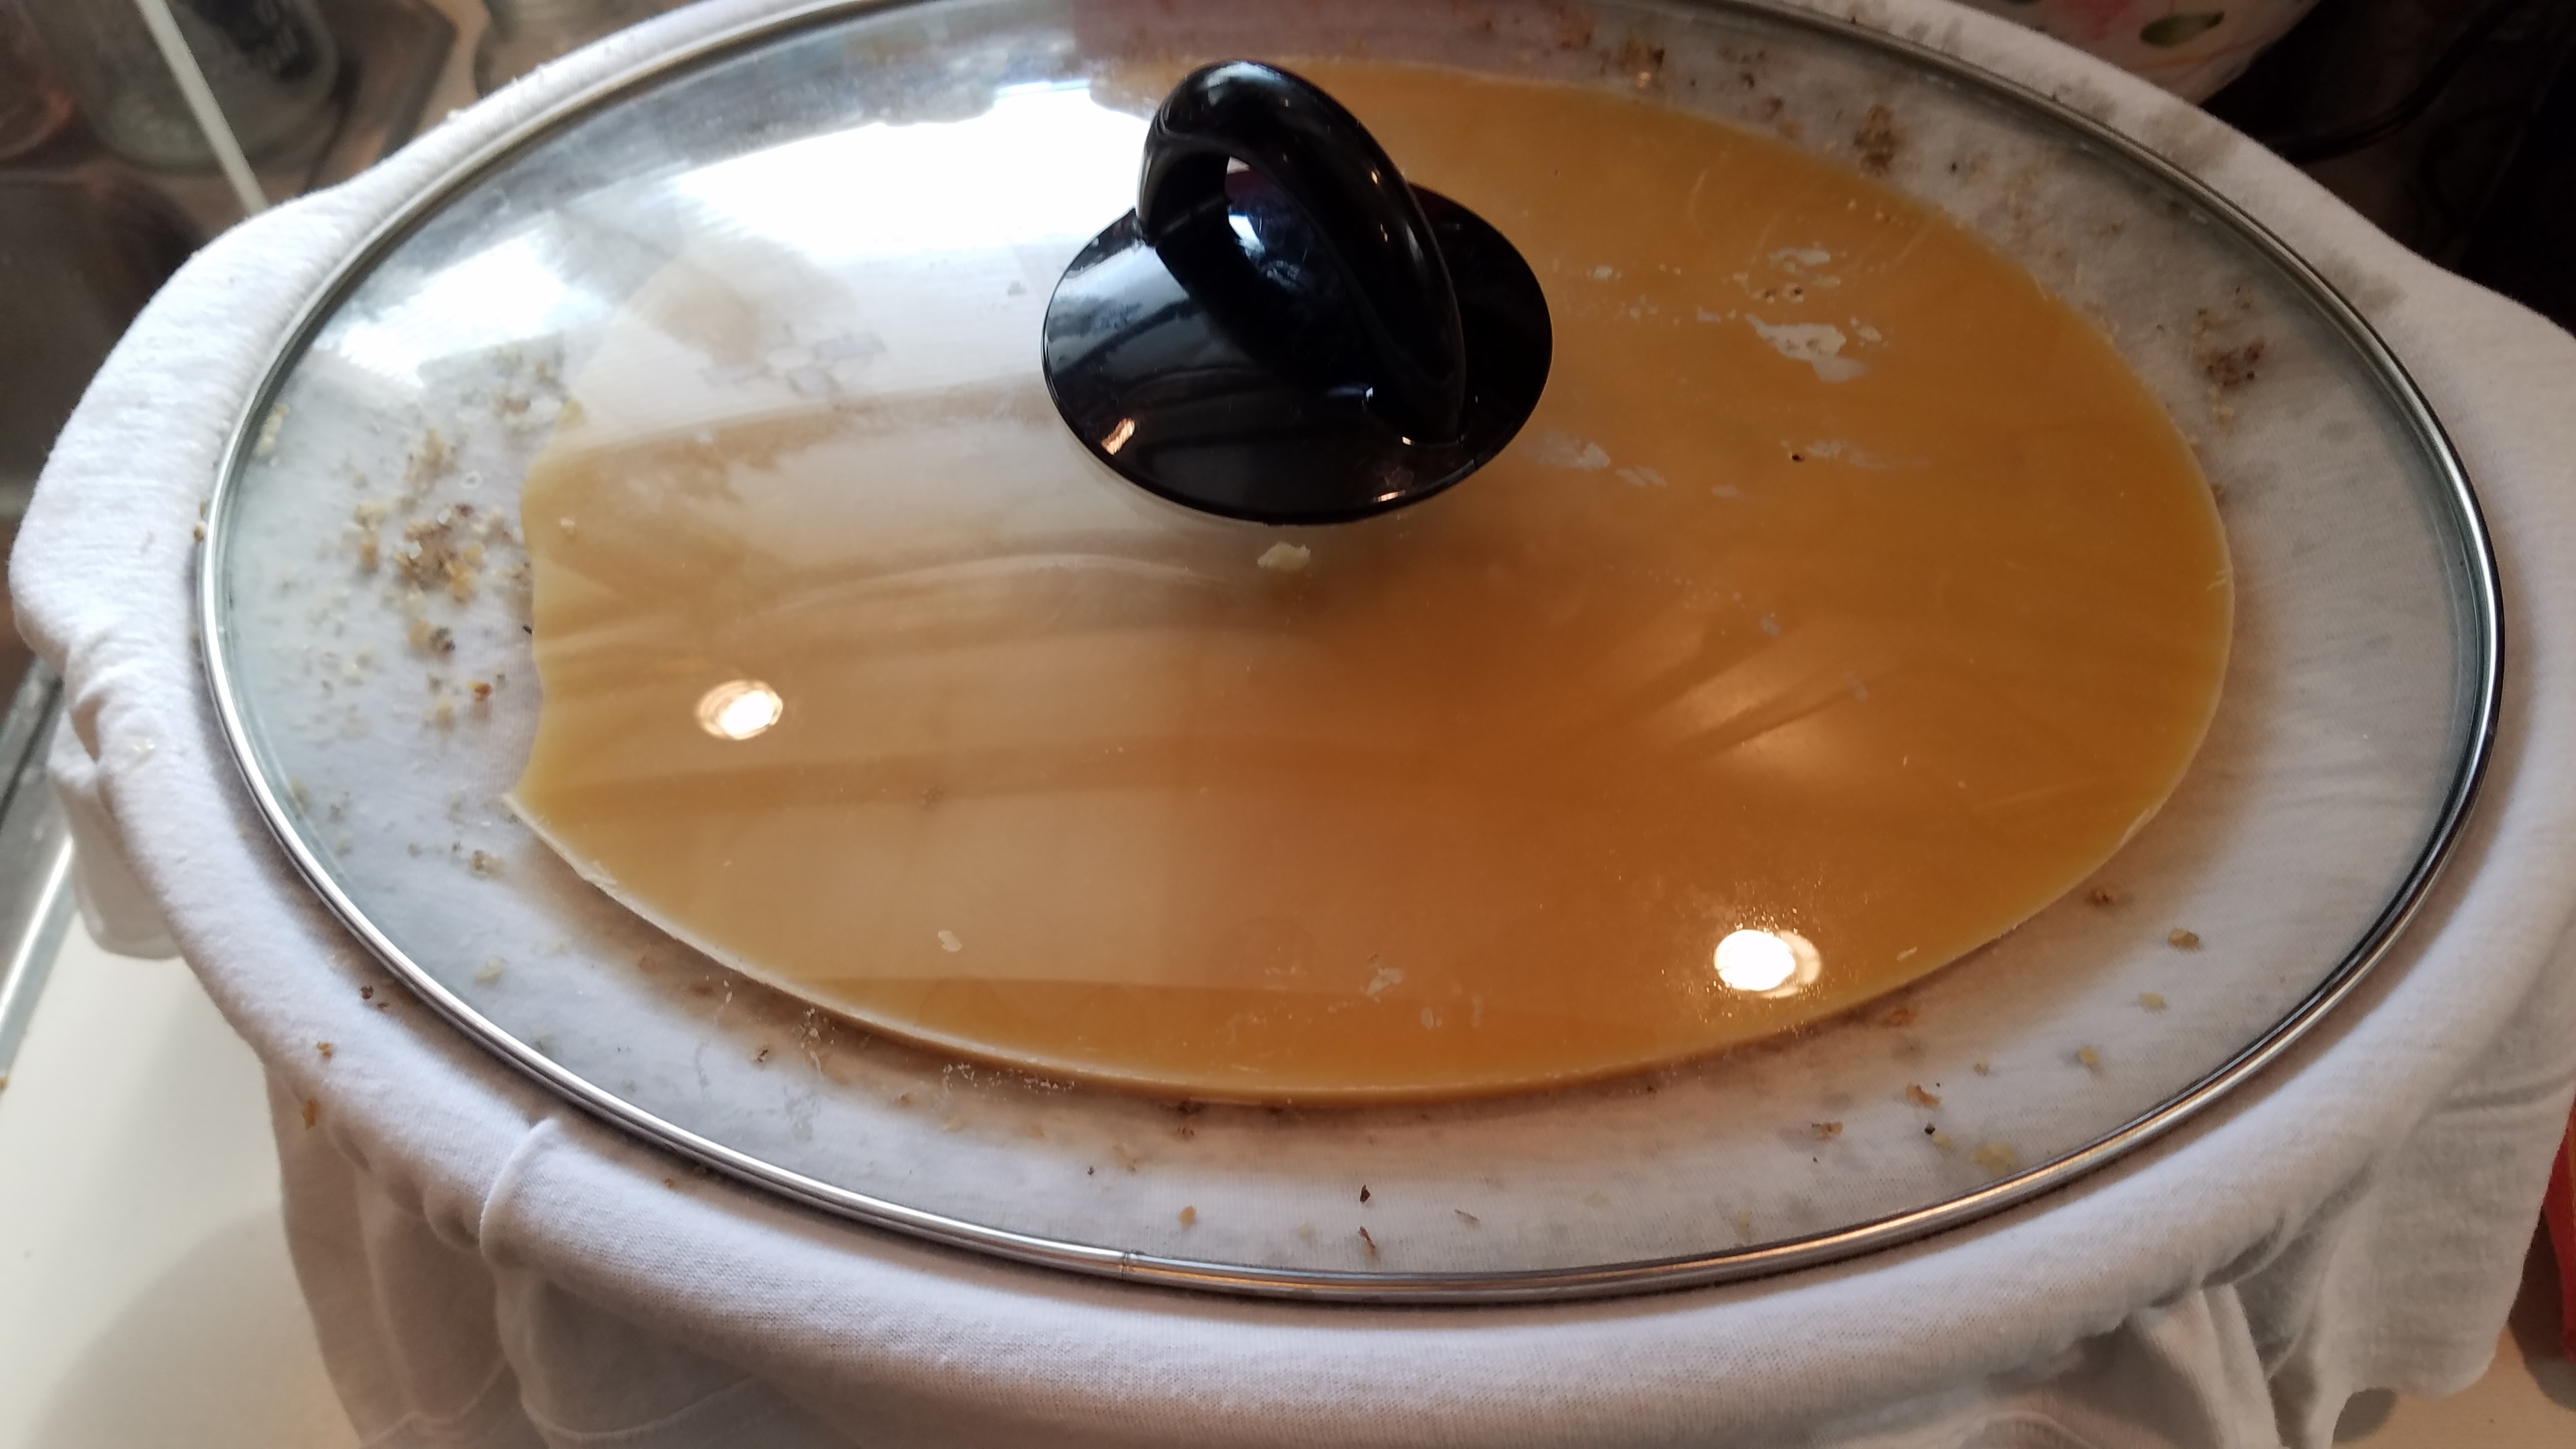
Step 1 – Add about 2 inches of water to the slow-cooker pot. Cover the pot with 1 layer of the tshirt and tie with kitchen twine just under the pot lip. Don’t tie the t-shirt too taunt – you want it to give a little.
Step 2 – Set your pot in the base, making sure the t-shirt is not stuck inside the base. Place your wax cappings and any other beeswax on top of the t-shirt. You can push the t-shirt down so it hangs like a hammock, but keep it at least an inch from the water level. Place the lid on the slow-cooker.
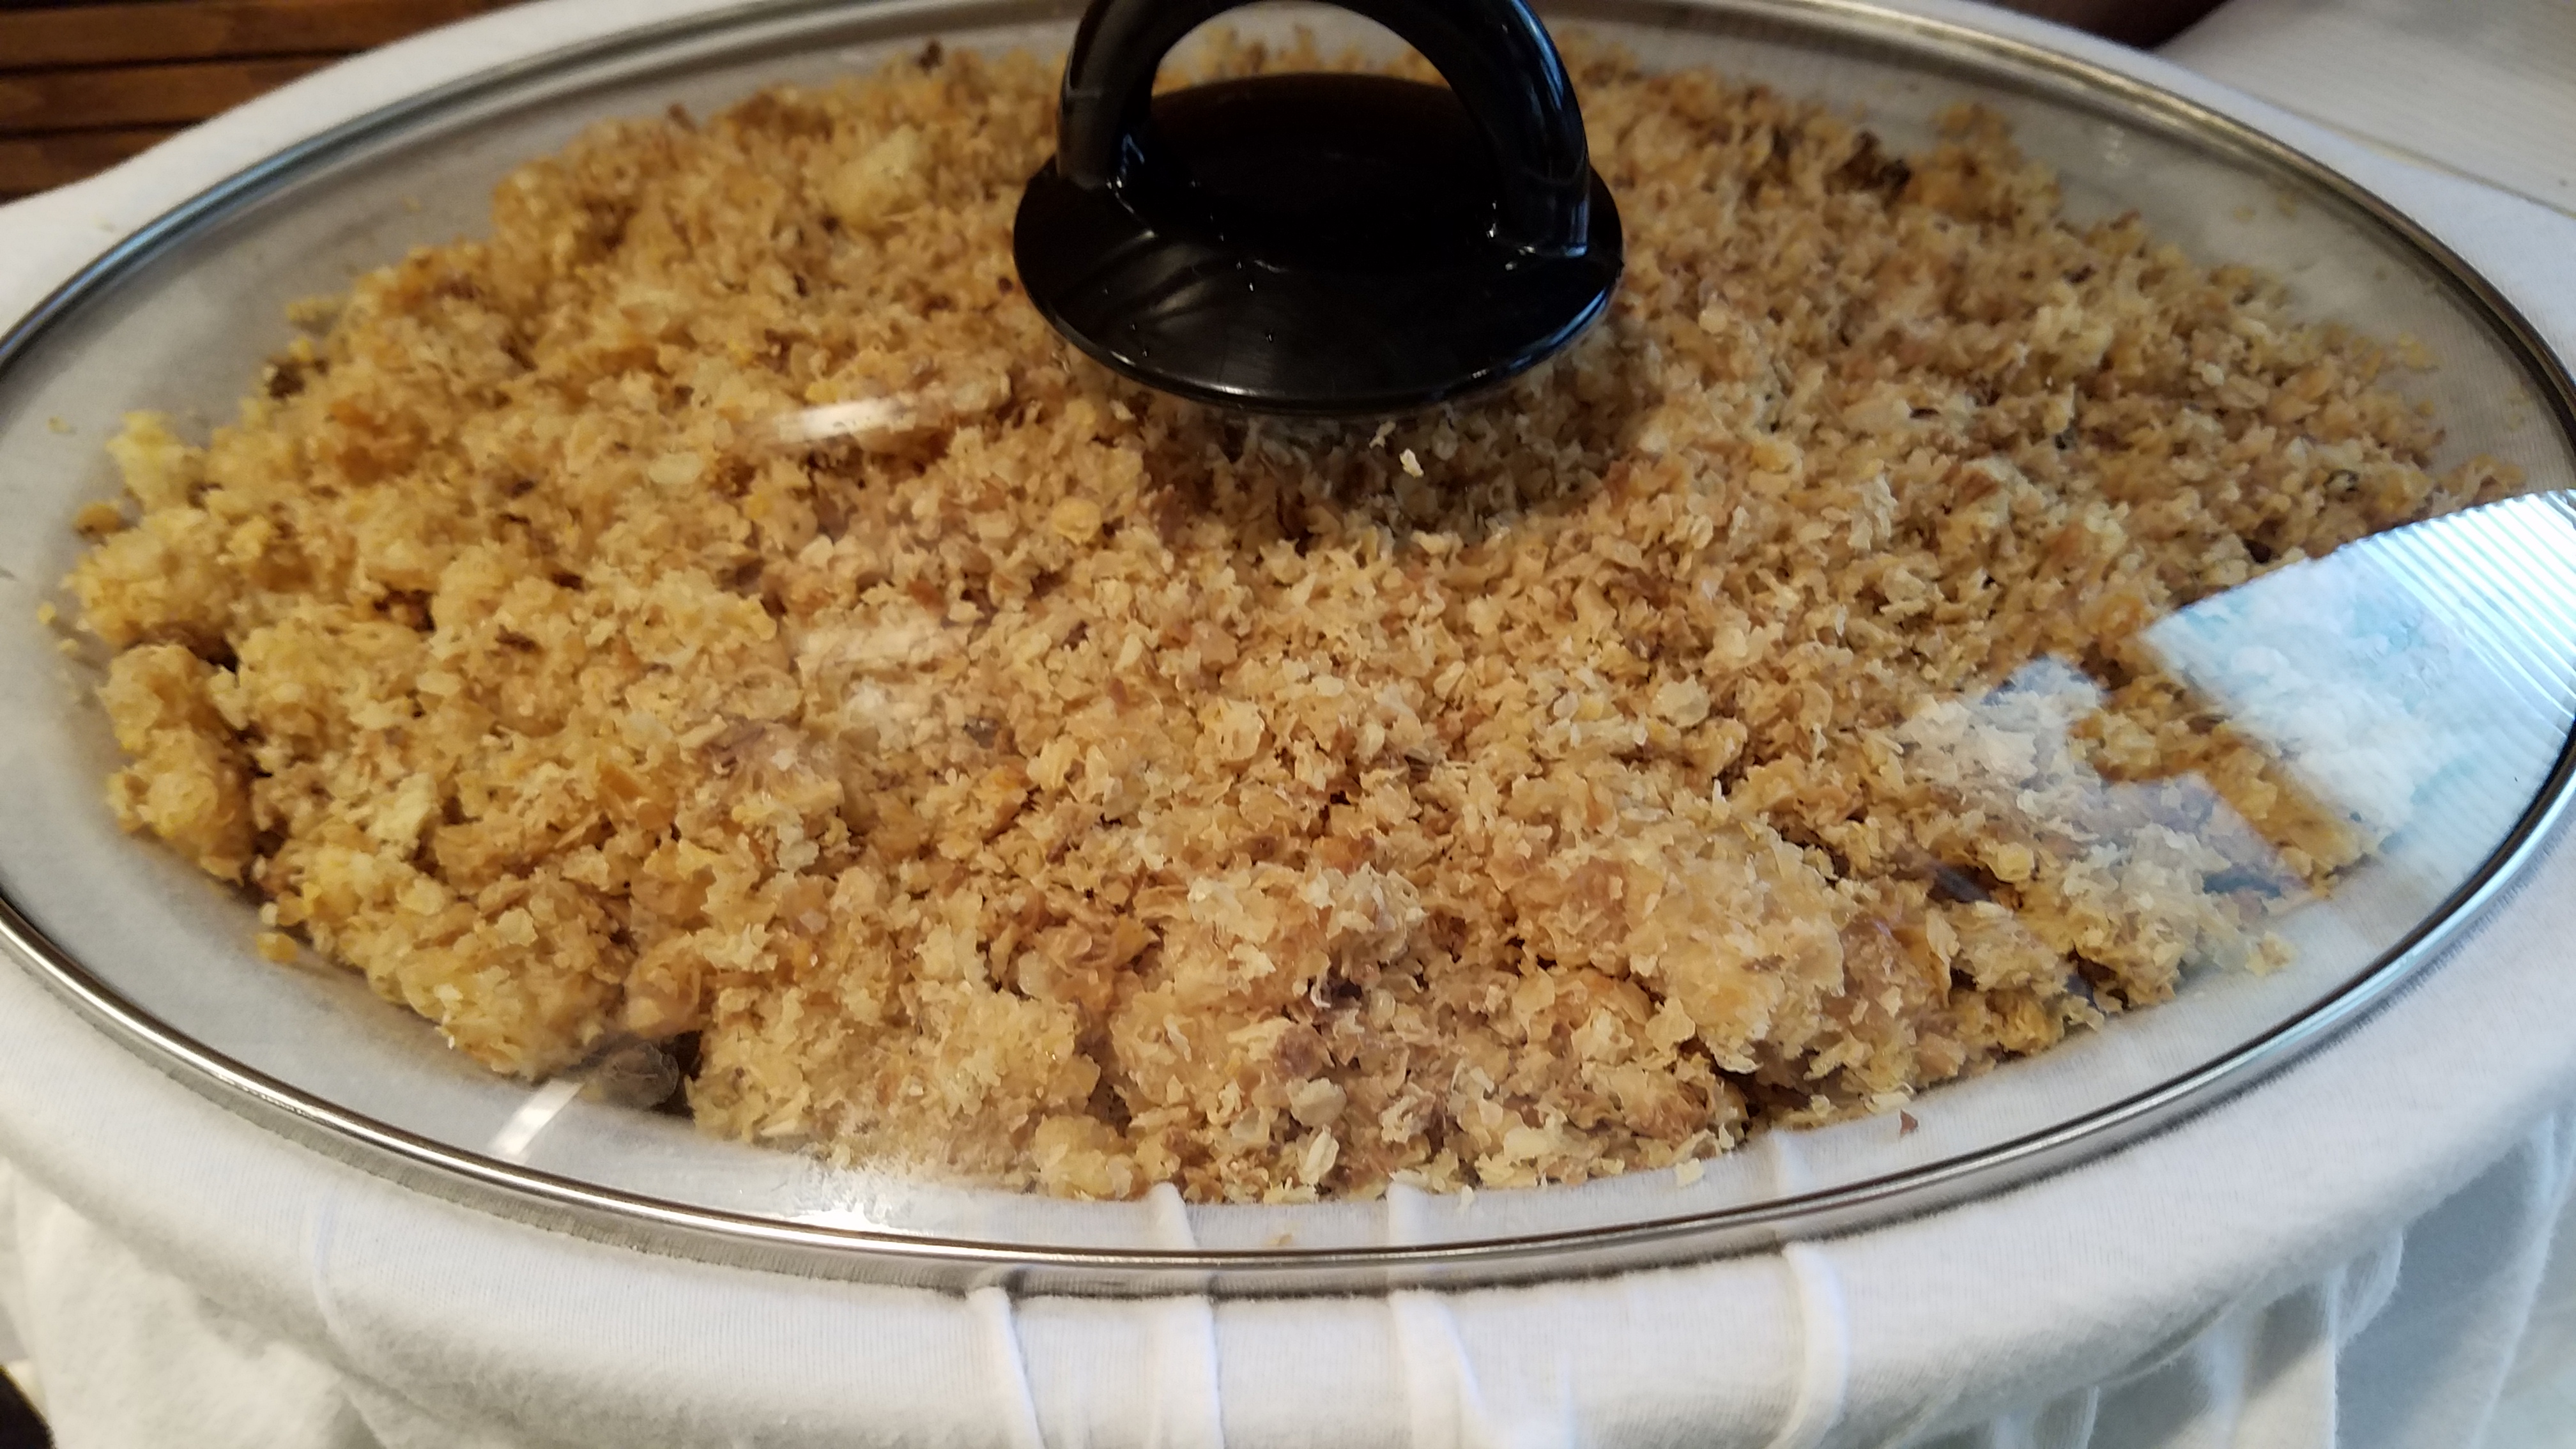
Step 3 – Turn slow-cooker on LOW. Melting the beeswax will take approximately 2 hours, depending on how much wax you have and the size of your slow-cooker. As the wax melts and drips through the t-shirt you will see dirt, propolis and other impurities left behind. You can spread the wax out as it melts if desired.
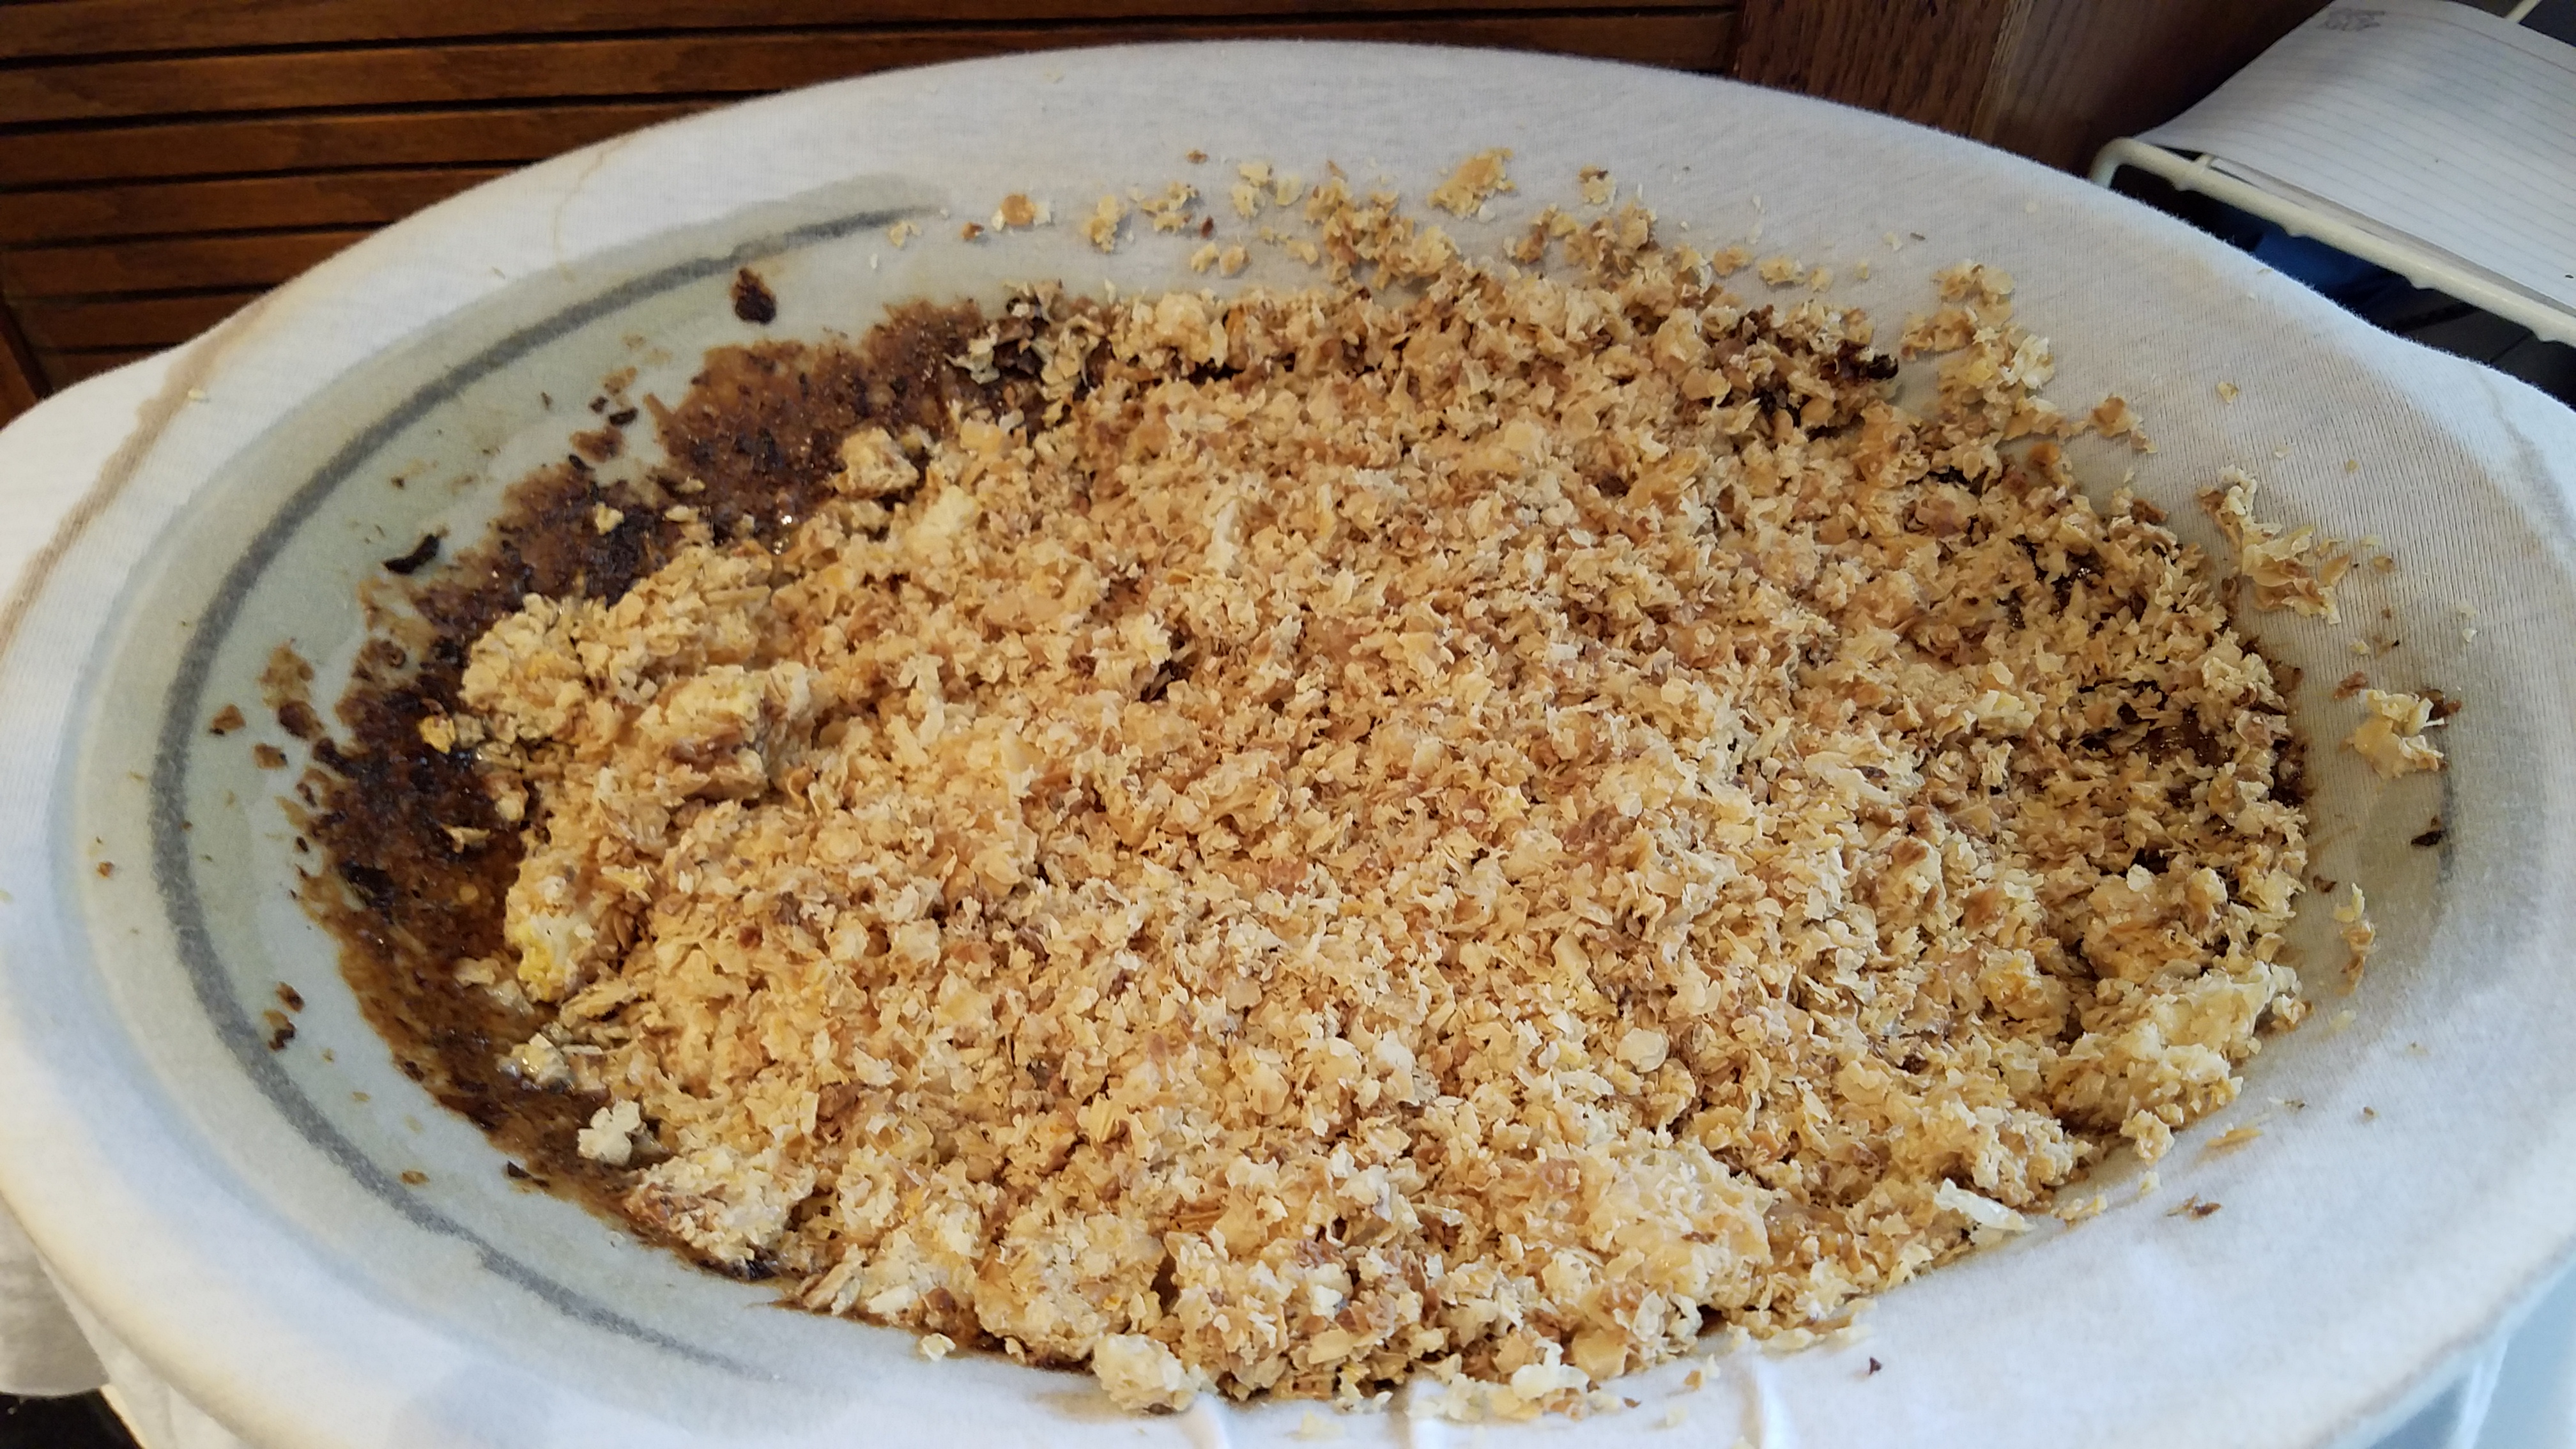
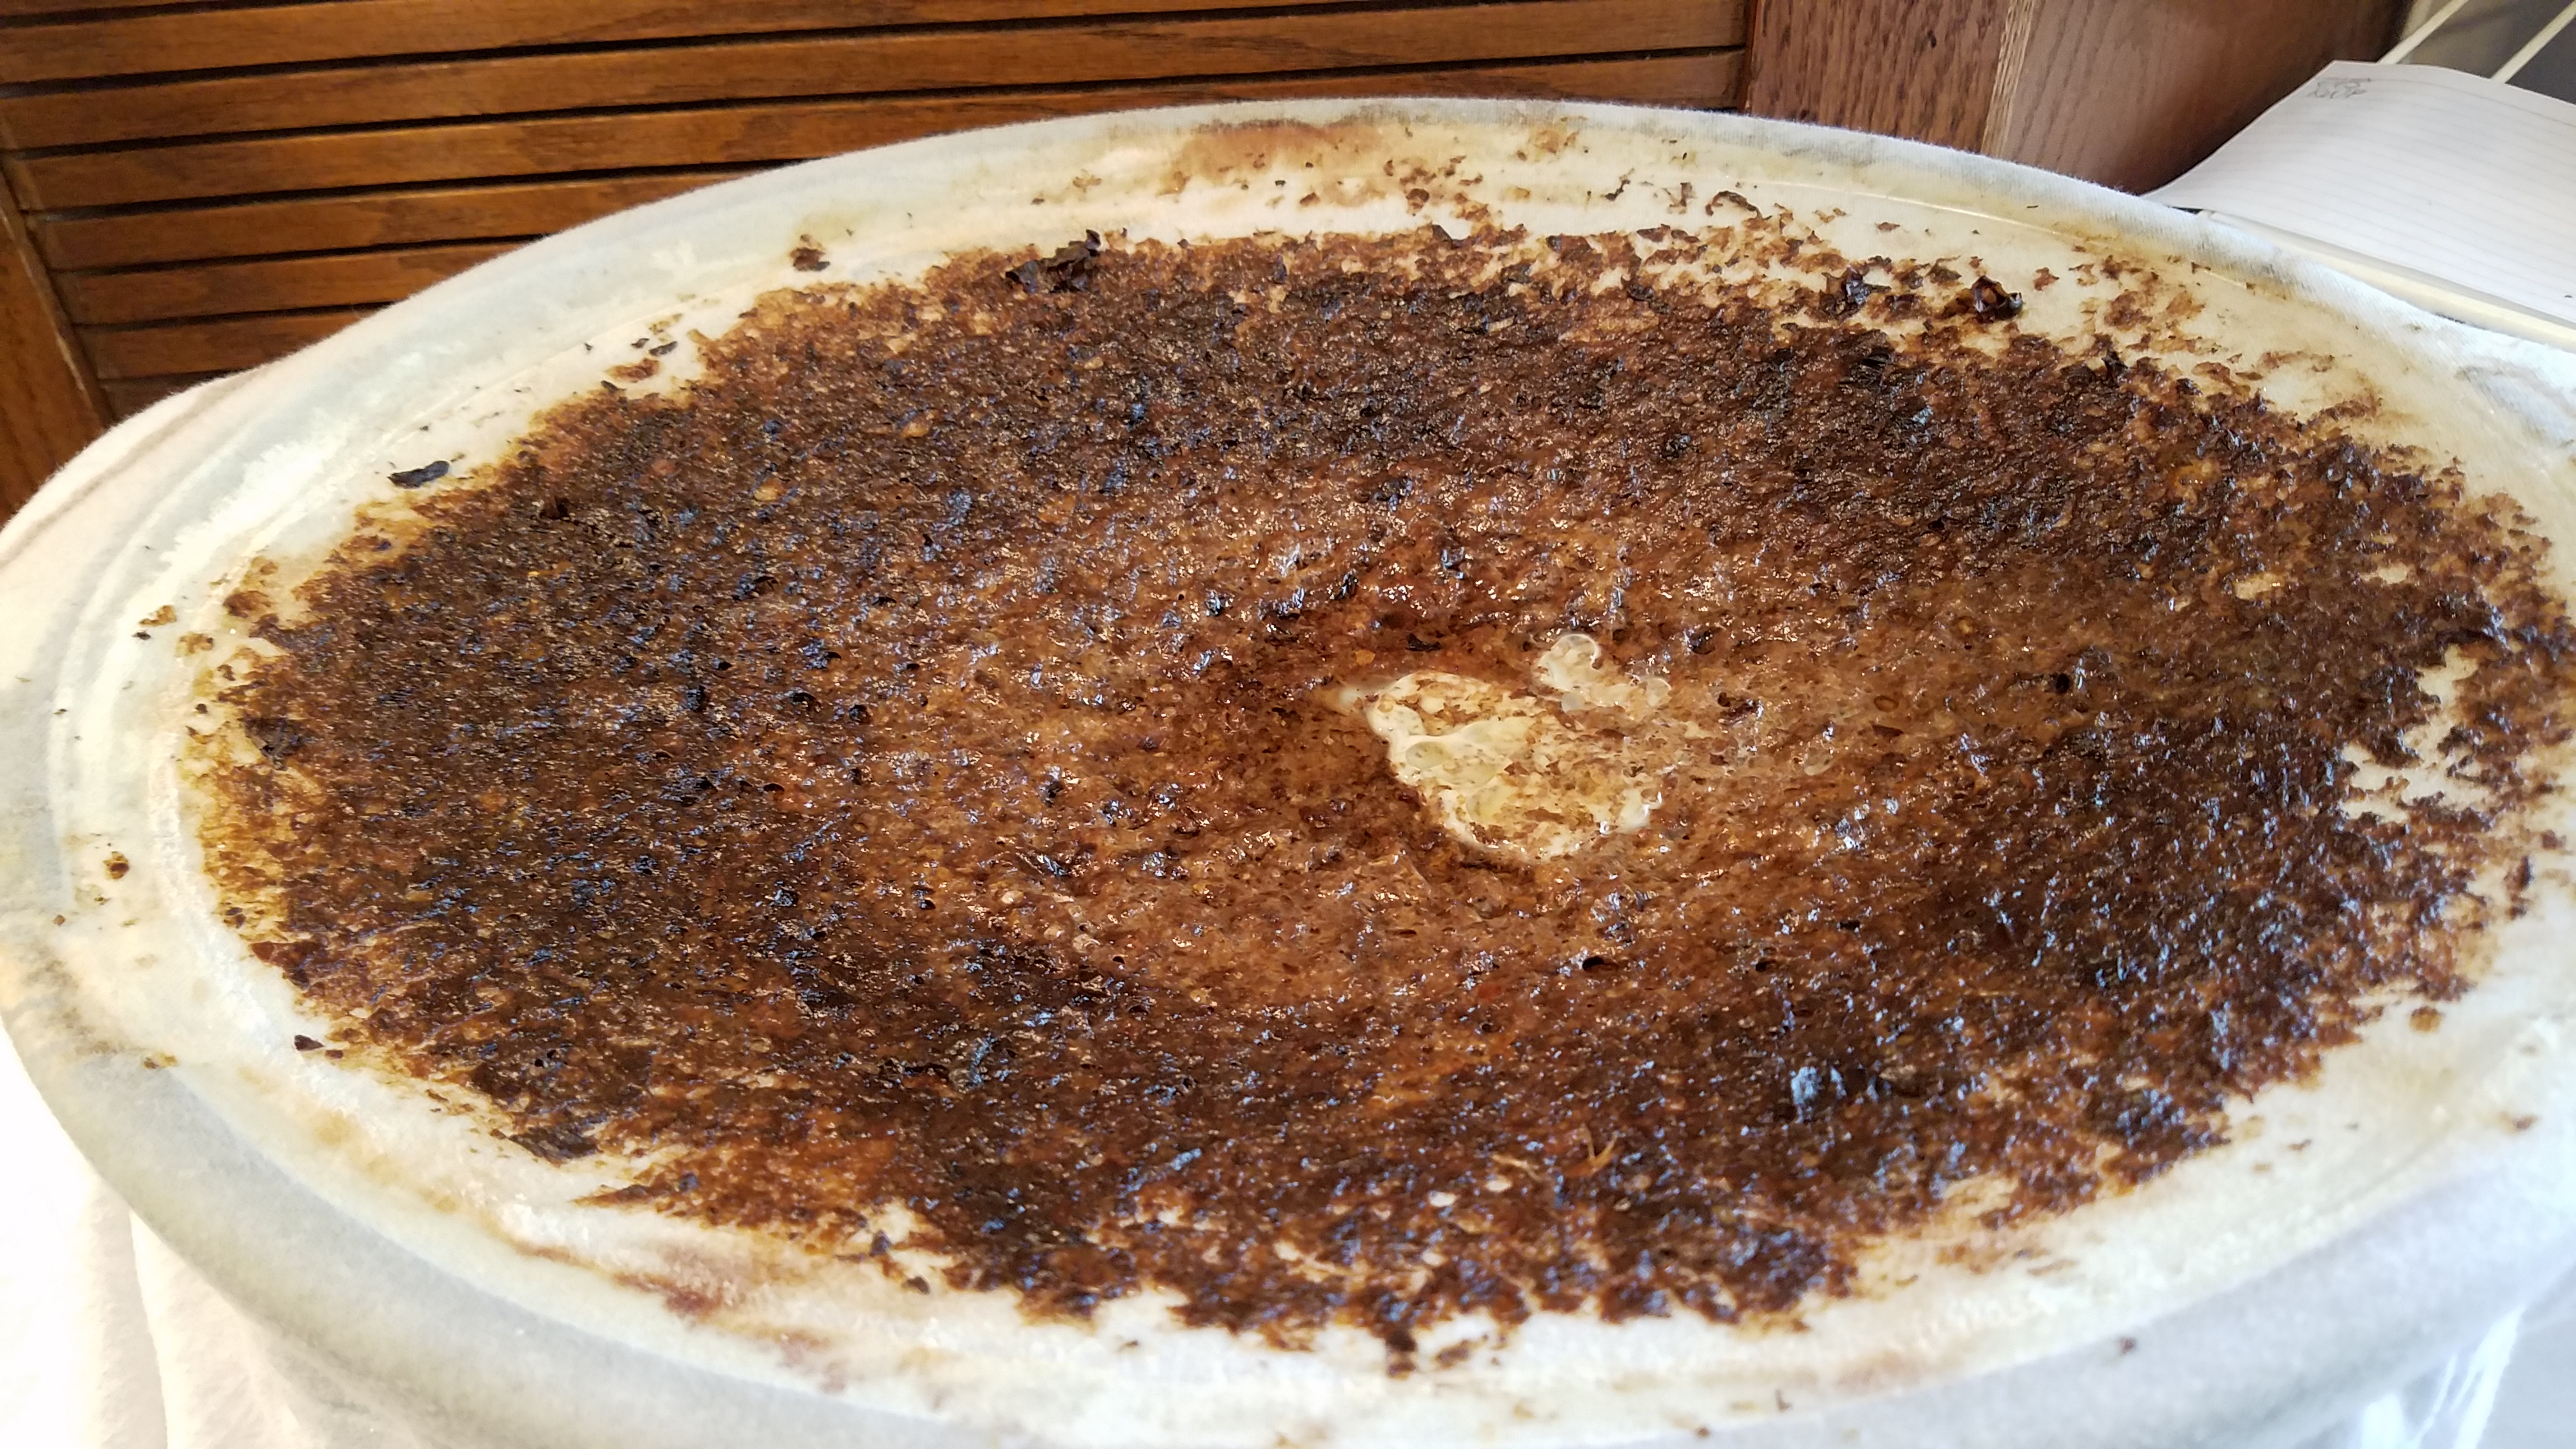
Step 4 – Once the wax is completely melted, turn off the slow-cooker. With oven mitts, remove the pot from the base. Untie or cut the twine and discard the t-shirt (if it’s 100% cotton this can be composted).
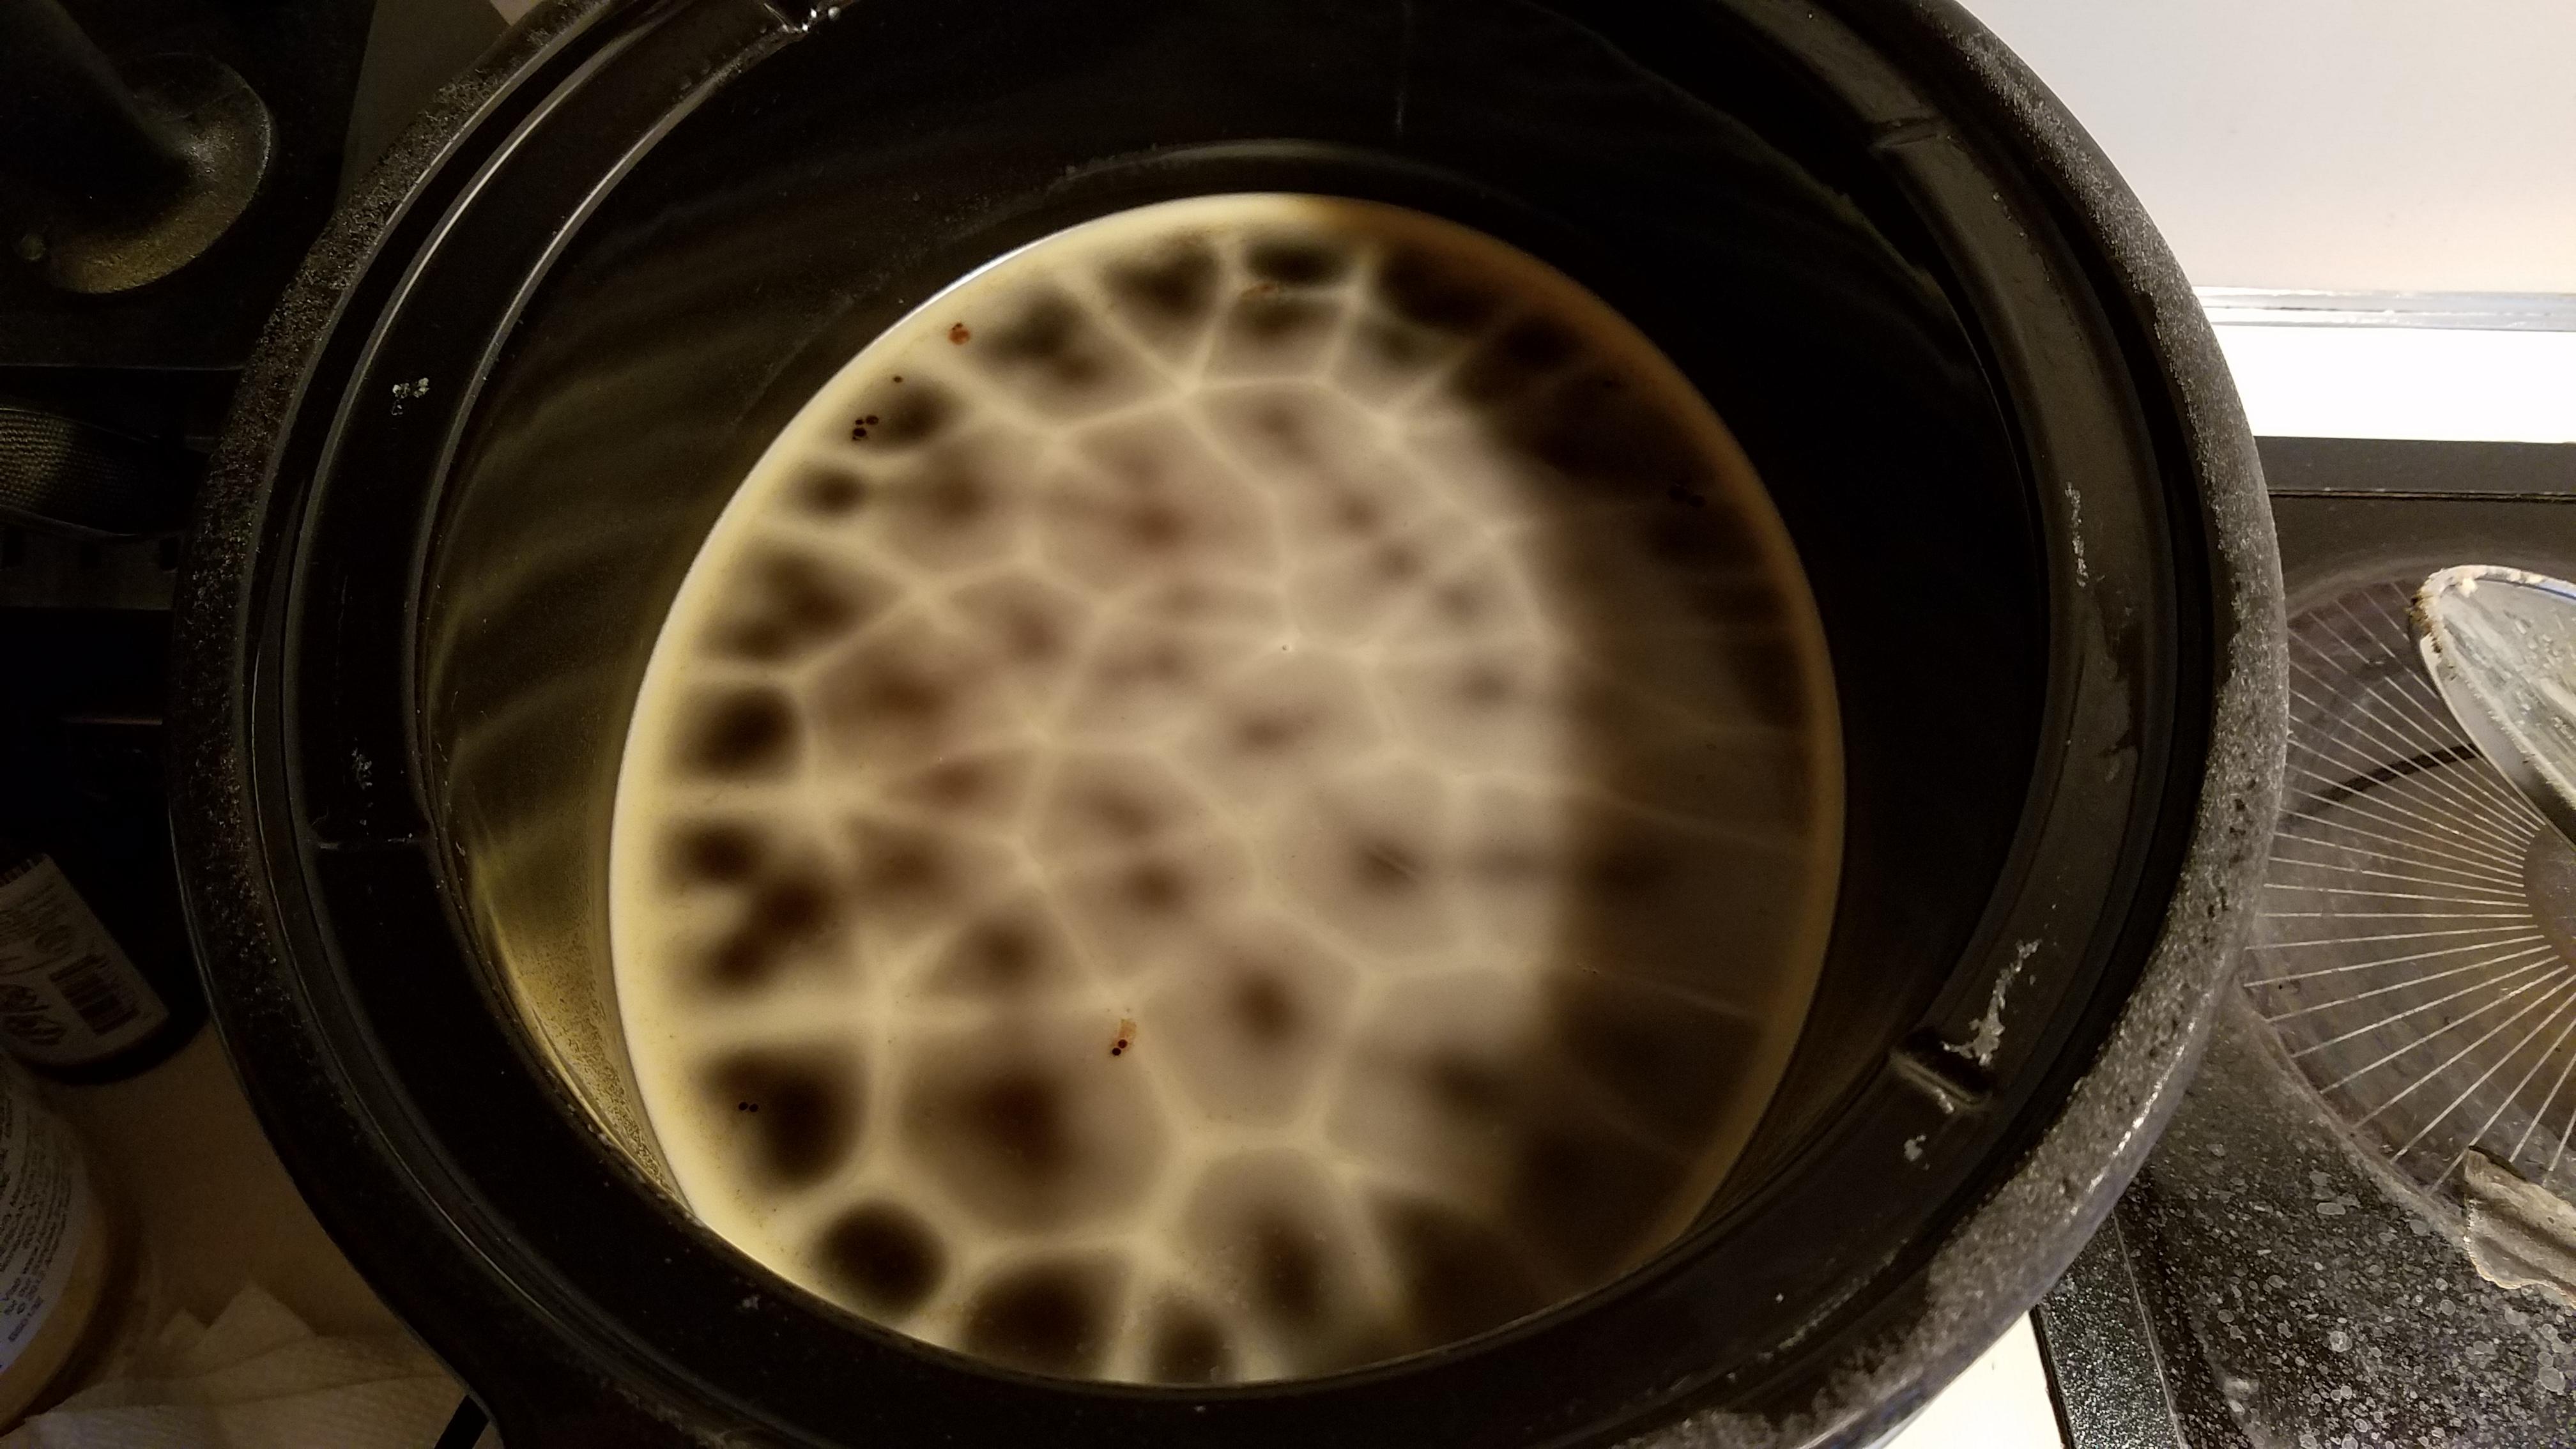
Step 5 – Let the beeswax cool and harden. Once solid, remove it from the pot (remember there’s water underneath the wax that can splash). You may need to use a knife to dislodge the wax from the sides of the pot.
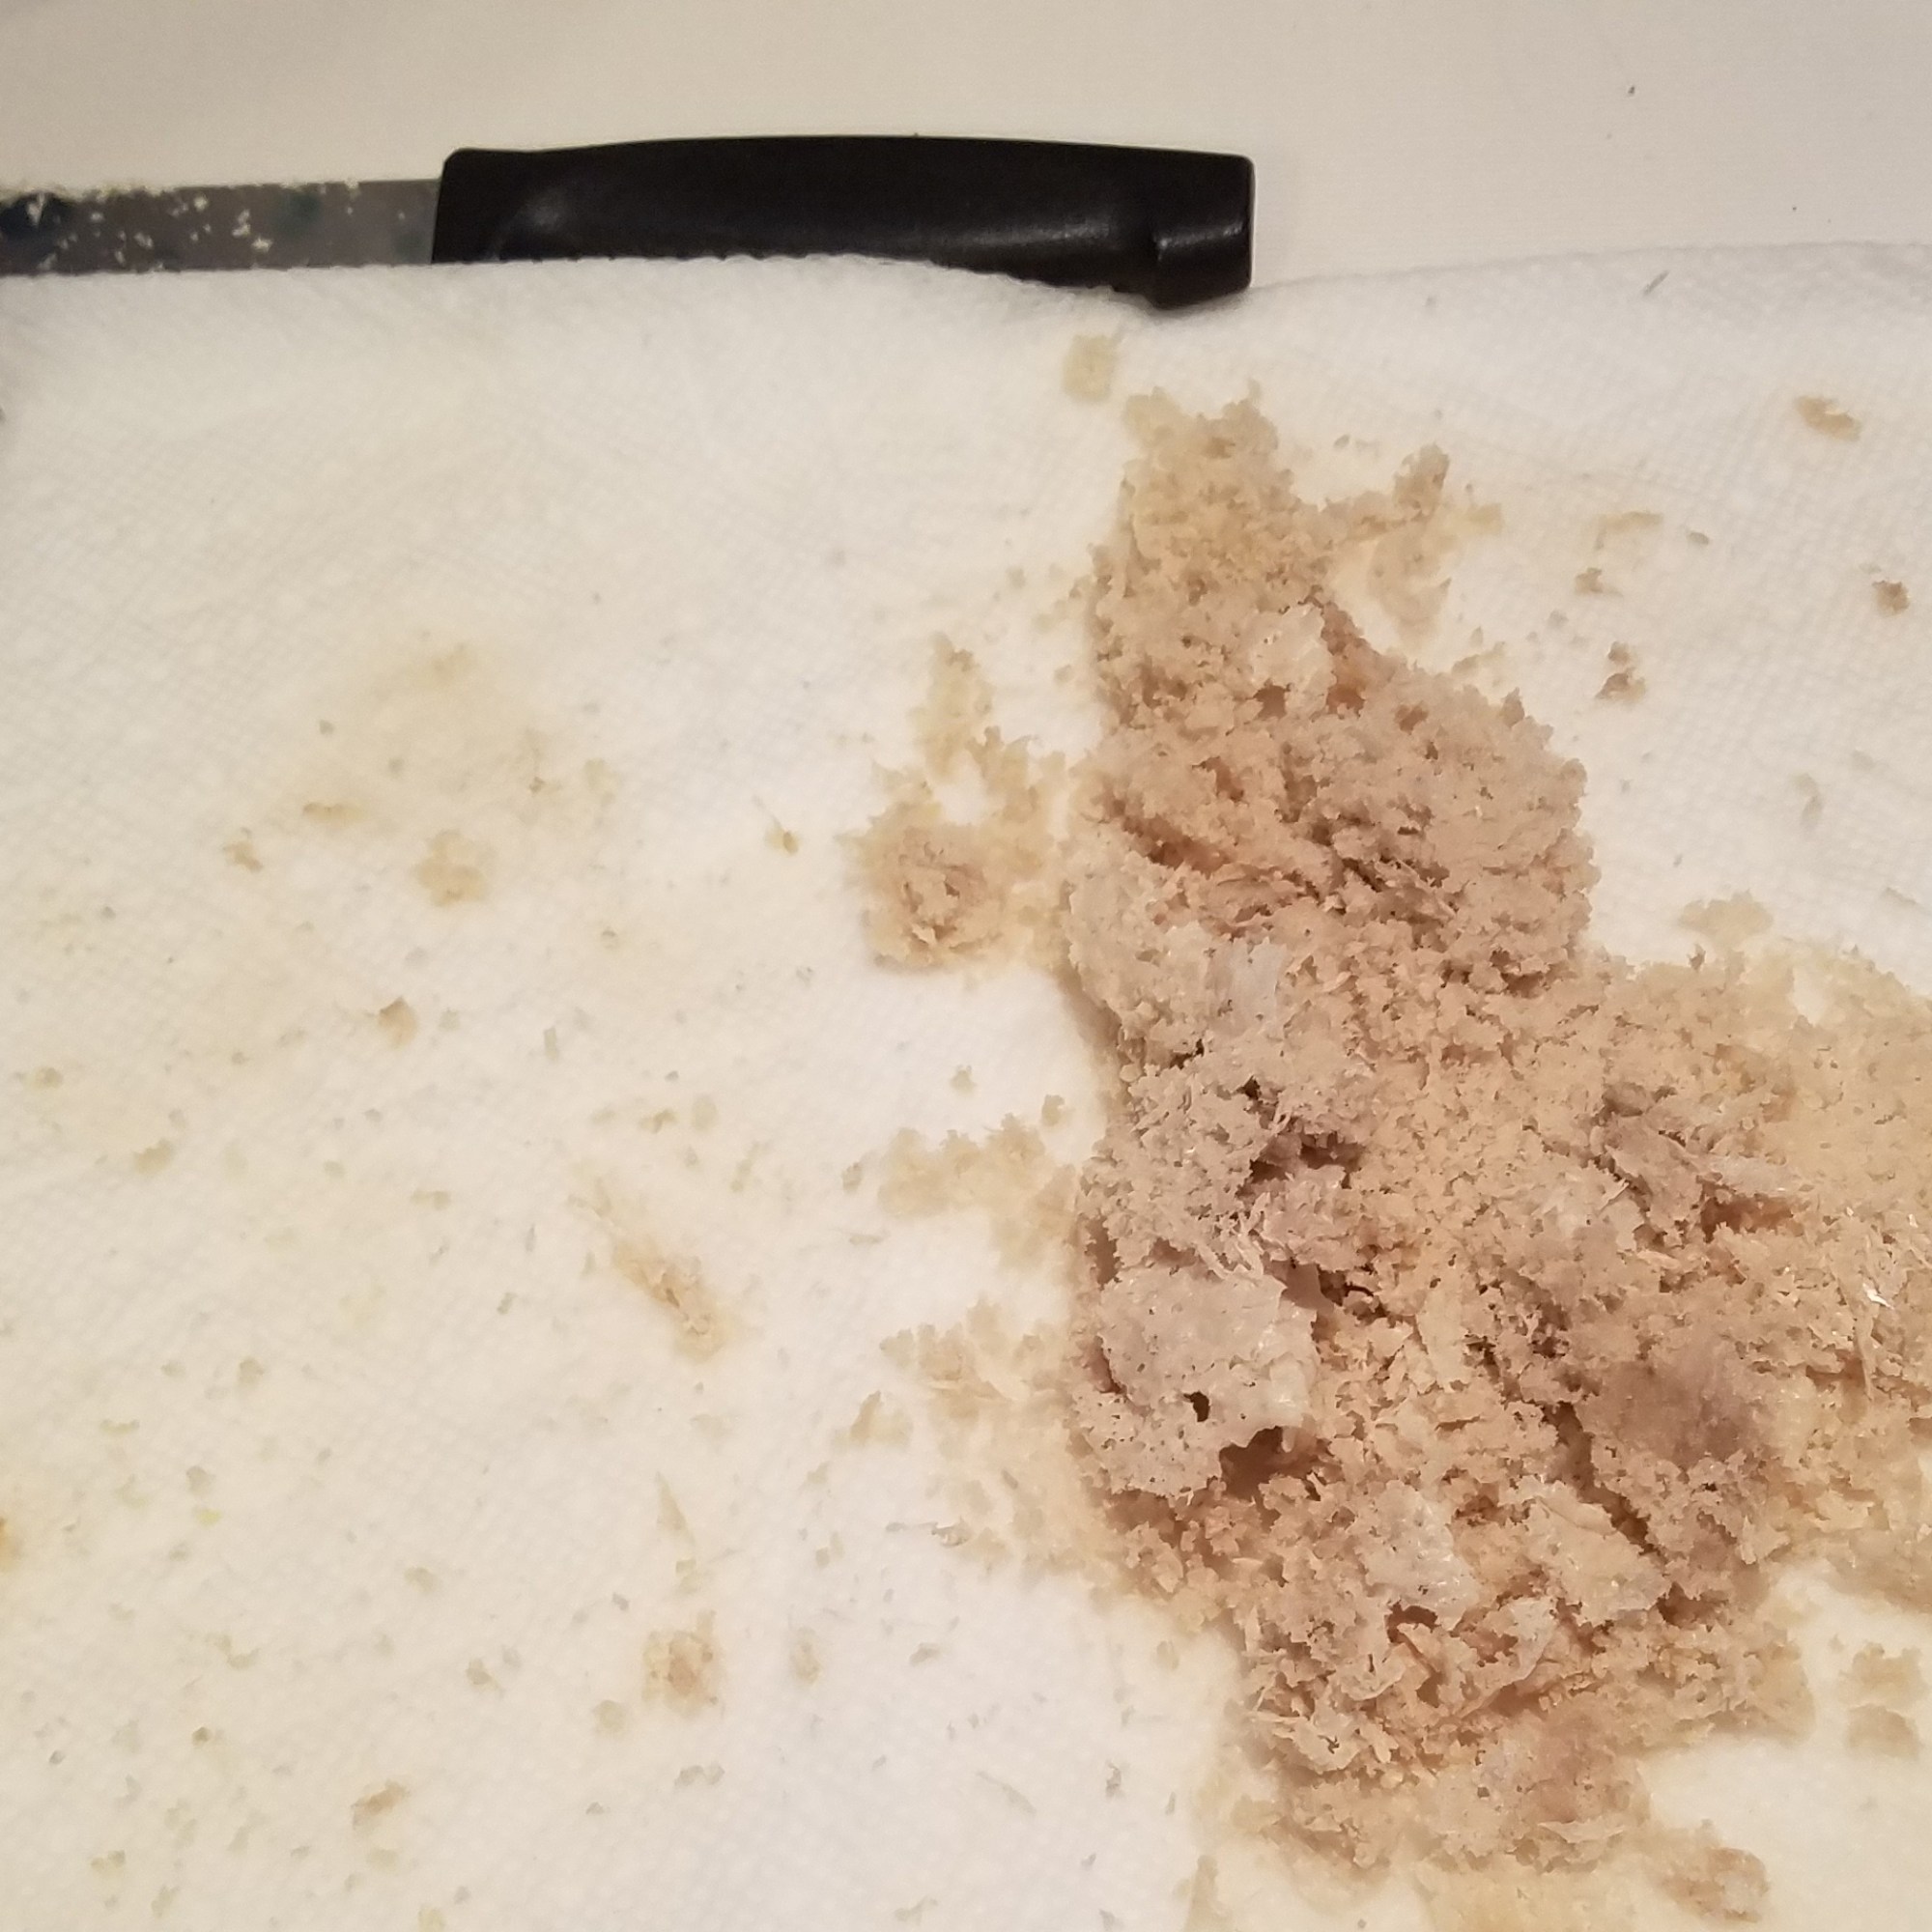
Step 6 – Dry the wax disc. The bottom of the disc will be rough and will contain some impurities. Scrape this off the wax disc with a knife.

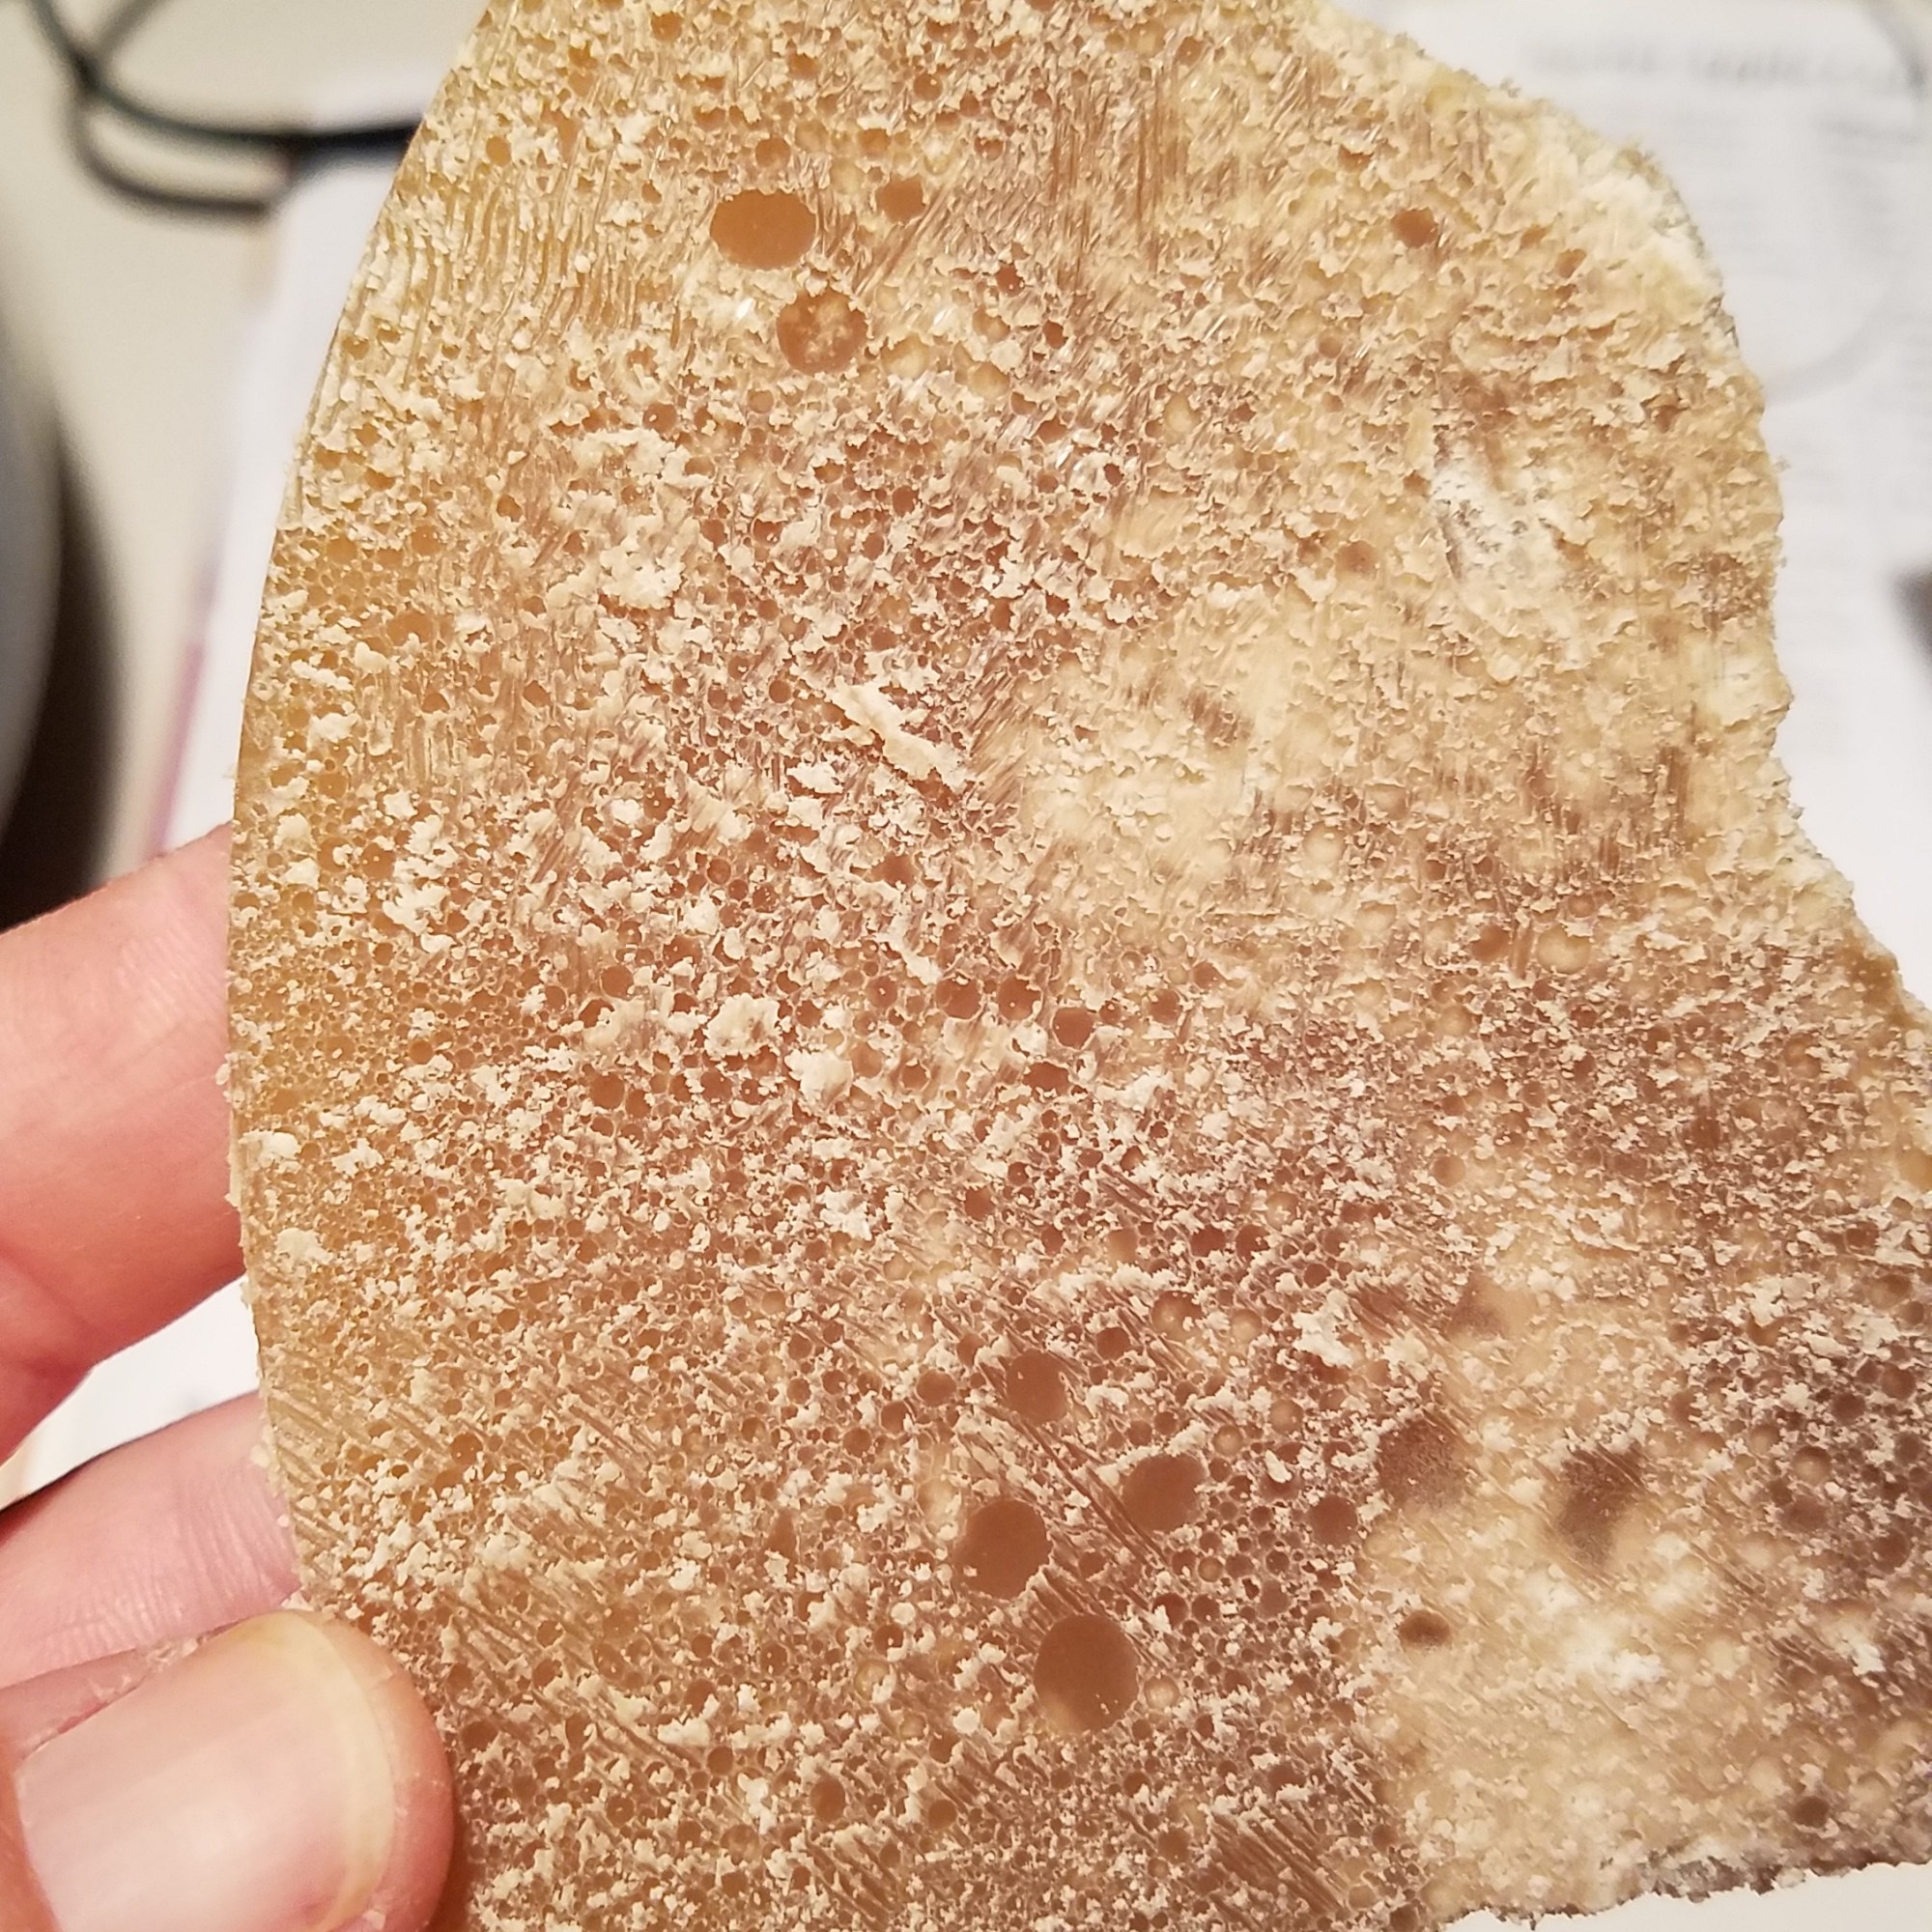
Step 7 – Repeat process with your wax disc using the other piece of clean t-shirt. This process can be repeated as many times as you wish, but I usually render my wax twice.
After cooling, drying and scraping your beeswax a second time you can store it as is or melt again in a double boiler or wax melting pitcher and mold into smaller blocks. I like to mold my wax into small discs, each weighed out to the portion I will need for my lip and skin balm recipes.
Remember it’s best to store your wax sealed in a ziploc-type bag or airtight container because it can attract wax moths.
 I immediately remembered what my friend,


